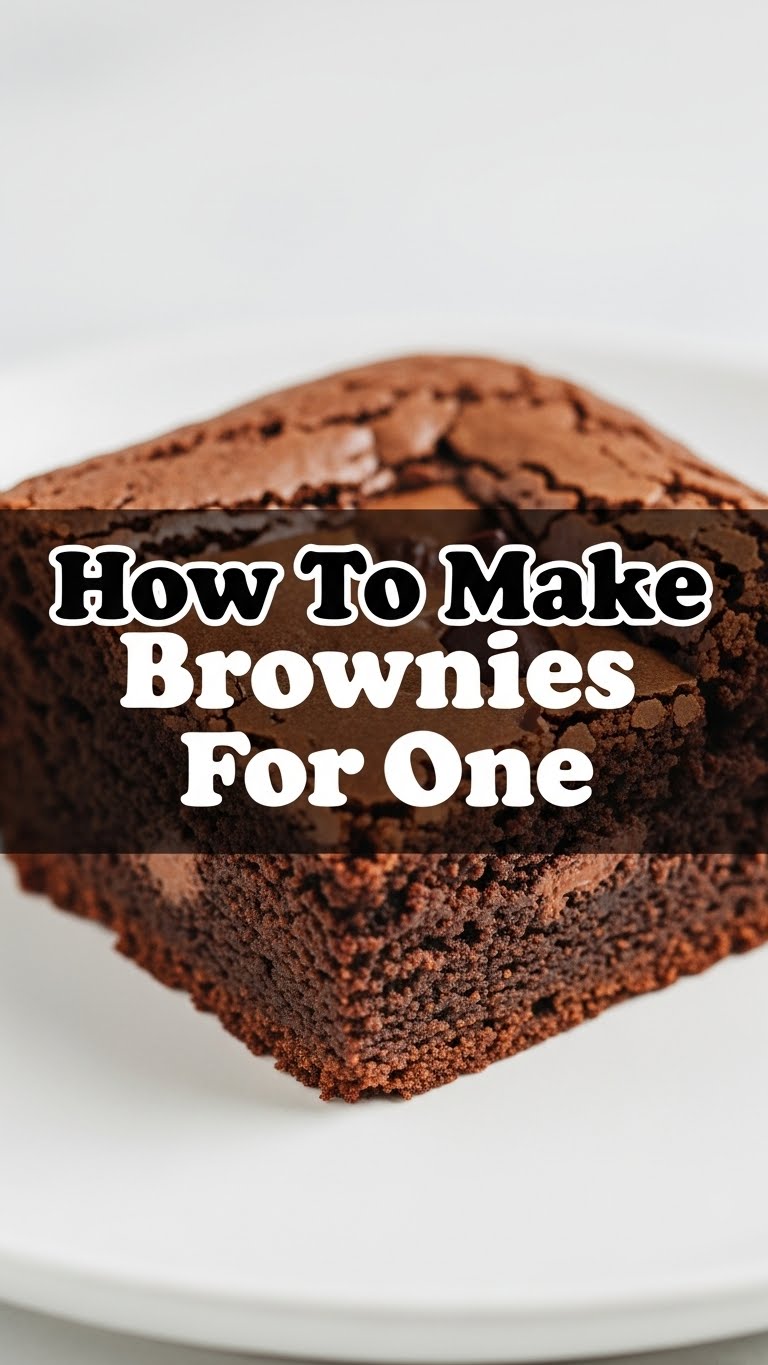
So you’re craving something tasty but too lazy to spend forever in the kitchen, huh? Same. We’ve all been there: that sudden, intense, almost spiritual need for a brownie, but the thought of making a whole pan just for *you* (and the subsequent self-judgment) is a hard pass. Good news, my friend! I’ve got your back. Get ready for the most gloriously simple, single-serving brownie recipe that’ll cure all your chocolate woes without any of the commitment.
Why This Recipe is Awesome
Okay, let’s be real. This isn’t just *any* brownie recipe. This is THE brownie recipe for when you want instant gratification without the drama.
- It’s ridiculously fast: From zero to gooey goodness in under 20 minutes. Seriously.
- Minimal dishes: One bowl, one spoon, maybe a tiny mug. Your future self (the one who hates washing up) will thank you.
- Portion control (ish): It makes *one* brownie. So, no accidentally eating half a pan while binge-watching your favorite show. Unless you make another one. Which, let’s be honest, you might. And that’s totally fine.
- Idiot-proof: Even if your kitchen skills are usually limited to microwaving leftovers, you can totally nail this. I didn’t mess it up, so you’re golden.
Ingredients You’ll Need
Alright, pantry raid time! You probably have most of this stuff already. Don’t sweat it if you’re missing one or two things; we’ll talk subs later.
- 2 tablespoons unsalted butter: The good stuff. Don’t skimp. Or, if you must, make sure it’s *real* butter, not some questionable spread.
- 2 tablespoons granulated sugar: Sweetness is key, my friend.
- 1 tablespoon packed light brown sugar: Adds that chewy, caramel-y goodness we all adore. Don’t skip this, it’s the secret sauce.
- 1/4 teaspoon vanilla extract: A tiny splash for big flavor. It’s like a secret handshake for your taste buds.
- 1 small egg yolk: Just the yolk! Save the white for an omelet later… or, you know, discard it. No judgment.
- 2 tablespoons all-purpose flour: The structure. The glue. The *thing* that makes it a brownie and not just melted chocolate.
- 1 tablespoon unsweetened cocoa powder: This is where the chocolate magic happens. Get a decent quality one if you can; it really makes a difference.
- Pinch of salt: Don’t forget this! It really brightens all those chocolatey flavors. Seriously, don’t skip the salt.
- Optional: 1 tablespoon chocolate chips: Because why not? We’re making a brownie for *one*, so go wild.
Step-by-Step Instructions
Ready? Let’s get down to business. This is so quick, you might actually surprise yourself.
- Preheat & Prep: First things first, get your oven cranked up to 350°F (175°C). While it’s heating, grab a small, oven-safe ramekin or a mug (about 6-8 oz capacity) and give it a quick spray or grease it lightly with butter. Nobody wants a stuck brownie, trust me.
- Melt the Butter: In a small microwave-safe bowl (or your ramekin/mug if it’s microwaveable), melt the 2 tablespoons of butter. This should take about 15-20 seconds. Keep an eye on it!
- Mix the Sugars: Add both the granulated sugar and brown sugar to the melted butter. Whisk them together until they’re nicely combined and look a bit glossy. This step is crucial for that shiny, crackly top!
- Add Wet Ingredients: Stir in the vanilla extract and that lone egg yolk. Mix until everything is smooth and fully incorporated. Don’t overmix, just get it together.
- Fold in Dry Ingredients: Now, gently fold in the flour, cocoa powder, and that all-important pinch of salt. Mix until *just* combined. Avoid overmixing, or your brownie will be tough, not tender. If you’re using chocolate chips, now’s the time to fold ’em in!
- Bake It Up: Pour your beautiful brownie batter into your prepared ramekin or mug. Pop it into the preheated oven.
- Wait (Patiently-ish): Bake for 12-15 minutes. You’re looking for a slightly set edge and a still-a-little-gooey center. A toothpick inserted near the edge should come out with moist crumbs, but not raw batter.
- Cool (if you can): Let it cool for a few minutes before diving in. It’ll be scorching hot straight out of the oven, plus it helps it set up a bit. A warm, gooey brownie is the dream, after all!
Common Mistakes to Avoid
Listen, we’ve all been there. Learning from mistakes is part of the fun (mostly). Here are a few traps to sidestep:
- Not preheating the oven: Rookie mistake, my friend. Your brownie won’t cook evenly, and you’ll end up with a sad, doughy center. Always preheat!
- Overmixing the batter: Once you add the flour, stop mixing as soon as everything’s combined. Whipping it to death develops the gluten, making your brownie tough. We want fudgy, remember?
- Overbaking: This is the biggest sin in brownie-making. You want a slightly gooey center. If you bake it until a toothpick comes out *completely* clean, you’ve got a cake, not a brownie. Still good, but not *the dream*.
- Skipping the salt: Seriously, I warned you! Chocolate needs salt to really sing. Without it, your brownie can taste flat. Don’t do it!
Alternatives & Substitutions
Life happens, and sometimes you don’t have *exactly* what the recipe calls for. No stress!
- Butter: If you’re out of unsalted, salted butter works. Just skip the added pinch of salt in the recipe. Margarine? Well, technically yes, but why hurt your soul like that? Stick to butter if you can. For a dairy-free option, use a good quality plant-based butter alternative.
- Brown Sugar: Only have granulated? Use all granulated. Your brownie might be a *little* less chewy, but still delicious. IMO, the brown sugar really adds to the texture, so try to grab some if possible.
- Egg Yolk: Can’t be bothered separating? Use 1 tablespoon of a whole egg (whisk a whole egg, then measure). Or, in a pinch, you could try 1 tablespoon of applesauce or mashed banana for a binder, though the texture will be different.
- Chocolate Chips: Don’t have them? No biggie. Still awesome. Got some leftover chocolate bar? Chop it up and throw it in! Dark chocolate, milk chocolate, white chocolate – your call!
FAQ (Frequently Asked Questions)
Got questions? I’ve got answers, usually with a side of sass.
- Can I make this in the microwave? You *can*, but it’s not the same. It often results in a more cake-like, less fudgy texture. For true brownie bliss, the oven is your best friend.
- What if I don’t have a ramekin? A coffee mug, an oven-safe bowl, even a small loaf pan (it’ll be a very thin brownie, but hey, still brownie!) will work. Just ensure it’s oven-safe!
- Can I double the recipe? Absolutely! Just bake it in a slightly larger dish (like a 5×7-inch or 6×6-inch pan) and adjust baking time slightly. Maybe 18-22 minutes.
- My brownie top isn’t crackly. What went wrong? Usually, it means you didn’t whisk the sugars into the butter enough, or your oven temperature was a bit off. Next time, give those sugars a good whisking!
- Is it okay to eat the batter raw? Eh, raw eggs and flour aren’t really recommended. But hey, it’s your life. Just don’t say I didn’t warn you about potential tummy troubles. Cooked is always better!
- Can I add nuts? OMG, yes! A tablespoon of chopped walnuts or pecans would be an amazing addition. Go nuts! (Pun absolutely intended.)
Final Thoughts
So there you have it, my friend. Your very own, perfectly portioned brownie, ready to satisfy that craving without needing a whole party to justify its existence. You’ve just whipped up a little slice of heaven, and frankly, you deserve it. Whether you’re sharing it (unlikely, let’s be real) or hoarding every delicious bite for yourself, this recipe is a game-changer. Now go impress someone—or yourself—with your new culinary skills. You’ve earned it! Happy baking (and eating)!


