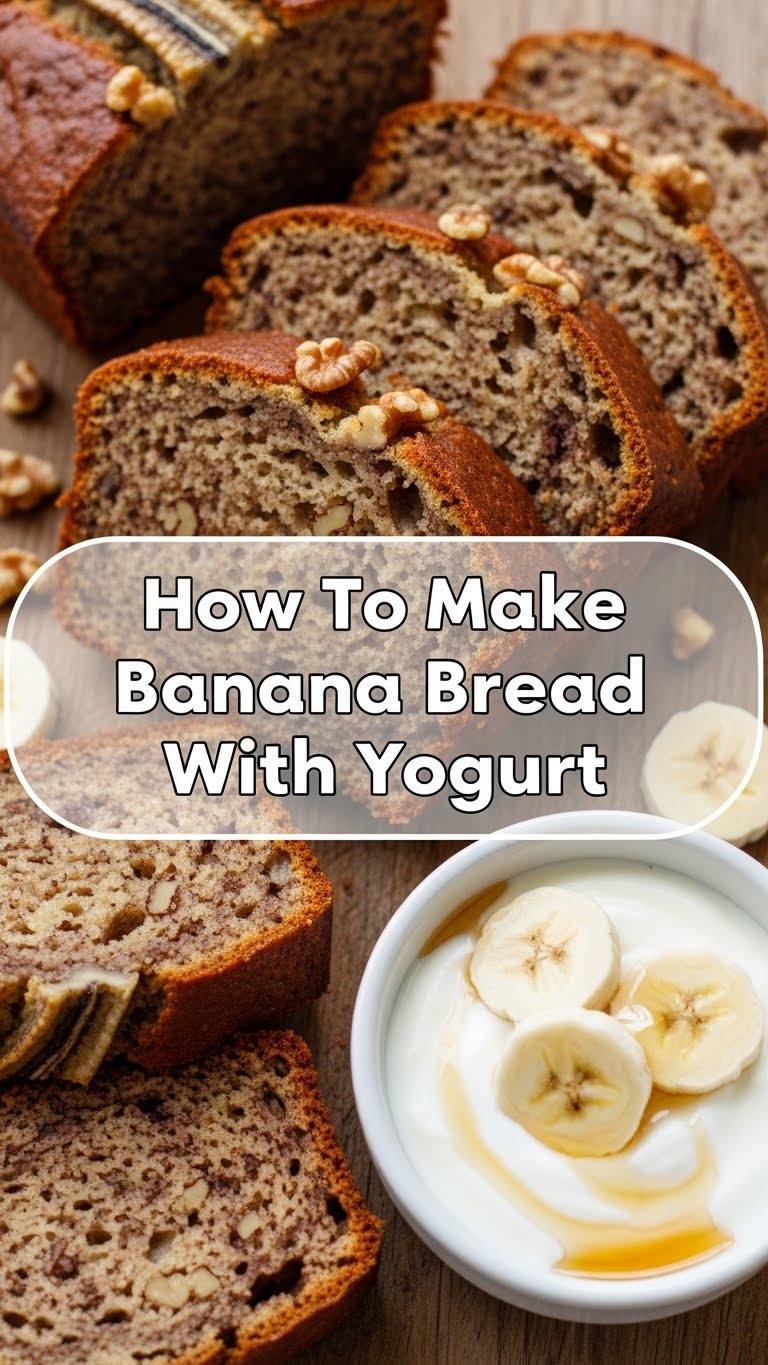
So you’re craving something tasty but too lazy to spend forever in the kitchen, huh? Same. And guess what? You’ve got those sad, forgotten bananas staring at you, judging your life choices? Well, fear not, my friend! We’re about to turn those browning beauties into the most ridiculously moist and delicious banana bread known to humankind. No fancy chef skills required, I promise. We’re talking effortless deliciousness here.
Why This Recipe is Awesome (Seriously!)
Okay, let’s be real. Banana bread is usually pretty forgiving. But THIS recipe? It’s next-level. We’re ditching some of the oil and swapping it for yogurt. Why? Because it makes the bread incredibly tender and moist. Like, “I can’t believe I made this” moist. Plus, it’s basically a healthy-ish treat, right? Yogurt = protein. Bananas = potassium. You’re practically a wellness guru now. It’s also ridiculously simple. If you can mash a banana and stir stuff, you can nail this. Consider it your culinary superhero origin story.
Ingredients You’ll Need
- 3 ripe bananas: The browner, the better. They should be practically begging to be mashed.
- 1/3 cup melted butter: Or, you know, whatever fat you’ve got hanging around.
- 1/2 cup plain yogurt: Full-fat is king, but Greek yogurt works wonders too for extra richness.
- 1 teaspoon vanilla extract: Because, duh.
- 1 teaspoon baking soda: The magic leavener.
- A pinch of salt: To make all the flavors pop.
- 3/4 cup granulated sugar: Or a bit less if you’re feeling virtuous (or your bananas are super sweet).
- 1 large egg: The binder of dreams.
- 1 1/2 cups all-purpose flour: The backbone of our bread.
- Optional: 1/2 cup chopped nuts (walnuts or pecans are classic) or chocolate chips. Because why not?
Step-by-Step Instructions
- Preheat your oven to 350°F (175°C). Grease and flour a standard loaf pan. No one likes a sticky situation.
- In a big ol’ bowl, mash those bananas. Get them good and lumpy-smooth. Think baby food, but tastier.
- Pour in the melted butter and yogurt. Give it a good whisk until everything looks cozy and combined. Add the vanilla too; it’s the cherry on top of our wet ingredients.
- Now, let’s get cozy with the dry stuff. In a separate bowl, whisk together the flour, sugar, baking soda, and salt. This ensures everything is evenly distributed, so you don’t end up with one super-salty bite.
- Add the egg to your wet ingredients and whisk until it’s fully incorporated.
- Gradually add the dry ingredients to the wet ingredients. Stir *just until combined*. Overmixing is the enemy of tender quick breads, so be gentle! Lumps are okay, even good.
- If you’re feeling fancy, fold in your nuts or chocolate chips now. Treat yourself.
- Pour the batter into your prepared loaf pan. Smooth the top a little.
- Bake for 50-65 minutes, or until a toothpick inserted into the center comes out clean. Keep an eye on it, ovens can be divas.
- Let it cool in the pan for about 10 minutes before turning it out onto a wire rack to cool completely. Patience is a virtue, and a cooler loaf slices better.
Common Mistakes to Avoid
- Using hard, unripe bananas: They won’t mash well and won’t give you that sweet banana flavor. Go for the speckled, sad ones!
- Overmixing the batter: Seriously, resist the urge. This is how you get tough, chewy banana bread. Gentle is key.
- Opening the oven door too early: You’ll let all that precious heat escape! Let the oven do its thing.
- Not preheating your oven: This is a cardinal sin in baking. Your bread will be sad and flat.
- Forgetting the baking soda: Poof! No rise for you. Double-check your ingredients list, people!
Alternatives & Substitutions
So, you’re missing something? No worries!
- Butter? Margarine or even a neutral oil (like canola or vegetable) will work in a pinch, though butter gives the best flavor, IMO.
- Yogurt? Sour cream or buttermilk can totally step in. They’ll give you that same moistness.
- Sugar? Brown sugar adds a nice caramel note. You can also use a mix of granulated and brown sugar for extra depth.
- Flour? You could try a gluten-free blend, but results might vary. I haven’t personally tested this, so proceed with caution.
FAQ (Frequently Asked Questions)
Can I make this dairy-free?
Sure! Swap the yogurt for a thick, unsweetened plant-based yogurt (like coconut or soy) and use a dairy-free butter alternative or oil. Easy peasy.
My bananas aren’t very ripe. What should I do?
You can speed things up by baking your bananas (peel on, on a baking sheet) at 300°F (150°C) for about 15-20 minutes, until they’re soft and spotty. Just let them cool before mashing!
How do I know when it’s *really* done?
The toothpick test is your best friend here. If it comes out clean with no wet batter attached, you’re golden. A few moist crumbs are usually okay!
Can I freeze banana bread?
Absolutely! Once it’s completely cool, wrap it tightly in plastic wrap and then foil, or pop it in an airtight container. It should keep for a few months.
My loaf looks a little sunken in the middle. What happened?
This can happen if you opened the oven too early, underbaked it, or used too much leavening agent. Don’t fret, it’ll still taste amazing!
Can I add other fruits?
You bet! Blueberries, chopped apples, or even a swirl of raspberry jam can add extra deliciousness. Just don’t go overboard or it might get too wet.
Final Thoughts
And there you have it! Your ticket to the most wonderfully moist and ridiculously easy banana bread. Seriously, this recipe is foolproof, flavor-packed, and a total crowd-pleaser (even if the crowd is just you, which is totally valid). So go forth, bake with abandon, and enjoy every single delicious bite. Now go impress someone—or yourself—with your new culinary skills. You’ve earned it!

