So, you’re looking for the ultimate culinary hack that even your mini-humans won’t complain about, huh? Or maybe you just need a quick win in the kitchen before the hangry monster awakens? You’ve come to the right place, friend. Because today, we’re tackling the Everest of kid-friendly meals: The Sandwich. Get ready to feel like a kitchen wizard without actually doing any wizardry.
Why This Recipe is Awesome
Why bother with this sandwich recipe, you ask? Because it’s literally the MVP of kid-friendly meals. It’s so simple, even your goldfish could probably follow along (if it had opposable thumbs, obvs). No complicated steps, no obscure ingredients, just pure, unadulterated, edible joy. Plus, you get to feel like a domestic superhero for five glorious minutes. Win-win!
Ingredients You’ll Need
Gather your edible treasures! Here’s what you’ll need to assemble your masterpiece:
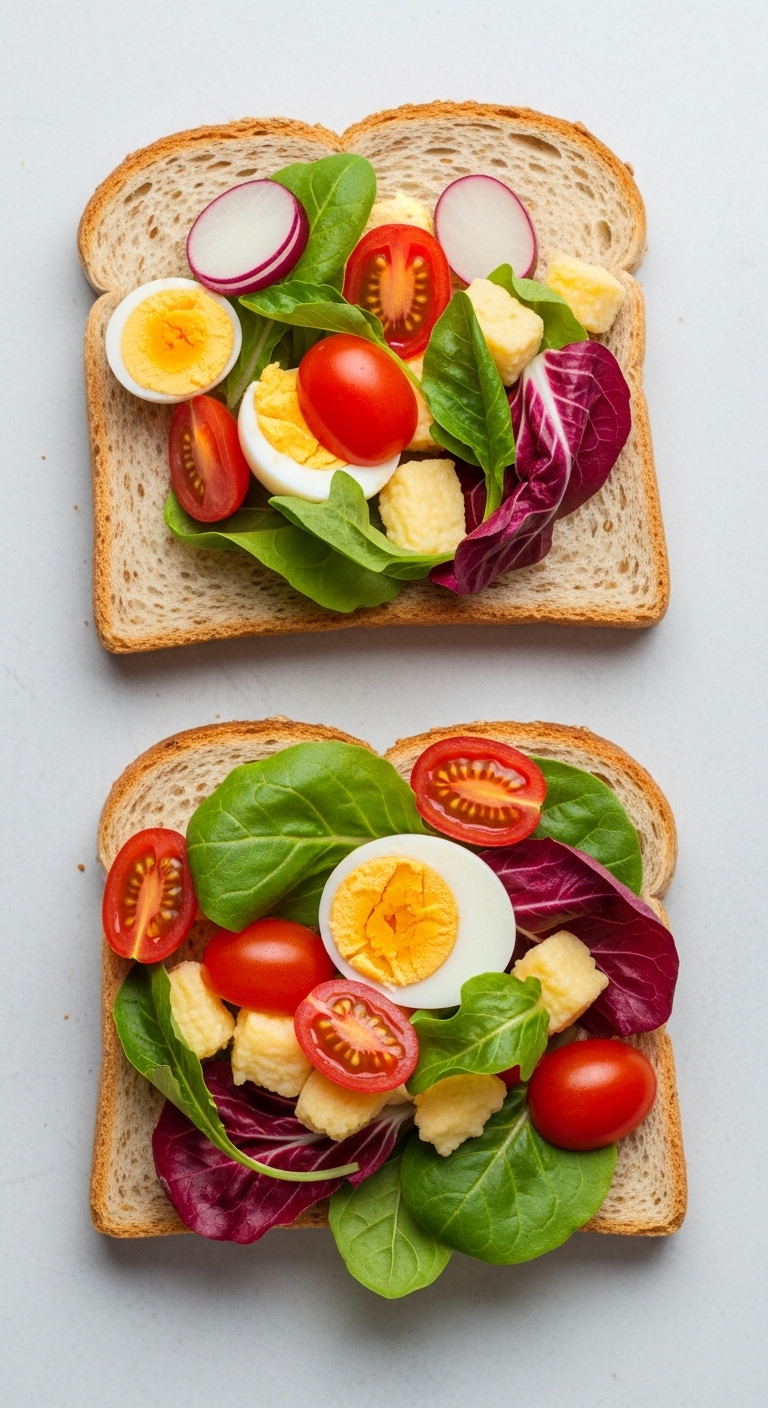
- Bread: The unsung hero! Pick their favorite – white, whole wheat, whatever floats their tiny boat. Two slices, please.
- Protein Powerhouse: Think deli meat (turkey, ham), peanut butter (the classic!), or even some mashed up chickpeas if you’re feeling fancy. About 2-3 slices or a good dollop.
- Cheesy Goodness (Optional but highly recommended): A slice of cheddar, Swiss, or whatever screams “yum” to your kiddo.
- Veggie Vibes (Optional, proceed with caution): A super thin slice of cucumber, a leaf of lettuce, maybe a sprinkle of grated carrot. Don’t push it, though. Baby steps.
- Condiment Magic: Mayo, mustard, cream cheese, or jam. Just a tiny smear, we’re not building a condiment mountain here.
Step-by-Step Instructions
- Grab Your Bread: Lay your two slices of bread flat on a clean surface. Think of them as blank canvases, waiting for their edible masterpiece.
- Spread the Love (or Condiment): Take one slice of bread and gently spread your chosen condiment on it. A little goes a long way, seriously. We’re aiming for flavor, not a slippery mess.
- Layer Up the Protein: Place your protein (deli meat, PB, etc.) evenly over one of the bread slices. Make sure it doesn’t hang off the edges like a culinary daredevil.
- Add the Cheese (If Using): Pop that slice of cheese on top of the protein. It’s like a delicious, melty blanket for your fillings.
- Sneak in Veggies (If Daring): If you’re feeling brave, gently place your chosen veggie on top. Remember, subtlety is key here.
- Top it Off: Carefully place the second slice of bread (the one with the condiment, if you used it there) on top of your glorious stack.
- Slice and Serve: Now for the fun part! Cut the sandwich into shapes – triangles, squares, or even use a cookie cutter if you’re feeling extra! Pro tip: cutting off the crusts usually gets rave reviews. Serve immediately to your hungry critics.
Common Mistakes to Avoid
Listen up, buttercup! Don’t fall into these common sandwich pitfalls:
- Over-stuffing: Don’t turn your sandwich into a Leaning Tower of Pisa! Too many fillings mean a messy, impossible-to-eat sandwich. Keep it balanced.
- Soggy Bread Syndrome: Using too much wet condiment or juicy veggies can make your bread a sad, soggy mess. Apply sparingly!
- Ignoring the Crust: Thinking kids will *actually* eat the crust? Bless your heart. While some do, most don’t. Just cut ’em off. Save yourself the heartache (and the food waste).
- Making it Too Complicated: This is a kid’s sandwich, not a gourmet culinary challenge. Keep it simple, familiar, and delicious.
Alternatives & Substitutions
Got a curveball? No worries, we’ve got options!
- Bread: No regular bread? Try mini bagels, tortillas (make a wrap!), or even pita bread. Get creative!
- Protein: Instead of deli meat, how about tuna salad (if they like it), hard-boiled egg slices, or even grilled chicken strips? For PB-allergies, sunflower seed butter is a great swap.
- Cheese: No sliced cheese? Grated cheese works in a pinch, or cream cheese as a spread!
- Veggies: Get sneaky! Grated carrots, finely chopped spinach mixed into cream cheese, or even fruit slices like banana or apple. A little creativity goes a long way.
FAQ (Frequently Asked Questions)
- “My kid only eats plain bread, what gives?” Patience, young Padawan. Start with just bread and one familiar filling, then slowly introduce new things. It’s a marathon, not a sprint.
- “Can I make these ahead of time?” You totally can, but FYI, some fillings (especially wet ones) can make the bread soggy. Best to make them fresh for peak deliciousness, but an hour or two in advance is usually fine!
- “What if my kid hates everything I put in it?” Welcome to parenting! Try letting them choose one ingredient. Empowerment can sometimes trick them into eating. 😉
- “Do I really need to cut off the crusts?” Do you *need* to? No. Will it increase your chances of a clean plate by 87.3% (totally scientific number, trust me)? Probably.
- “Is there a secret ingredient to make it irresistible?” Yep, it’s called love. And maybe a fun cookie cutter. But mostly love.
Final Thoughts
And there you have it, folks! Your very own, perfectly crafted, kid-approved sandwich. You’ve just conquered a mealtime challenge with minimal effort and maximum deliciousness. Now go impress someone—or yourself—with your new culinary skills. You’ve earned it! Maybe even make one for *yourself*. You deserve a win too!


