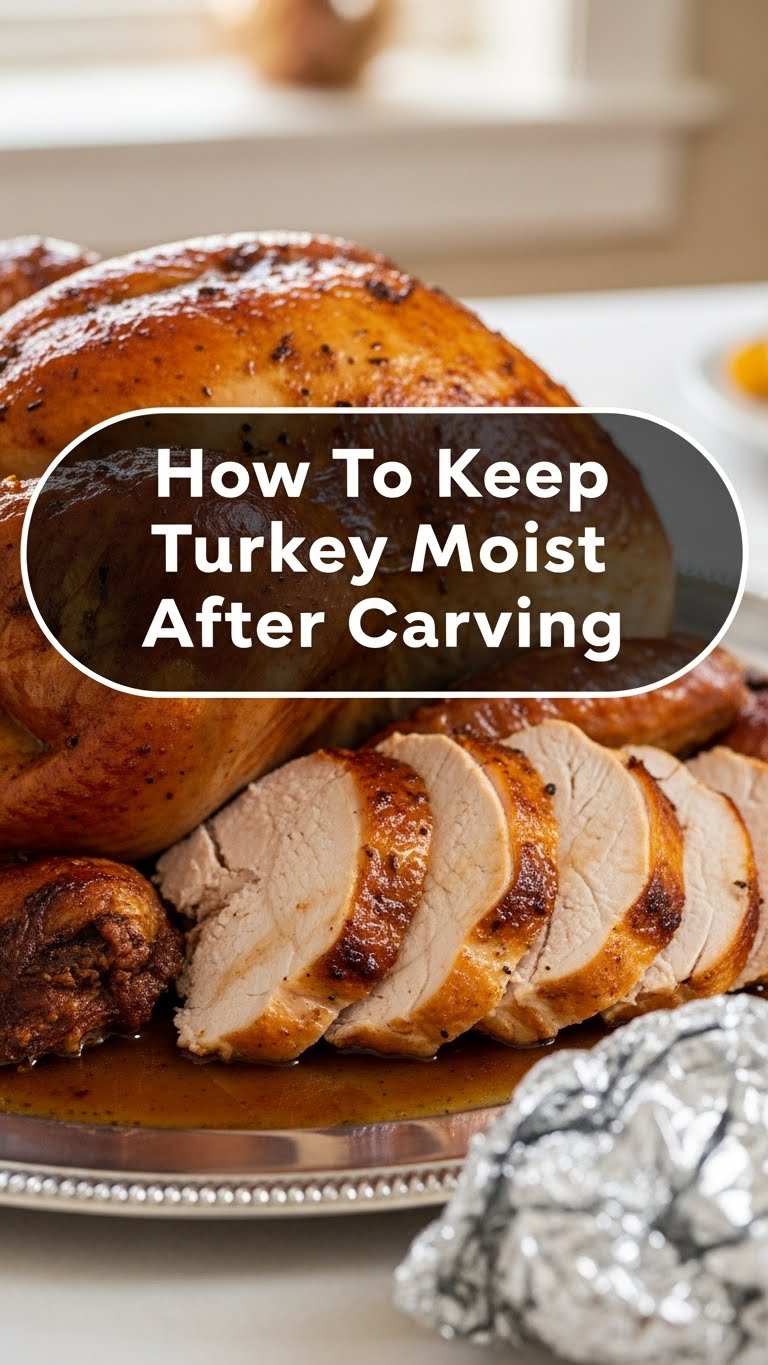
You know that glorious moment? The turkey’s perfectly roasted, golden brown, smelling like pure holiday magic. You carve it up, plates are ready, and then BAM! Your beautiful bird starts drying out faster than your uncle’s jokes after his third glass of eggnog. Especially those precious leftovers! We’ve all been there, staring at a plate of turkey that just… *exists* instead of tantalizes. Well, my friend, that culinary heartbreak ends today. Let’s reclaim the moistness!
Why This “Recipe” Is Your New Best Friend
Okay, calling this a “recipe” is like calling a superpower a “party trick.” It’s less a step-by-step cooking guide and more a secret weapon against the culinary tragedy of dry, sad turkey. This isn’t just about making your holiday meal sing; it’s about making your *leftovers* sing a full-on opera! No more choking down crumbly slices or drenching them in gravy just to make them edible. This technique is so gloriously simple, even your cat could probably do it (if cats cooked, which, thankfully, they don’t). It’s **idiot-proof**, I promise, because if I can keep turkey moist, so can you. IMHO, it’s a game-changer.
The “Ingredients” (aka Your Arsenal)
Alright, gather your troops! You don’t need a gourmet pantry for this; just a few basic things that are probably already lurking in your kitchen.
- **Your Beautifully Carved Turkey:** The star of the show, obviously. Sliced, not shredded (unless you’re making BBQ, then shred away, friend).
- **Turkey Drippings / Broth / Stock:** This is the *liquid gold*. If you roasted a whole turkey, you’ll have drippings. If not, store-bought low-sodium chicken or turkey broth works wonders.
- **Butter (Optional, but highly recommended):** A little pat of butter melted into your drippings or broth? *Chef’s kiss*. Adds an extra layer of lusciousness.
- **A Dish or Container with a Lid:** Something that can hold your turkey snugly. Glass, ceramic, or even a sturdy Tupperware.
- **Aluminum Foil / Plastic Wrap:** For that extra layer of protection, just in case your lid decides to be lazy.
- **A Spoon or Ladle:** For the magic drizzle!
The “How-To” (It’s Easier Than Building IKEA Furniture, I Swear)
No need for a culinary degree here, just follow these ridiculously simple steps:
- **Carve with Purpose:** Don’t just hack at it! Slice your turkey against the grain into uniform pieces, about 1/4 to 1/2 inch thick. This makes each piece super tender and ready to absorb all that lovely moisture.
- **Gather Your Liquid Gold:** While your turkey is resting (or even before you start carving), collect those precious pan drippings. If you don’t have enough, warm up some low-sodium chicken or turkey broth. Want to elevate it? Melt a tablespoon or two of butter into the warm broth/drippings.
- **Bathe Your Bird:** As you carve each slice, lay it directly into your serving dish or storage container. Now, here’s the magic trick: **drizzle a generous spoonful of your warm drippings/broth over each layer of turkey.** Don’t drown it, but make sure every slice gets a little love.
- **Layer it Up:** Continue layering turkey slices and drizzling with your moistening liquid until all your turkey is in the container. Make sure the top layer is also nicely coated.
- **Cover and Conquer:** Immediately cover your container *tightly* with its lid and/or aluminum foil. The goal is to trap all that steam and moisture inside. This keeps the turkey warm and prevents it from drying out further.
- **Store Smart:** If you’re not serving immediately, pop that covered container in the fridge as soon as it cools down a bit. When reheating, gently warm it up, still covered, either in the oven or microwave. The trapped moisture will do its job!
Oopsie-Daisy! Common Mistakes to Sidestep
We all make ’em, but here’s how to avoid turning your moist masterpiece into a dry disaster:
- **Leaving it Out in the Open:** This is the cardinal sin! Don’t let your carved turkey sit exposed to the harsh, moisture-sucking air. It’s like leaving your ice cream out on a summer day – sad and melting.
- **Skimping on the Liquid:** Thinking you can get away with just a few drops of broth? **Think again!** Be generous with that liquid gold. It’s the whole point, friend.
- **Carving Too Early:** Patience, grasshopper! Carve the turkey when you’re ready to serve or store. The longer it sits carved and uncovered, the faster it dries.
- **Over-Reheating:** Nuking your turkey until it’s sizzling is a one-way ticket to tough town. Reheat gently, and always keep it covered to retain steam.
- **Not Covering Tightly:** A loose lid or poorly wrapped foil is basically an open invitation for moisture to escape. Seal it up like you’re trying to hide cookies from your kids (or yourself).
Mix It Up! Alternatives & Substitutions
No drippings? No problem! This technique is super flexible, because life happens, right?
- **No Turkey Drippings?** Use **chicken or vegetable broth**! Low-sodium is your best bet so you can control the saltiness. Honestly, a good quality chicken broth can be just as amazing.
- **No Butter?** A tiny splash of **olive oil** can add a little richness to your broth. Or just skip it entirely; the broth alone still works wonders. Don’t let the lack of butter stop your moist turkey dreams!
- **Feeling Fancy?** Add a sprig of fresh rosemary, thyme, or a bay leaf to your warming broth for extra aroma and flavor. A splash of dry white wine can also give it a gourmet kick.
- **Gravy Galore:** If you’ve got extra gravy, that’s an *excellent* moistening agent! Just make sure it’s not too thick, or thin it slightly with some broth. Yum!
The “Wait, What If…?” FAQ Corner
Got questions? I’ve got (casual) answers!
- **”Can I just dunk the entire carved turkey in water?”** LOL, no, please don’t! That’s how you get soggy, flavorless turkey. We’re going for moist and delicious, not waterlogged.
- **”How long does this magic moistness last in the fridge?”** Generally, your turkey will stay gloriously moist for about **3-4 days** when stored properly in the fridge. Perfect for those post-holiday sandwiches!
- **”What if my turkey was already dry to begin with?”** Okay, even this magic can’t perform miracles on a turkey that was petrified from the start. But it *will* significantly improve its texture and make it way more palatable. Think of it as rehab for sad turkey.
- **”Can I use store-bought gravy instead of broth?”** Heck yes, you can! Just make sure it’s a good quality gravy, and maybe thin it a little if it’s super thick. It adds even more flavor!
- **”Does this method work for chicken or other poultry too?”** Absolutely! This technique is a universal hero for keeping any cooked poultry from becoming a desert. Go forth and moisten all the things!
- **”Should I reheat it covered or uncovered?”** Always, always, **always reheat it covered!** That’s how you keep all that beautiful steam and moisture locked in. Uncovered reheating is basically asking for a dry-out disaster.
- **”Will my cold turkey sandwiches still be good and moist?”** YES! This is why we do this, my friend. No more sad, dry cold turkey sandwiches. You’re welcome.
My Final Pep Talk (Because You’re Awesome)
And there you have it, folks! The secret weapon against dry turkey, revealed! No more bland, crumbly leftovers for you. You’re now equipped to serve up juicy, tender turkey, whether it’s for the main event or those glorious next-day sandwiches. This isn’t just a technique; it’s a lifestyle change for your holiday meals. So go forth, impress your family, your friends, or just yourself (you deserve it!). You’ve totally got this. Now, if you’ll excuse me, I suddenly have a craving for turkey…


