Ever pull a fresh batch of chocolate chip cookies out of the oven, only to find they’ve morphed into a single, flat, sad-looking giant cookie puddle? Been there, wept into my milk. It’s like they had one job, one simple, delicious job, and they decided to stage a protest against gravity and form. Well, my friend, the war on flat cookies ends today. We’re about to dive into the secrets of keeping those glorious dough mounds plump, proud, and perfectly chewy.
Why This Recipe is Awesome
This isn’t just a recipe; it’s a cookie manifesto. It’s for anyone who’s ever felt personally victimized by a spreading cookie. We’re talking about tips and tricks that will transform your baking game from “eh, edible” to “OMG, you made these?!” It’s simple, shockingly effective, and honestly, if I can follow these steps without summoning a kitchen disaster, so can you. Consider this your cheat code to cookie perfection, guaranteeing thick, chewy centers and slightly crispy edges, every single time. No more cookie pancakes, just pure, unadulterated cookie joy.
Ingredients You’ll Need
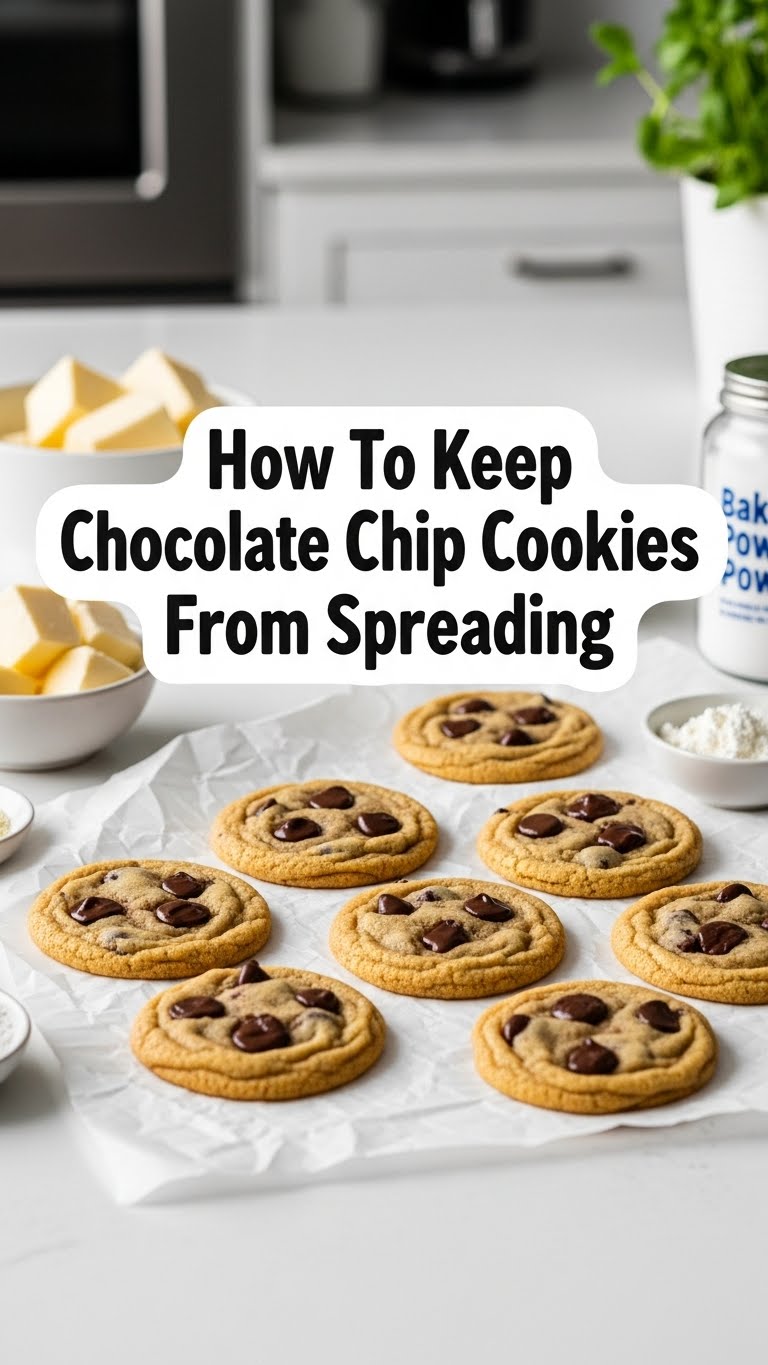
- **1 cup (2 sticks) Unsalted Butter, COLD and cubed:** Yes, cold. This is non-negotiable for our anti-spread mission.
- **3/4 cup Granulated Sugar:** The sweet stuff.
- **3/4 cup Packed Light Brown Sugar:** The chewy stuff. Gives ’em depth.
- **2 large Eggs:** Room temperature, please. They mix better.
- **2 1/4 cups All-Purpose Flour:** The structural integrity of our cookies. Don’t eyeball this.
- **1 teaspoon Baking Soda:** Just enough to lift, not to spread.
- **1 teaspoon Salt:** Because every sweet treat needs a little salty counterpart.
- **1 1/2 cups Chocolate Chips:** Your choice! Semisweet, milk, dark – live your best life.
- **Optional: 1 teaspoon Vanilla Extract:** Adds that extra hug of flavor.
Step-by-Step Instructions
- **Cream the Butter & Sugars (The Cold Way):** Grab your stand mixer (or a trusty hand mixer) and your cubed, cold butter. Beat it on medium speed until it’s creamy but still holds its shape, about 2-3 minutes. Add both sugars and continue beating for another 2-3 minutes until the mixture is light and fluffy. Don’t overdo it, or you’ll warm up that precious butter too much.
- **Add Eggs and Vanilla:** Crack in your room-temp eggs, one at a time, mixing well after each addition. Stir in the vanilla extract (if using). Scrape down the sides of the bowl to make sure everything’s incorporated.
- **Whisk the Dry Stuff:** In a separate medium bowl, whisk together the flour, baking soda, and salt. This ensures even distribution and no surprise pockets of salt.
- **Combine Wet & Dry (Gently!):** Gradually add the dry ingredients to the wet ingredients, mixing on low speed. **Stop mixing as soon as the flour disappears.** Over-mixing develops gluten, leading to tougher cookies and sometimes more spreading. We’re aiming for just combined.
- **Fold in Chocolate Chips:** Gently fold in your glorious chocolate chips by hand. A spatula works wonders here.
- **The Crucial Chill Factor:** This is **key** to preventing spread. Cover your dough bowl tightly with plastic wrap and refrigerate for at least **2-3 hours**, or even overnight. Seriously, don’t skip this. Cold dough means the fat stays solid longer in the oven, giving your cookies structure.
- **Preheat & Prep:** When you’re ready to bake, preheat your oven to **375°F (190°C)**. Line baking sheets with parchment paper or silicone mats. This helps prevent sticking and promotes even baking.
- **Scoop ‘Em High:** Use a cookie scoop (about 1.5-2 tablespoons) to portion your chilled dough. Scoop tall, not flat. If your dough balls are too flat, they’re already halfway to spreading. Place them about 2 inches apart on your prepared baking sheets.
- **Bake ‘Em Up:** Bake for 9-12 minutes, or until the edges are golden brown and the centers are still slightly soft. They’ll continue to set up as they cool. Don’t overcrowd the baking sheet, BTW. Give those cookies some space!
- **Cool & Enjoy:** Let the cookies cool on the baking sheet for 5 minutes before transferring them to a wire rack to cool completely. Or, you know, eat one warm. I won’t tell.
Common Mistakes to Avoid
- **Warm/Melted Butter:** This is the #1 culprit for spreading cookies. If your butter is too soft or, heaven forbid, melted, your cookies are basically doomed to spread into oblivion. Always use **cold butter**, folks!
- **Not Chilling the Dough:** Skipping the chill time is like skipping leg day—you’ll regret it. Cold dough holds its shape better. It’s science!
- **Too Little Flour:** If you’re scooping your flour directly from the bag with a measuring cup, you’re likely using too much (it packs down). If you’re measuring by volume and not using enough, your dough won’t have the structure to stand up to the heat. Use the “spoon and level” method, or better yet, weigh it!
- **Over-Mixing the Dough:** Once you add the flour, mix just until combined. Over-mixing develops gluten, which can lead to tough cookies and, you guessed it, more spreading.
- **Greasing Your Baking Sheet (too much):** If you’re using parchment paper or silicone mats, you don’t need extra grease. Too much grease on the sheet can make cookies slip and spread.
Alternatives & Substitutions
- **Butter vs. Shortening:** While butter provides amazing flavor, shortening has a higher melting point, making for even less spread. If you’re desperate for zero spread, you can substitute half the butter with shortening. Just be aware, you’ll lose a little of that signature buttery flavor. IMO, butter is king, but you do you.
- **Brown Sugar vs. Granulated Sugar:** If you’re low on one, you can swap them one-for-one. However, brown sugar adds chewiness and moisture, while granulated sugar makes them crispier. Adjust to your texture preference!
- **Different Flours:** Stick with all-purpose flour for this recipe. Using cake flour or bread flour will change the texture significantly and might mess with the spread factor.
- **Chocolate Chips vs. Chunks:** Feel free to swap! Chunks will give you bigger pockets of melty chocolate goodness.
FAQ (Frequently Asked Questions)
- **Why do my cookies always spread so much?** Good question, detective! It’s usually a combination of warm butter, too little flour, and not chilling your dough. Also, too much baking soda can make them spread more than rise.
- **How long should I chill the dough, really?** Honestly? At least 2-3 hours. Overnight is even better. The longer it chills, the more the flavors meld, and the less likely they are to spread. Think of it as a beauty sleep for your cookies.
- **Can I skip chilling the dough if I’m in a hurry?** Well, technically yes, but why hurt your soul like that? If you absolutely MUST, try freezing the scooped dough balls for 15-20 minutes instead. It’s a decent workaround, but the full chill is superior.
- **Does baking soda or baking powder make a difference?** Absolutely! Baking soda (which reacts with acid, like brown sugar) helps cookies spread out and brown. Baking powder (which reacts with liquid AND heat) gives a bit more lift and less spread. For this recipe, stick to the baking soda for that classic chew and slight spread.
- **My cookies are still spreading a little, what now?** Pro tip: if you see them spreading too much about 6-7 minutes into baking, open the oven, and gently use the back of a spoon or a round cookie cutter (a little bigger than your cookie) to gently push the edges back in. It works wonders!
Final Thoughts
So there you have it, your comprehensive guide to conquering the dreaded cookie spread! You’re now equipped with the knowledge and the power to bake perfectly thick, chewy, and utterly irresistible chocolate chip cookies. Go forth, my friend, and bake with confidence! Now go impress someone—or yourself—with your new culinary skills. You’ve earned it!


