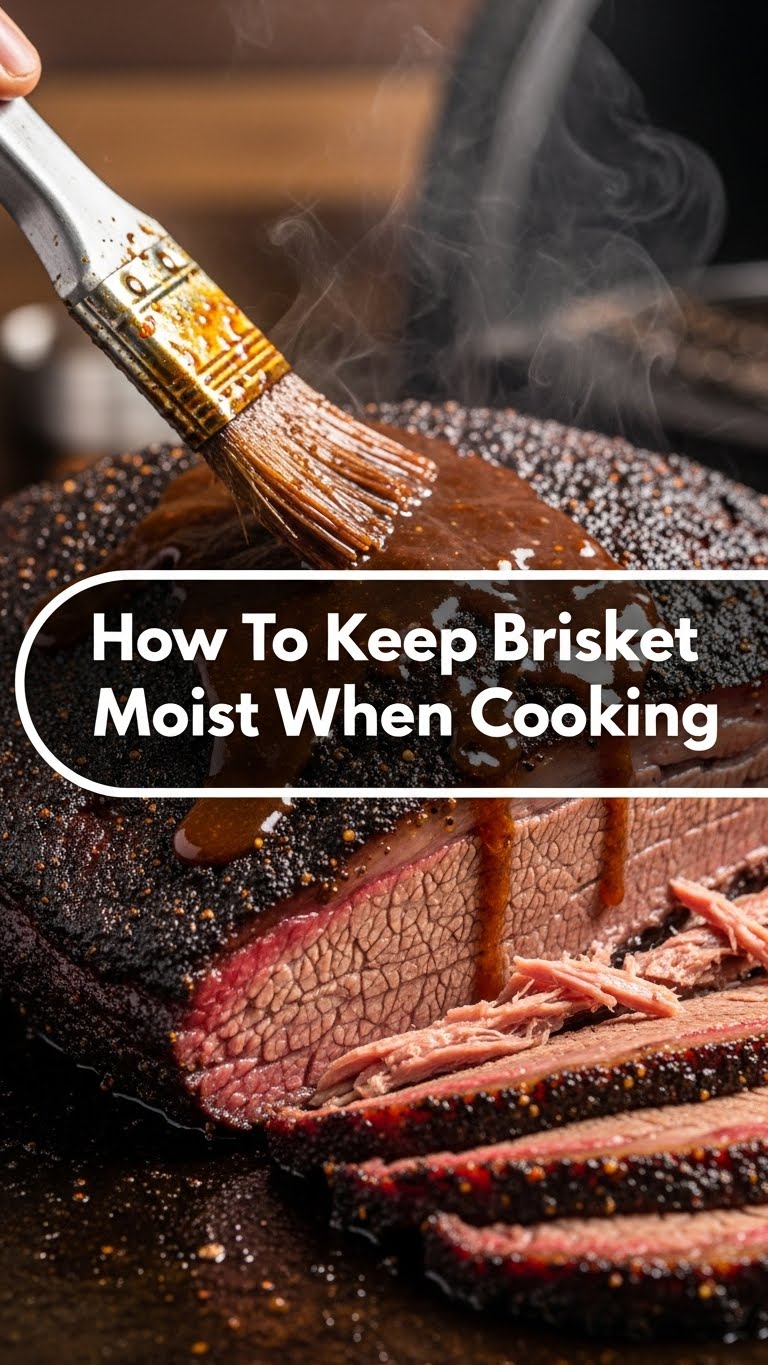
So, you’ve stared down a glorious hunk of brisket, dreamt of juicy, melt-in-your-mouth perfection, and then… ended up with something that could double as a fancy shoe sole? Been there, friend. It’s a tragedy! But fear not, because today we’re unlocking the secrets to brisket so moist, it’ll make you weep happy, meaty tears. Get ready to impress everyone (especially yourself) with your newfound brisket wizardry!
Why This Technique is Awesome
Because nobody, and I mean *nobody*, wants a dry brisket! This isn’t just about cooking; it’s about culinary redemption and achieving peak meat enlightenment. We’re talking melt-in-your-mouth tenderness, a bark that crunches just right, and juices that flow like a river of deliciousness. Once you nail these moisture-retaining moves, you’ll be the undisputed pitmaster of your friend group. Instant bragging rights, folks! Plus, it’s way more satisfying than solving a Rubik’s Cube, IMO.
Ingredients (aka Tools for Success) You’ll Need
Okay, “ingredients” here are more like “your essential sidekicks” because the true star is that magnificent hunk of beef!
- The Brisket: A whole packer, ideally. That means both the “flat” and the glorious, fatty “point.” Fat cap on, obviously. (No, seriously, don’t trim it all off! It’s insulation AND flavor!)
- Your Favorite Rub: Go wild with a store-bought blend, or keep it classic with just coarse salt and black pepper. Whatever makes your taste buds sing.
- Liquid of Choice: For spritzing or a water pan. Think beef broth, apple cider vinegar, beer, or even just water.
- Foil or Butcher Paper: Your brisket’s personal spa treatment wrap.
- A Reliable Meat Thermometer: Absolutely non-negotiable. Unless you’re a mind-reading brisket whisperer, this is your best friend.
- Patience: Not edible, but totally essential.
Step-by-Step Instructions
- Trim Smart, Not Hard: Don’t remove all that glorious fat cap! Trim it down to about a quarter-inch thick. This fat renders down, keeping the meat moist and adding incredible flavor. Remove any hard, internal fat.
- Rub-a-Dub-Dub: Apply your chosen rub generously all over the brisket. Don’t be shy! For best results, let it sit in the fridge for a few hours, or even overnight, to really let those flavors penetrate.
- Low and Slow is the Flow: Whether in a smoker or an oven, keep your temperature consistent and low. Think 225-275°F (107-135°C). This allows the connective tissues to slowly break down, making the meat tender and juicy.
- Moisture Management (Spritzing or Water Pan): If using a smoker, start spritzing your brisket every hour or so after the first few hours with your liquid of choice. This helps keep the surface moist and encourages bark formation. If using an oven, a pan of water placed inside can also add helpful humidity to the cooking environment.
- The Stall & The Wrap: Around 150-165°F (65-74°C), your brisket will hit “the stall.” The temperature stops rising. This is when you wrap it up! Use butcher paper or heavy-duty foil. This traps moisture and helps push it through the stall.
- Cook to Temp, Not Time: Continue cooking until the internal temperature reaches 200-205°F (93-96°C) and the brisket feels “probe tender” (the thermometer should slide in with little to no resistance, like pushing it into warm butter).
- Rest, You Deserve It (and so does the Brisket!): This is arguably the most crucial step for moisture! Once it hits temp, take it off the heat (still wrapped!). Wrap it again in a towel and place it in a cooler for at least 1-2 hours, or even longer (up to 4 hours is fine). This allows the juices to redistribute throughout the meat, preventing them from gushing out when you slice. Seriously, don’t skip the rest!
Common Mistakes to Avoid
- Over-Trimming the Fat: That fat cap is your brisket’s best friend. Don’t go crazy with the knife. A quarter-inch is perfect.
- Cooking Too Hot or Too Fast: Brisket is not a sprint; it’s a marathon. High temps lead to dry, tough meat. Embrace the low and slow.
- Not Wrapping (or Wrapping Too Soon): Wrapping helps it power through the stall and locks in precious moisture. Wait until the bark has set (around the stall temperature).
- Skipping the Rest: We cannot stress this enough. Cutting into a hot brisket immediately is a crime against juiciness. Give it a nap!
- Cutting Against the Grain (Eventually): While not directly about moisture *during* cooking, slicing incorrectly (with the grain) makes even the juiciest brisket seem tough. Know your grain!
Alternatives & Substitutions
- No Smoker? No Problem! Your oven can totally be your brisket’s bestie. Just ensure consistent low temps and follow the wrapping and resting steps. You won’t get the smoky flavor, but you’ll get the tenderness!
- Foil vs. Butcher Paper: Both work great for wrapping. Butcher paper allows a little more airflow, which some pitmasters say helps maintain a better bark. Foil traps all the steam and juices for maximum moisture. Try both and see what you prefer!
- Spritz Liquid: Don’t have beef broth? Apple juice, coffee, dark beer, or even just water can be used for spritzing or in your water pan. Each adds a slightly different nuance.
FAQ (Frequently Asked Questions)
- Do I really *need* a thermometer? Yes, unless you’re a seasoned brisket whisperer with telepathic meat-reading abilities. Guessing temperatures is a surefire way to a dry disaster.
- Can I use a leaner cut? Sure, if you enjoy dry, chewy disappointment! Stick to a whole packer or at least a fatty point cut for the best results. Lean brisket is a fast track to regret.
- What’s ‘the stall’? It’s your brisket throwing a temperature tantrum. The evaporative cooling off the surface causes the internal temp to plateau. It’s normal, just wrap it up and keep going!
- How long should I rest it? Longer than you think, probably! At least an hour, but seriously, two is often better. For a big brisket, you can comfortably rest it for 3-4 hours in a well-insulated cooler.
- Foil or butcher paper for wrapping? Which is better? Butcher paper lets it “breathe” a bit more, which can lead to a slightly firmer bark. Foil is a classic for a reason, though, creating a steamy environment that traps every last drop of juice. It’s a personal preference, honestly.
- What if my brisket still comes out dry? Did you read **all** the steps, friend? Go back and double-check that resting time and your final internal temperature. Undercooking or not resting enough are common culprits.
Final Thoughts
There you have it, folks! The blueprint for brisket brilliance and juicy success. Now go forth, conquer that beast of a cut, and bask in the glory of perfectly moist, tender brisket. Your taste buds (and your friends) will thank you for this culinary triumph. You’re basically a pro now, so own it! You’ve earned those happy, meaty tears. Now go impress someone—or yourself—with your new culinary skills. Happy cooking!

