So you’re craving something warm, gooey, and chocolatey but your significant other (or just your hungry self) is giving you the side-eye for ordering takeout again? Been there, friend. And guess what? I’ve got your back with a recipe so easy, it practically makes itself, leaving you more time for important things, like binging Netflix.
Why This Recipe is Awesome
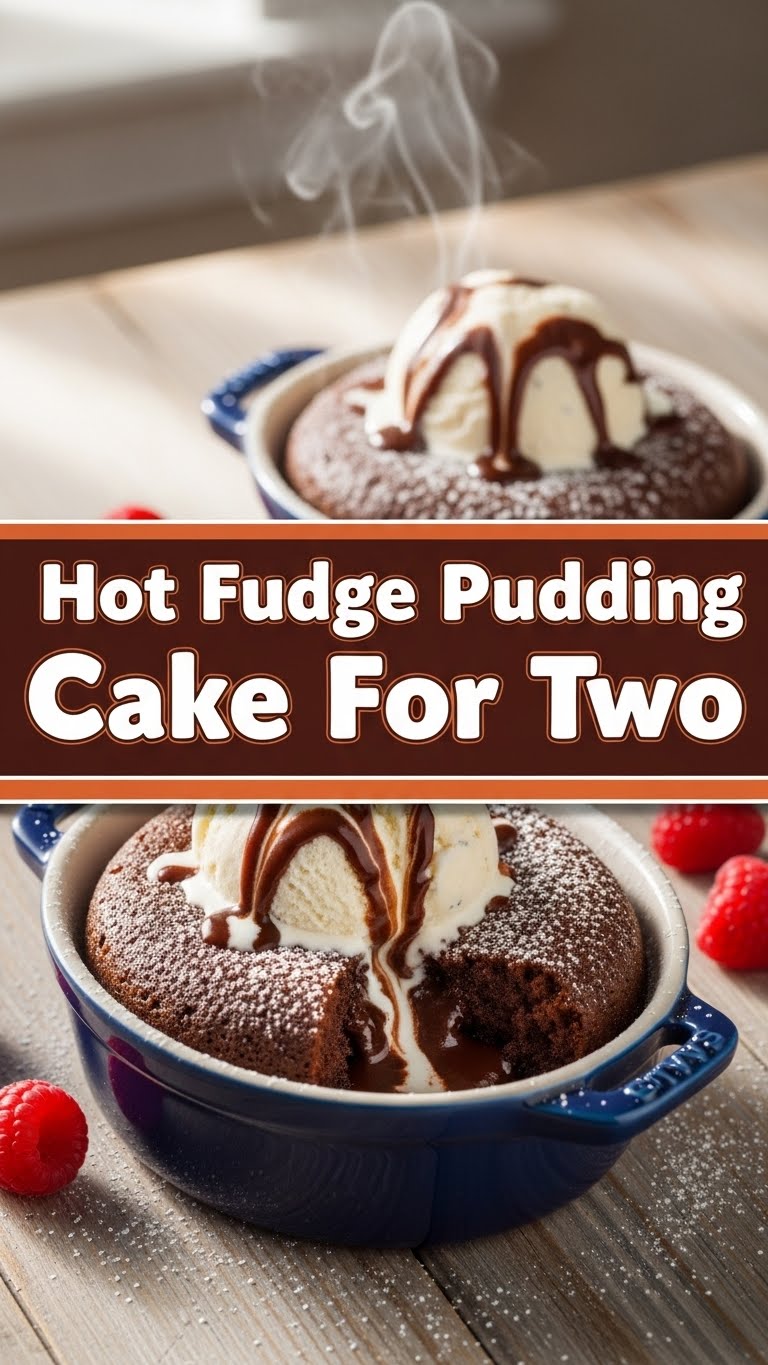
Seriously, this isn’t some complicated dessert requiring a pastry degree. This Hot Fudge Pudding Cake is for us, the “I-want-dessert-now” crowd who appreciate magic in a mug (or ramekin, in this case). Plus, the hot fudge *makes itself*. Yeah, you heard me. It’s like a culinary parlor trick, but instead of cards, you get two individual servings of chocolatey goodness, complete with a self-saucing bottom layer.
It’s quick, uses minimal dishes (score!), and is perfectly portioned for two, so no massive leftovers or guilt trips. **Even I didn’t mess it up**, and my kitchen sometimes looks like a war zone after a “simple” meal.
Ingredients You’ll Need
Okay, gather ’round, buttercup, because these are probably already lurking in your pantry. No fancy unicorn tears required.
- **All-Purpose Flour:** 1/2 cup. Just the regular stuff. Don’t overthink it.
- **Granulated Sugar:** 1/4 cup. Sweetness!
- **Unsweetened Cocoa Powder:** 2 tablespoons (for the cake). The darker the better for that deep chocolatey vibe. Skip the Nesquik, we’re making *cake*.
- **Baking Powder:** 1 teaspoon. Our lift-off secret weapon.
- **Salt:** 1/8 teaspoon. Just a pinch, to make everything else sing.
- **Milk:** 1/4 cup. Any kind, really. Whole, skim, almond… whatever floats your boat (or cake).
- **Melted Unsalted Butter:** 2 tablespoons. Because butter makes everything better. Fight me.
- **Vanilla Extract:** 1/2 teaspoon. A splash of warmth.
- **Light Brown Sugar:** 1/4 cup (for the magical topping).
- **More Unsweetened Cocoa Powder:** 2 tablespoons (for the topping). Yes, more. We’re serious about the chocolate here.
- **Hot Water:** 1/2 cup. The unsung hero that creates the luscious fudge sauce.
Step-by-Step Instructions
Ready to channel your inner chef (without the stressful yelling)? Let’s do this!
- **Get Hot:** Preheat your oven to 350°F (175°C). While it’s warming up, lightly grease two small ramekins or oven-safe mugs.
- **Dry Cake Party:** In a medium bowl, whisk together the flour, granulated sugar, the first measure of cocoa powder, baking powder, and salt. Make sure there are no lumpy bits trying to hide.
- **Wet Cake Whistle:** In a separate smaller bowl, whisk together the milk, melted butter, and vanilla extract. This is the good stuff.
- **Marry Them Up:** Pour the wet ingredients into the dry ingredients. Mix until *just* combined. **Don’t overmix**, or you’ll end up with a hockey puck instead of cake. A few lumps are totally fine.
- **Divide & Conquer:** Spoon the batter evenly into your two prepared ramekins. They’ll look a little sad and sparse, but trust the process.
- **Topping Time (The Magic Part):** In a small bowl, combine the brown sugar and the *other* dose of cocoa powder. Mix them well so they’re BFFs.
- **Sprinkle Sprinkle:** Evenly sprinkle this brown sugar-cocoa mixture over the top of the cake batter in both ramekins. Don’t stir it in!
- **The Grand Finale:** Carefully pour the hot water over the top of the sugar-cocoa layer in each ramekin. Again, **do not stir**. This is where the magic happens, transforming into fudge sauce as it bakes.
- **Bake It Baby:** Pop those ramekins into your preheated oven. Bake for 25-30 minutes, or until the cake tops are set and the sauce is bubbly beneath.
- **Cool Down (a little):** Let them cool for a few minutes before diving in. Trust me, molten lava cake is not fun on the tongue. Serve warm with ice cream, because why not?
Common Mistakes to Avoid
We all make mistakes, darling, but let’s try to avoid these rookie errors that could ruin your dessert dreams.
- **Overmixing the Batter:** I said it once, I’ll say it again: **overmixing develops gluten**, making your cake tough. Mix until *just* combined. Lumps are character!
- **Stirring the Topping/Water Layer:** This is the most crucial step! **Do NOT stir after you’ve added the brown sugar mixture or the hot water.** The layers need to stay separate for the sauce to form properly underneath. If you stir, you just get a messy cake.
- **Forgetting to Grease the Ramekins:** A sticky situation, literally. A little butter or non-stick spray goes a long way to ensure easy scooping (or eating right out of the dish, no judgment).
- **Not Using Hot Water for the Sauce:** Lukewarm or cold water won’t activate the magic properly. **Hot water is key** for that bubbling, self-saucing goodness.
Alternatives & Substitutions
Feeling rebellious? Want to jazz it up? Here are some ideas, because rules were made to be bent (especially in the kitchen).
- **Milk Matters (or not):** You can use almond milk, oat milk, soy milk, or even just water if you’re in a pinch. The flavor might shift slightly, but the structural integrity will hold.
- **Butter Swap:** Ran out of butter? A neutral oil like vegetable or canola oil can work for the cake batter, but the butter really does add that *chef’s kiss* flavor. **Don’t swap for the topping though**, that’s just cocoa and sugar.
- **Spice it Up:** A pinch of cinnamon or a tiny dash of cayenne pepper (seriously, just a tiny bit) in the cake batter can add an unexpected depth. Ooh la la!
- **Chocolate Chip Overload:** Throw a handful of chocolate chips into the cake batter before dividing it. Because more chocolate is always a good idea, IMO.
FAQ (Frequently Asked Questions)
Got questions? I’ve got (mostly) sarcastic answers!
- **Can I make this ahead of time?** You *could* assemble everything and then pour the hot water just before baking, but honestly, it’s so quick to whip up fresh, why bother? Freshly baked is always best, right?
- **Can I double this recipe?** Absolutely! Just use four ramekins instead of two. Or, if you’re feeling extra greedy, two for you, two for your “friend.”
- **What if I don’t have ramekins?** No worries! Any oven-safe mug or small baking dish (like 10-12 oz capacity) will work. Just make sure it can handle the heat.
- **Can I use a larger baking dish instead of individual ramekins?** You can, but the baking time will change, and you might lose some of that awesome gooey-center-to-crispy-edge ratio. Plus, sharing one dish? That’s just asking for a spoon fight.
- **Can I use Dutch process cocoa?** For sure! Dutch process cocoa is less acidic, resulting in a darker, less bitter chocolate flavor. It might affect the rise slightly since this recipe uses baking powder, but it won’t be a disaster. **Go for it if that’s what you have!**
- **My sauce isn’t very thick, what happened?** Did you use *hot* water? Did you stir? Those are the usual culprits. Also, sometimes it just needs a few minutes to set up a bit after coming out of the oven. Patience, young Padawan.
Final Thoughts
So there you have it, folks! Your new go-to dessert for when you need something impressive (but secretly super easy) for a cozy night in. Go forth and conquer those cravings. You’ve earned this moment of chocolatey bliss. Now go impress someone—or just yourself—with your new culinary skills. **You’ve earned it!** And hey, if you accidentally eat both, I won’t tell. Pinky promise.


