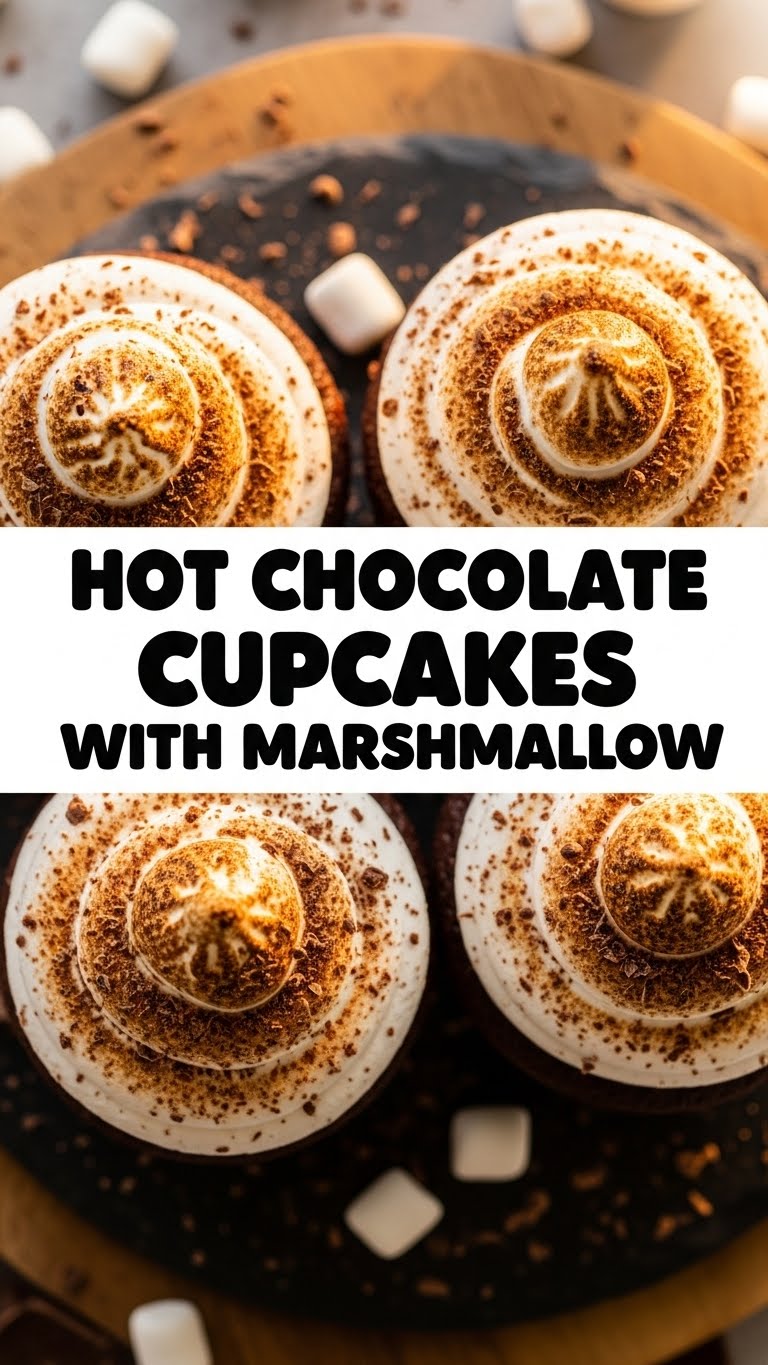
So, you’re craving something tasty but too lazy to spend forever in the kitchen, huh? Same, my friend, *same*. We’ve all been there, staring into the abyss of our fridge, wondering if a cheese string counts as dinner (it totally does, btw). But today, we’re leveling up with minimal effort and maximum deliciousness. Get ready to have your mind (and taste buds) blown with these Hot Chocolate Cupcakes with Marshmallow. It’s like a warm hug in cupcake form, but without the awkward small talk.
Why This Recipe is Awesome
Let’s be real, life is complicated enough without recipes that require a chemistry degree and a rare spice found only in the deepest Amazonian jungles. This recipe? It’s **idiot-proof**. Seriously, I made it, and I usually burn water. It’s quick, simple, and uses ingredients you probably already have lurking in your pantry. Plus, it combines two of the best things on earth: hot chocolate and marshmallows. Think about it: a fluffy, chocolatey cupcake topped with a dreamy chocolate buttercream, then crowned with toasted marshmallows. It’s basically a winter wonderland in your mouth, even if it’s 90 degrees outside. And guess what? No fancy equipment needed. Just a bowl, a whisk, and your undying love for all things sweet. If you want to impress someone without actually trying too hard, this is your secret weapon.
Ingredients You’ll Need
Alright, gather your squad of deliciousness. Here’s what you’ll need to transform into a baking superstar:
- All-purpose flour: Because who has “cake flour” just lying around? Not me, that’s for sure.
- Granulated sugar: The sweet stuff that makes everything better.
- Unsweetened cocoa powder: The darker, the better, for that deep chocolatey goodness.
- Baking soda & baking powder: Our dynamic duo for fluffy cupcakes. Don’t skip ’em!
- Salt: A pinch makes the chocolate flavor pop!
- Large eggs: Room temperature, if you’re feeling fancy (but cold works too, don’t stress).
- Milk: Any kind works, but whole milk makes them extra rich.
- Vegetable oil: Or any neutral oil. Keeps ’em moist!
- Vanilla extract: The MVP of flavor. Don’t be shy!
- Hot water or coffee: This is our secret weapon for super moist cupcakes. Trust me on this.
For the Frosting & Topping:
- Unsalted butter: Softened, because cold butter is the enemy of smooth frosting.
- Powdered sugar (confectioners’ sugar): Sifted, unless you like lumpy frosting (you don’t).
- Unsweetened cocoa powder: More chocolate, because why not?
- Milk or heavy cream: For that perfect creamy consistency.
- Vanilla extract: Again, can’t get enough.
- Marshmallows: Mini or regular, depends on how dramatic you want your topping to be.
Step-by-Step Instructions
Let’s get this party started! Follow these super simple steps, and you’ll be munching on these beauties in no time.
- Preheat & Prep: First things first, crank up your oven to 350°F (175°C). Line a 12-cup muffin pan with cupcake liners. You don’t want your masterpiece sticking, do you?
- Mix the Dry: In a large bowl, whisk together your flour, sugar, cocoa powder, baking soda, baking powder, and salt. Make sure there are no lumpy bits.
- Combine the Wet: In another bowl, whisk together the eggs, milk, oil, and vanilla extract. Give it a good swirl until everything is happy together.
- Marry Them Up: Pour the wet ingredients into the dry ingredients. Mix with a spatula or whisk until *just* combined. **Do not overmix!** A few small lumps are totally fine.
- Add the Hot Stuff: Carefully pour in the hot water (or coffee, if you’re feeling adventurous) and mix until the batter is smooth. It will be thin, and that’s perfectly normal. This is where the magic happens for moistness!
- Fill ‘Em Up: Divide the batter evenly among the 12 cupcake liners, filling each about two-thirds full.
- Bake ‘Em Pretty: Pop the pan into your preheated oven and bake for 18-22 minutes, or until a toothpick inserted into the center of a cupcake comes out clean.
- Cool Down: Let the cupcakes chill in the pan for 5 minutes, then transfer them to a wire rack to cool completely. Don’t rush this part; warm frosting on warm cupcakes is a melty disaster.
- Whip Up Frosting: While the cupcakes are cooling, beat the softened butter in a medium bowl until creamy. Gradually add the powdered sugar, cocoa powder, milk/cream, and vanilla extract. Beat until smooth and fluffy. Add more milk if it’s too thick, or more sugar if it’s too thin.
- Frost & Toast: Once the cupcakes are completely cool, frost each one with a generous swirl of chocolate buttercream. Top each cupcake with a few marshmallows. If you have a kitchen torch, gently toast the marshmallows until golden brown and gooey. No torch? A quick 30-second blast under the broiler (watch them like a hawk!) works too.
Common Mistakes to Avoid
Listen, we all make mistakes. It’s part of the human (and baking) experience. But here are a few rookie errors to steer clear of:
- Thinking you don’t need to preheat the oven: Rookie mistake! Your oven needs to be hot from the get-go for proper rise.
- Overmixing the batter: You want tender cupcakes, not dense hockey pucks. Mix until *just* combined. Lumps are okay!
- Overbaking: Dry cupcakes are sad cupcakes. Start checking at the lower end of the baking time. A clean toothpick is your cue.
- Frosting warm cupcakes: This is a cardinal sin. You’ll end up with a chocolate soup. **Patience, young grasshopper!**
- Not watching the marshmallows under the broiler: They go from perfectly toasted to burnt cinder in literally seconds. Don’t walk away!
Alternatives & Substitutions
Feeling a little rebellious? Or maybe you’re just out of an ingredient? No worries, I got you!
- Dairy-Free: Swap out regular milk for almond, soy, or oat milk. Use a plant-based butter alternative for the frosting. Easy peasy.
- No Cocoa Powder? You can sometimes use melted unsweetened chocolate in a pinch for the cupcakes, but you might need to adjust the wet ingredients slightly. For the frosting, if you’re desperate, you could make a vanilla buttercream and just pretend.
- Different Toppings: Not a marshmallow fan? (Gasp! But okay.) Top with chocolate shavings, sprinkles, a drizzle of fudge sauce, or even a dollop of whipped cream. Make it your own!
- Instant Coffee in Cupcakes: If you use hot coffee instead of hot water, it really deepens the chocolate flavor without making it taste like coffee. Highly recommend for the coffee lovers out there!
- Box Mix Hack: If you’re *really* pressed for time (and honestly, no judgment here), use a store-bought chocolate cake mix. Just follow the box instructions, then proceed with the chocolate buttercream and marshmallow topping. Boom!
FAQ (Frequently Asked Questions)
- Can I use margarine instead of butter? Well, technically yes, but why hurt your soul like that? Butter just tastes better, IMO, especially in frosting. If you must, use a high-quality stick margarine.
- How long do these cupcakes last? They’re best devoured within 2-3 days at room temperature in an airtight container. If they make it that long, that is.
- Can I make them ahead of time? Absolutely! Bake the cupcakes the day before, store them in an airtight container, then frost and top with marshmallows right before serving.
- What if I don’t have a kitchen torch? No biggie! Pop them under the broiler for 30 seconds to 1 minute, watching them *very* carefully. You could also just serve them with untoasted marshmallows—still delicious!
- What kind of cocoa powder should I use? Regular unsweetened cocoa powder (like Hershey’s) works great. Dutch-processed will give you a darker color and slightly less intense chocolate flavor, but either is fine.
- Can I freeze these cupcakes? You can freeze the unfrosted cupcakes for up to 3 months. Thaw them at room temperature, then frost and toast the marshmallows. Freezing them frosted with marshmallows might get a bit messy.
Final Thoughts
And there you have it! A recipe for hot chocolate cupcakes that’s so easy and delicious, you’ll wonder why you ever bought those fancy ones from the bakery. This isn’t just baking; it’s a mood. It’s an act of self-care. It’s an excuse to use a kitchen torch (if you have one, you know the thrill!). So go on, get baking! Now go impress someone—or yourself—with your new culinary skills. You’ve earned it!


