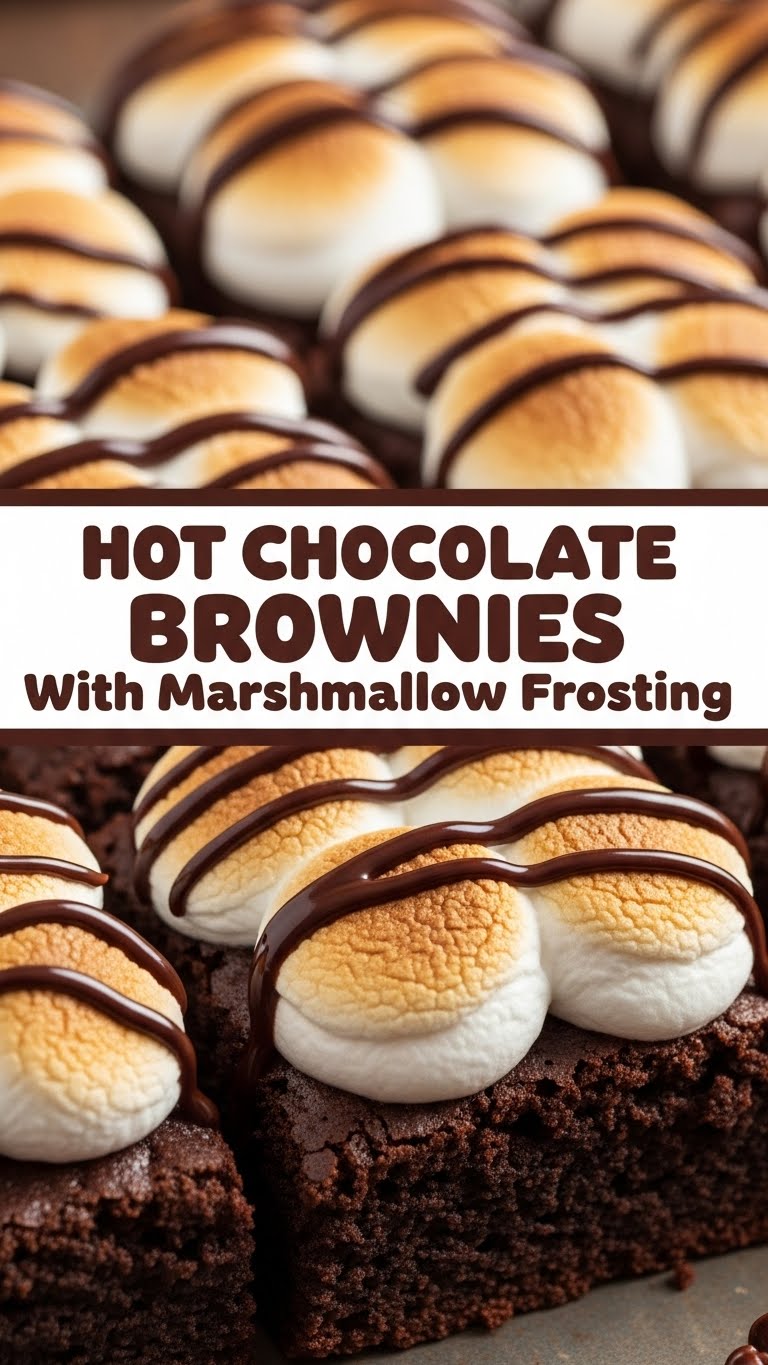
So you’re scrolling through TikTok, spot something insanely delicious, and think, “I NEED that in my life, but also, my couch is really comfy right now?” Yep, been there, baked that. Fret not, my fellow lazy gourmand, because today we’re diving into a recipe that looks fancy but is shockingly simple. We’re talking Hot Chocolate Brownies with Marshmallow Frosting. Basically, it’s a warm hug in dessert form, and you’re about to become its chief architect.
Why This Recipe is Awesome
Let’s be real, who doesn’t love a good brownie? But a *hot chocolate* brownie? With a dreamy, pillowy cloud of marshmallow frosting on top? That, my friend, is next-level genius. This recipe is awesome because it’s **ridiculously easy to follow**, even if your culinary experience is limited to making toast (no judgment!). It’s also a total crowd-pleaser – you’ll look like a baking wizard without actually having to cast any complex spells. Seriously, I didn’t mess it up, which, **IMO**, is the ultimate testament to its foolproof nature. Plus, it combines two of life’s greatest comforts: a warm mug of hot chocolate and a chewy brownie. It’s basically winter comfort, anytime, any day.
Ingredients You’ll Need
Get ready to gather your delicious arsenal. Don’t worry, nothing too exotic here!
- For the Hot Chocolate Brownies:
- 1 cup (2 sticks) unsalted butter, melted (the good stuff, not that weird spread)
- 2 cups granulated sugar (yes, a lot, but trust the process)
- 4 large eggs (room temp is best, but don’t sweat it if you forget)
- 1 teaspoon vanilla extract (the real deal, none of that imitation nonsense)
- 1 cup all-purpose flour (plain white flour, nothing fancy)
- ¾ cup unsweetened cocoa powder (gives that rich, deep chocolate flavor)
- ½ teaspoon baking powder (for a little lift)
- ¼ teaspoon salt (enhances all the other flavors!)
- 1 cup chocolate chips (optional, but are they really? Go for semi-sweet or milk)
- For the Marshmallow Frosting:
- ½ cup (1 stick) unsalted butter, softened (let it sit out for a bit)
- 3 cups powdered sugar (also known as confectioners’ sugar)
- 1 teaspoon vanilla extract (more of that good stuff!)
- 7 oz jar marshmallow fluff (the sticky, sweet magic that makes this frosting next-level)
Step-by-Step Instructions
Alright, apron on (or don’t, I won’t tell). Let’s get baking!
For the Hot Chocolate Brownies:
- First things first, **preheat your oven to 350°F (175°C)**. Line a 9×13 inch baking pan with parchment paper, leaving an overhang on the sides. This makes lifting them out super easy.
- In a large bowl, whisk together the melted butter and granulated sugar until well combined. It should look glossy and smooth.
- Now, crack in those eggs one at a time, whisking well after each addition. Stir in the vanilla extract. Your batter will start looking seriously tempting right about now.
- In a separate medium bowl, whisk together the flour, cocoa powder, baking powder, and salt. Make sure there are no lumpy bits!
- Gradually add the dry ingredients to the wet ingredients, mixing until *just* combined. **Don’t overmix!** A few streaks of flour are totally fine. If using, fold in the chocolate chips.
- Pour the batter into your prepared baking pan and spread it evenly. Bake for 25-30 minutes, or until a toothpick inserted into the center comes out with moist crumbs (not wet batter!).
- Let the brownies **cool completely** in the pan on a wire rack. This is the hardest part, I know, but crucial for that perfect frosting application.
For the Marshmallow Frosting:
- Once your brownies are cool as a cucumber, grab a clean large bowl. Beat the softened butter with an electric mixer until light and fluffy.
- Gradually add the powdered sugar, one cup at a time, beating until smooth after each addition. The mixture will be thick.
- Stir in the vanilla extract. Then, add the entire jar of marshmallow fluff. Beat on medium speed until the frosting is light, airy, and well combined. **FYI**, it will be super sticky and dreamy.
- Spread the marshmallow frosting evenly over the cooled brownies. If you’re feeling fancy, you can even lightly toast the top with a kitchen torch for that s’mores vibe!
- Cut into squares and serve. Prepare for applause (and maybe some sticky fingers).
Common Mistakes to Avoid
We’ve all been there, making a few oopsies along the way. Here are some common pitfalls to dodge:
- **Not preheating the oven:** Rookie mistake! Your brownies need that initial blast of heat to set up properly.
- **Overmixing the batter:** This is a big no-no for brownies. It develops the gluten too much, leading to tough, cakey brownies instead of fudgy ones. Mix until just combined, then stop!
- **Not letting the brownies cool:** I know it’s torture, but frosting warm brownies results in a melty, sliding mess. Exercise patience, young padawan.
- **Using cold butter for frosting:** Softened butter is key for that smooth, fluffy frosting. Cold butter will give you lumpy, sad frosting.
- **Underbaking:** While we love a gooey brownie, raw batter is a no-go. Make sure that toothpick comes out with moist crumbs, not wet batter.
Alternatives & Substitutions
Feeling adventurous or missing an ingredient? No worries, we’ve got options!
- Chocolate Chips: Don’t have semi-sweet? Use milk chocolate, dark chocolate, white chocolate, or even peanut butter chips! Or skip them entirely if you’re a purist.
- Marshmallow Fluff: If you absolutely can’t find it, you could try making a homemade meringue frosting (a bit more work, but delicious!) or simply melt mini marshmallows on top of the warm brownies for a few minutes, then torch them for a gooey s’mores effect.
- Dairy-Free: You can often substitute plant-based butter (like Miyoko’s Kitchen or Earth Balance sticks) and dairy-free chocolate chips. The marshmallow fluff is usually dairy-free already, but always check the label!
- **Gluten-Free:** Use a 1:1 gluten-free all-purpose flour blend. Your brownies might be slightly different in texture, but still delicious!
FAQ (Frequently Asked Questions)
Got questions? I’ve got (casual) answers!
- Can I use margarine instead of butter? Well, technically yes, but why hurt your soul like that? Butter just tastes better, and for fudgy brownies, it’s worth it.
- How do I know when the brownies are done? A good rule of thumb: insert a toothpick into the center. If it comes out with moist crumbs attached, they’re perfect. If it’s wet batter, give them a few more minutes. If it’s completely clean, you’ve probably overbaked them (still tasty, just less fudgy!).
- Can I make these ahead of time? Absolutely! Brownies often taste even better the next day as the flavors meld. Just store them in an airtight container at room temperature.
- My frosting is too thin/thick, help! If it’s too thin, add more powdered sugar a tablespoon at a time. If it’s too thick, add a tiny splash of milk (dairy or non-dairy) until it reaches the right consistency.
- Do I *have* to torch the marshmallow frosting? Nah, it’s totally optional! It just adds a fun, toasted s’mores flavor and looks super cool. If you don’t have a torch, they’ll still be amazing.
- How long do these beauties last? In an airtight container at room temperature, they’ll last about 3-4 days. But let’s be honest, they rarely make it past day one in my house.
Final Thoughts
And there you have it, my friend! You’ve successfully navigated the delicious world of Hot Chocolate Brownies with Marshmallow Frosting. You just made something incredibly decadent, impressive, and downright joyful. Go ahead, take a bow. You’ve earned it! Now go impress someone—or yourself, which is arguably more important—with your new culinary skills. Don’t forget to sneak a bite (or two, or three) while no one’s looking. You deserve it after all that hard work… mostly waiting for them to cool down. Enjoy!


