So, you’re looking to zhuzh up your hot chocolate game, but without, you know, actually *working* hard? Or maybe you want to casually blow some minds with your apparent culinary genius? Darling, you’ve stumbled into the right virtual kitchen. Forget stirring powders or zapping milk in the microwave. We’re about to make Hot Chocolate Bombs with Marshmallows – the ultimate glow-up for your mug, designed to impress and delight with minimal effort. Trust me, it’s a total game-changer.
Why This Recipe is Awesome
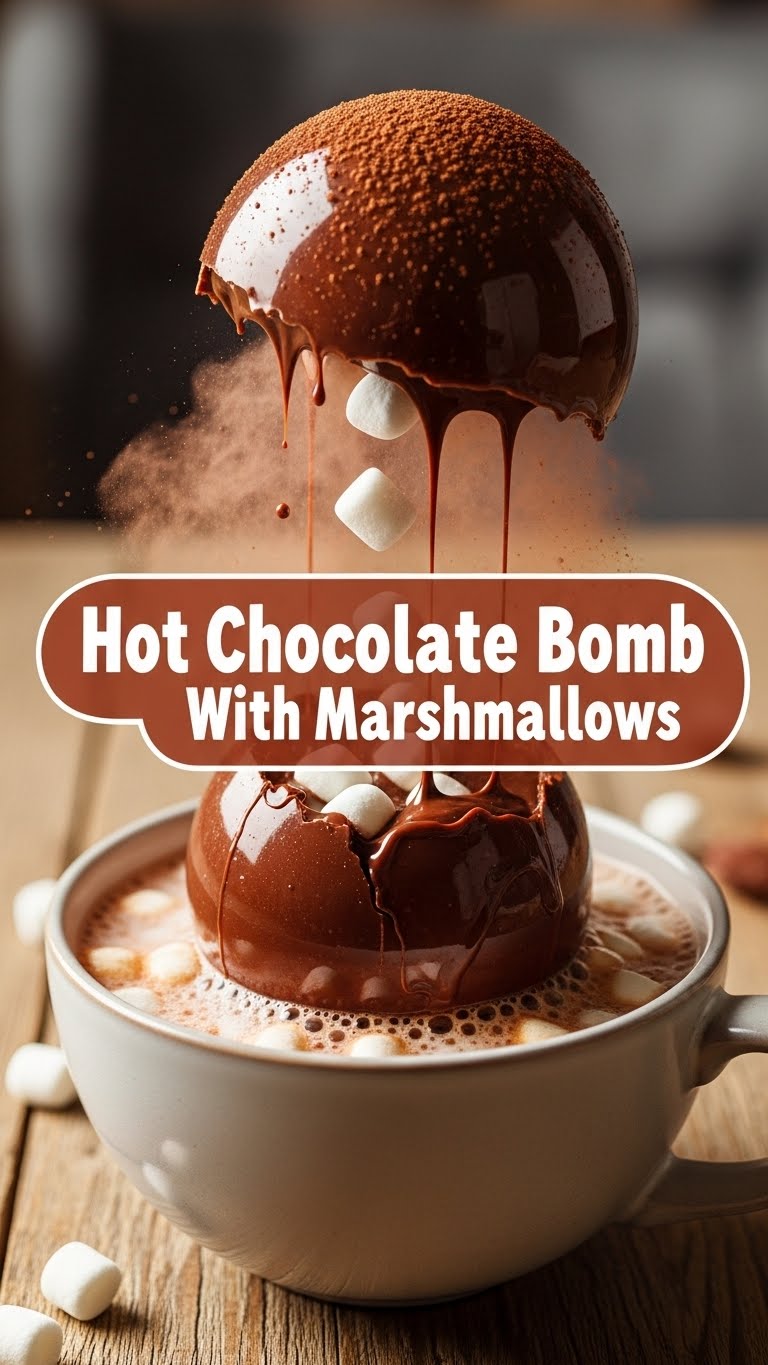
Let’s be real, who doesn’t love a bit of drama in their drink? These aren’t just any hot chocolate bombs; they’re the kind that practically scream, “I made this myself, aren’t I fancy?” And the best part? They’re ridiculously easy. Seriously. If you can melt chocolate without setting off the smoke detector (a low bar, I know, but we all have our struggles), you can conquer this. It’s **idiot-proof**, even *I* didn’t mess it up, and my kitchen adventures often involve emergency pizza delivery. Plus, the look on someone’s face when the chocolate melts away and a cascade of marshmallows floats to the top? Priceless. You get instant gratification and serious bragging rights. Win-win!
Ingredients You’ll Need
Gather your supplies, future hot chocolate maestro! You don’t need a gourmet pantry for this, just a few key players:
- Good Quality Melting Chocolate (about 12 oz / 340g): Think chocolate chips, melting wafers, or a good bar chopped up. Don’t cheap out here, folks. Your taste buds will thank you. IMO, milk chocolate is classic, but dark chocolate is divine.
- Unsweetened Cocoa Powder (about 1/4 cup): The heart and soul of your hot chocolate. Don’t skip this.
- Mini Marshmallows (about 1/2 cup, or more if you’re a marshmallow fiend): The fluffier, the better. These are the stars of the melt-and-float show.
- Optional Fun Stuff: Sprinkles, a pinch of chili powder (for a kick!), a dash of cinnamon, crushed peppermint, or even a tiny drizzle of caramel sauce for inside the bomb. Live a little!
- Silicone Sphere Molds: Crucial for those perfect bomb shapes. Get some, you won’t regret it.
Step-by-Step Instructions
- Melt Your Chocolate: Grab your chosen chocolate. You can melt it in a microwave-safe bowl in 30-second intervals, stirring after each, until smooth. Or, use a double boiler on the stovetop for a gentler melt. **Don’t overheat it!** Burnt chocolate is a sad, sad thing.
- Mold the Magic Shells: Spoon about 1-2 tablespoons of melted chocolate into each cavity of your silicone mold. Use the back of the spoon to spread the chocolate evenly up the sides, creating a nice, thin shell. Make sure there are no thin spots!
- Chill Out: Pop those molds into the fridge for about 10-15 minutes, or until the chocolate is completely firm and easily releases from the mold. You want them solid enough to handle without fear of structural collapse.
- Carefully Release: Once chilled, gently peel the silicone mold away from the chocolate halves. Be delicate! These babies are fragile until sealed. You should have lovely, shiny chocolate hemispheres.
- Fill ‘Em Up: Take half of your chocolate spheres and fill them. Spoon about 1-2 teaspoons of cocoa powder into each. Then, pile in a generous handful of mini marshmallows. This is where your optional sprinkles or other goodies come into play!
- Seal the Deal: Now for the trickiest (but still super easy!) part. Heat a clean plate or a small, flat pan in the microwave for 30 seconds, or until it’s warm. Take an empty chocolate half and gently press its rim onto the warm plate for a few seconds. This slightly melts the edge. Quickly place it on top of a filled half, pressing gently to seal. Smooth out any seams with a warm finger or a small spoon if you’re feeling fancy.
- Embellish (Optional, but Recommended): Drizzle any leftover melted chocolate over your sealed bombs, or add some extra sprinkles. You’re basically decorating tiny edible planets at this point.
- Chill Again & Enjoy: Let your finished bombs chill for another 5 minutes to fully set the seal. When you’re ready for hot chocolate heaven, simply drop one bomb into a mug, pour hot milk over it, and watch the magic unfold! Stir to combine, and prepare for pure bliss.
Common Mistakes to Avoid
Listen, we’ve all been there. Here are a few rookie errors to steer clear of:
- Overheating Your Chocolate: This is a cardinal sin. Burnt chocolate tastes awful and becomes a grainy mess. **Melt slowly and stir often.** A double boiler is your friend if you’re microwave-averse.
- Thin Shells: If your chocolate layer is too thin, your bombs will crack when you try to unmold them or when you pick them up. Make sure you get a good, even coating.
- Not Chilling Enough: Impatience is not a virtue here. If you try to unmold or seal the halves before they’re fully firm, they’ll fall apart. **Give them their fridge time!**
- Too Much Filling: While generous is good, overstuffing can make it hard to seal the bombs without them bursting. Find a happy medium.
- Damp Molds: Water and melted chocolate are mortal enemies. **Ensure your molds are completely dry** before you even think about adding chocolate.
Alternatives & Substitutions
Get creative, my friend! This recipe is a canvas for your chocolatey dreams:
- Chocolate Varieties: Swap out milk chocolate for rich dark chocolate, creamy white chocolate, or even a mix! You could even do a swirl effect by layering different colors.
- Flavor Boosters: Add a tiny drop of peppermint extract or orange extract to your melted chocolate for flavored shells. Or, mix in a pinch of cinnamon or a dash of espresso powder with your cocoa filling for an extra kick.
- Marshmallow Mania: If you can find flavored mini marshmallows (strawberry? caramel?), go for it! Or, cut up larger marshmallows for a chunkier surprise.
- Different Fillings: Beyond marshmallows and cocoa, consider adding a sprinkle of crushed candy canes, a mini peanut butter cup, a tiny bit of caramel sauce, or even some instant coffee for a mocha bomb.
- Dairy-Free Option: Use dairy-free chocolate chips and ensure your marshmallows are gelatin-free (most major brands are, but always check!). Serve with your favorite non-dairy milk.
FAQ (Frequently Asked Questions)
Got questions? I’ve got (casual) answers!
- Can I use chocolate chips instead of melting wafers?
Totally! Just make sure they’re good quality. Chips often have stabilizers, so they might be a tiny bit thicker to work with, but they’ll absolutely get the job done. Just melt ’em slow and steady.
- My bombs keep breaking when I try to unmold them. What gives?
Ah, the classic heartbreak! Two main culprits: either your chocolate shells are too thin, or they didn’t chill long enough. **Make sure you’ve got a decent, even layer of chocolate, and give them a good 10-15 minutes in the fridge.** Patience, grasshopper!
- How long do hot chocolate bombs last?
If stored in an airtight container at room temperature (or a cool pantry), they’re good for about 2-3 weeks. If you’ve added anything super moist like caramel, they might have a shorter shelf life, so use your best judgment. But let’s be real, will they even last that long?
- Can I make these without a silicone mold?
Technically, you *could* try other things, like plastic Easter egg halves or even just free-forming them (good luck!). But honestly, the silicone sphere molds are the easiest way to get those perfect, smooth halves. **Invest in them; they’re worth it.**
- What kind of milk should I use to melt the bombs?
Whatever your heart desires! Whole milk makes it super creamy, but 2% or even a non-dairy option like almond or oat milk works beautifully. Just make sure it’s piping hot so the bomb melts properly.
Final Thoughts
So there you have it, fellow culinary adventurer! You’re now equipped with the knowledge to craft hot chocolate bombs that will not only warm bellies but also elicit gasps of pure delight. Whether you’re making a batch for a cozy night in, gifting them to friends, or just impressing yourself (which, let’s be honest, is the most important audience), you’re going to nail this. Now go forth and conquer the world, one delicious, marshmallow-filled hot chocolate bomb at a time. Your taste buds (and possibly your ego) will thank you. You’ve earned it!


