So you’re craving something tasty but too lazy to spend forever in the kitchen, huh? Same. High-five! Sometimes you just want to feel like a culinary wizard without, you know, actually doing wizard-level work. That’s where these ridiculously fun Hot Chocolate Bombs with Cookies come in. They’re basically a party in a mug, and *you* get to be the host.
Why This Recipe is Awesome
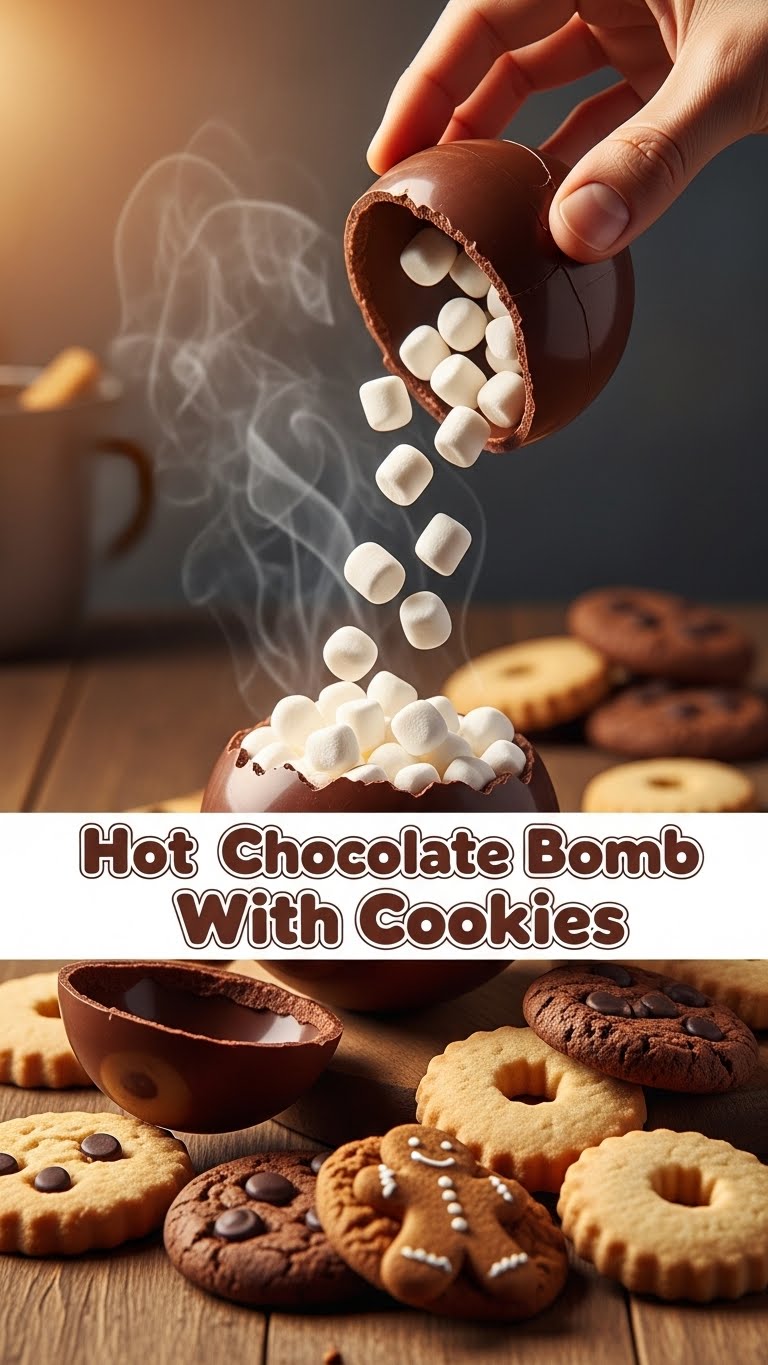
Look, I get it. You’ve seen these magical spheres floating around the internet, right? And maybe you thought, “Too fancy for me.” **Wrong!** This recipe is so gloriously simple, even my cat could probably manage it (if she had opposable thumbs and a chocolate addiction). It’s impressive, comforting, and gives you that satisfying *pop* when it melts into hot milk, revealing all its delicious secrets. Plus, we’re stuffing it with cookies, because why wouldn’t we? It’s like a hot chocolate, a dessert, and a magic show all rolled into one. Your friends will think you’re a genius. Your taste buds will confirm it.
Ingredients You’ll Need
Gather ’round, my sweet-toothed conspirator! Here’s your loot:
- Good Quality Melting Chocolate: About 12-16 oz (340-450g) of chocolate melting wafers or a high-quality bar. Milk chocolate, dark chocolate, even white chocolate – pick your poison! Trust me, **don’t skimp on the chocolate** here; it’s the star of the show.
- Hot Chocolate Mix: Your favorite brand! About 1-2 tablespoons per bomb, so maybe half a regular canister.
- Mini Marshmallows: The tiny ones are best for fitting inside. A small bag should do it.
- Crushed Cookies: About 1/2 to 1 cup. Oreos are classic, but chocolate chip, Biscoff, or even ginger snaps if you’re feeling wild, are amazing. Just smash ’em up a bit!
- Silicone Half-Sphere Molds: These are non-negotiable, unless you’re trying to sculpt chocolate with your bare hands (don’t).
- Optional Fun Stuff: Sprinkles, extra melted chocolate for drizzling, a pinch of cocoa powder for dusting, or a tiny candy cane for garnish. Go wild!
Step-by-Step Instructions
Alright, let’s get messy (but in a fun, chocolatey way)!
- Melt Your Chocolate: Break up your chocolate and melt it. You can do this in the microwave in 30-second intervals, stirring vigorously each time until smooth. Or, use a double boiler. **Don’t overheat it**, or it’ll get clumpy and sad.
- Coat the Molds: Spoon about a tablespoon of melted chocolate into each half-sphere mold. Use the back of the spoon to spread it evenly up the sides. Make sure there are no thin spots!
- Chill Out: Pop those chocolate-lined molds into the fridge or freezer for 5-10 minutes, just until solid. They should easily release from the mold when they’re ready.
- Second Coat (Crucial Step!): Gently remove the chocolate halves from the molds. Now, if they feel too thin or fragile, put them back in the molds and add a second, thinner layer of chocolate. This gives your bombs strength, preventing catastrophic meltdowns before they hit the mug. Chill again if needed.
- Fill ‘Er Up: Take half of your chocolate spheres. Into each, spoon about a tablespoon of hot chocolate mix, a generous handful of mini marshmallows, and a sprinkle of your crushed cookies. Don’t overfill!
- Seal the Deal: Gently warm the rim of your empty chocolate half (you can do this by briefly placing it on a warm plate or using a warm knife). Carefully place it on top of a filled half, twisting gently to seal the edges. The melted chocolate will act like glue.
- Decorate (Optional, but highly encouraged): Drizzle with more melted chocolate, add some sprinkles, or dust with cocoa powder. Make them pretty!
- Enjoy the Magic: When ready for a treat, drop one bomb into a mug of hot milk (about 8-10 oz). Watch it melt, stir, and prepare for pure bliss!
Common Mistakes to Avoid
Nobody wants a hot chocolate bomb disaster! Steer clear of these rookie errors:
- Overheating the Chocolate: This is a biggie. If your chocolate gets too hot, it seizes and becomes grainy. Go slow and low, my friend. **Patience is a virtue here.**
- Thin Chocolate Shells: Trying to skip the second coat? Bad idea. Your bombs will be fragile and prone to breaking before they even reach the mug.
- Under-Chilling: Trying to pop those shells out of the mold too early will lead to cracks, tears, and possibly a few choice words. Let them firm up!
- Overfilling Your Bombs: You want enough room for the bomb to seal properly. Plus, you need space for the milk to, you know, *work its magic*.
- Using Subpar Chocolate: I mentioned this in ingredients, but it bears repeating. Cheap chocolate tastes like… cheap chocolate. Invest a little; it makes all the difference.
Alternatives & Substitutions
Feel free to get creative! This recipe is your canvas:
- Chocolate Varieties: Mix and match! A dark chocolate shell with white chocolate drizzle? Yes, please. You could even use colored candy melts for a festive look.
- Cookie Swaps: Not feeling Oreos? Try graham cracker crumbs for a s’mores vibe, or a ginger snap for a spicy kick. Peanut butter cookies inside a dark chocolate bomb? **Chef’s kiss!**
- Extra Fillings: Add a pinch of instant coffee powder for a mocha bomb, a tiny drop of peppermint extract for a minty twist, or even a mini caramel square. A dash of chili powder for a Mexican hot chocolate bomb is also divine.
- Dairy-Free Delight: Use dairy-free chocolate and serve with your favorite plant-based milk (oat milk is a personal fave).
FAQ (Frequently Asked Questions)
- Do I really need those silicone molds?
Yes, for perfect spheres, they’re essential. Trying to freehand this will end in tears, trust me. - My chocolate keeps cracking when I try to remove it from the mold! What gives?
Likely, your chocolate shells are either too thin (add that second coat!) or you didn’t chill them long enough. Or both. - Can I use regular chocolate chips instead of melting wafers?
You *can*, but they often contain stabilizers that make them harder to melt smoothly and set properly. Melting wafers or good quality baking chocolate are your best bet for a smooth finish. - How long do these hot chocolate bombs last?
Stored in an airtight container at room temperature, they’ll be good for about 2-3 weeks. If you can resist eating them all before then, that is. - Can I make these ahead for a party?
Absolutely! That’s the beauty of them. Make a big batch, store them, and bring them out for instant impressiveness. - What if my chocolate isn’t sealing properly?
Make sure the edges you’re trying to join are slightly warm and melty. If they’ve cooled too much, they won’t stick. A quick warm-up on a plate usually does the trick!
Final Thoughts
There you have it, future hot chocolate bomb artisan! You’ve just unlocked a new level of cozy, impressive, and ridiculously easy dessert magic. Now go impress someone—or yourself—with your new culinary skills. You’ve earned it! Grab a mug, pick your favorite milk, and let the cookie-infused hot chocolate goodness wash over you. You’re welcome. 😉


