So you’re sitting there, scrolling through recipes, probably thinking, “I need something sweet, something easy, and something that doesn’t involve me wrestling a stand mixer for an hour.” Am I right, or am I right?
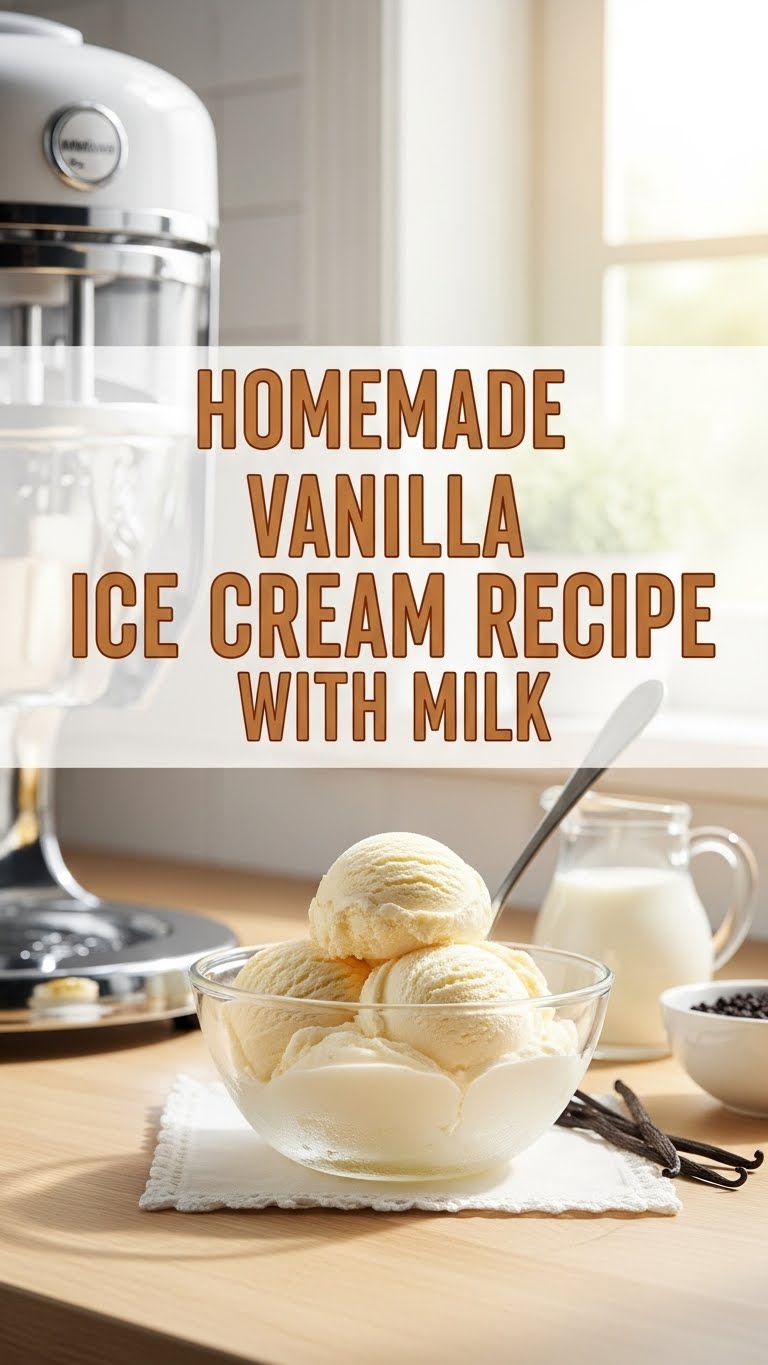
Well, my friend, today is your lucky day because we’re diving headfirst into the glorious world of **Homemade Vanilla Ice Cream**. And guess what? We’re making it with good ol’ milk, meaning it’s lighter, still ridiculously creamy (with a little secret trick, shhh!), and won’t have you feeling like you just ran a marathon after eating it. Get ready to impress yourself (and maybe everyone else, if you decide to share).
Why This Recipe is Awesome
Okay, let’s be real. Most ice cream recipes demand heavy cream, egg yolks, and a commitment level usually reserved for serious relationships. Not this one! This recipe is basically the chilled-out, no-drama cousin of those fancy-pants ice creams.
- It’s **stupid simple**. Honestly, if you can stir a pot and wait patiently, you’re golden.
- **No heavy cream needed** (unless you want to get wild, but we’ll get to that). We’re talking lighter vibes without sacrificing that creamy dreamy texture.
- It tastes like a hug from a vanilla bean fairy. Seriously, the pure vanilla flavor just shines.
- It’s **customizable AF**. Think of it as a blank canvas for your dessert Picasso-ing.
- And, dare I say, it’s pretty much **idiot-proof**. Even I, who once burned water, managed not to mess this up.
Ingredients You’ll Need
Time to gather your edible treasures! Here’s what you’ll need for this milk-based magic. No need for a grocery run to a specialty store, promise.
- 2 cups Whole Milk: The star of our show! Don’t even think about skim milk unless you want sad, icy ice cream. Trust me on this.
- ½ cup Granulated Sugar: For that sweet, sweet goodness. Adjust to your sweet tooth, but this is a good starting point.
- 1 tablespoon Cornstarch: Our secret weapon for creaminess without heavy cream or eggs! Don’t skip it; it stops ice crystals from forming. *Genius, I know.*
- 1 teaspoon Pure Vanilla Extract: Go for the good stuff here. Like, actual vanilla, not the “imitation” stuff that tastes like sadness. This is vanilla ice cream, after all!
- Pinch of Salt: Just a tiny dash to wake up all those flavors and stop it from tasting flat. It’s like a flavor amplifier.
Step-by-Step Instructions
Alright, apron on (or not, we’re casual here), let’s get this deliciousness going!
- Whisk it Good: In a medium saucepan, whisk together the sugar and cornstarch until there are no lumps. This is important to prevent grainy ice cream. Then, gradually whisk in the milk until everything is smooth.
- Gentle Heat: Place the saucepan over medium heat. Stir constantly, gently scraping the bottom and sides, until the mixture thickens slightly and just barely starts to simmer. We’re talking gentle bubbles around the edges, not a rolling boil. This usually takes about 5-7 minutes. The cornstarch needs to cook out, so don’t rush it.
- Cool Down: Remove the saucepan from the heat immediately. Stir in the pure vanilla extract and the pinch of salt. Now, let it cool down to room temperature. You can place the saucepan in an ice bath to speed this up, stirring occasionally.
- Chill Out (Literally): Once cooled, cover the mixture tightly (a piece of plastic wrap directly on the surface prevents a “skin” from forming) and refrigerate for at least **4 hours**, but ideally overnight. This step is crucial for creamy ice cream! Don’t skimp on the chill time.
- Churn, Baby, Churn!: Pour the chilled mixture into your ice cream maker and churn according to the manufacturer’s instructions. This usually takes 20-30 minutes, until it’s the consistency of soft-serve ice cream.
- Firm Up: Transfer the soft ice cream to an airtight container. Press a piece of parchment paper or plastic wrap directly onto the surface to prevent ice crystals. Freeze for another **2-4 hours** (or longer for a firmer scoop) until it’s perfect for serving. Dig in!
Common Mistakes to Avoid
Nobody’s perfect, but we can avoid some classic oopsies, right?
- Not Chilling Enough: This is a biggie! If your base isn’t ice-cold before churning, your ice cream will be icy, not creamy. It’s like trying to run a marathon without stretching – bad results.
-
Skipping the Cornstarch: “Oh, it’s just a little bit, what could it hurt?”
*Narrator: It hurt a lot.*
The cornstarch is your friend here, preventing those dreaded ice crystals when you’re using just milk. Don’t ditch it! - Using Cheap Vanilla: Seriously, this is vanilla ice cream. If your vanilla tastes like a chemical experiment, your ice cream will too. Invest in the good stuff, your taste buds will thank you.
- Over-Boiling the Base: You’re aiming for a gentle simmer, not a vigorous boil. Over-boiling can mess with the milk proteins and give you a weird texture. Low and slow, my friend.
Alternatives & Substitutions
Feeling a little wild? Want to tweak things? Let’s explore some delicious detours!
- Dairy-Free Vibes: You absolutely can use full-fat oat milk or almond milk! The texture might be slightly different, but still super tasty. Just make sure it’s the barista-style or full-fat version for the best creaminess.
- Add Some Richness: Want to bridge the gap between “milk-only” and “heavy cream indulgence”? Swap 1 cup of whole milk for 1 cup of heavy cream. It’ll be richer, but still not *too* heavy. Or, for a truly decadent custard-style ice cream, temper in 2-3 egg yolks with your cornstarch before heating. (That’s a whole other recipe, but just putting it out there!)
- Flavor Town!: This vanilla base is amazing for add-ins. Swirl in some chocolate fudge, caramel, crushed cookies (Oreos, anyone?), fresh berries, or chocolate chips during the last few minutes of churning. **Pro tip:** Freeze your mix-ins before adding them to prevent them from sinking to the bottom.
- No Ice Cream Maker? No Problem! (Mostly): You *can* do a no-churn version, but it requires more effort. Freeze the base in a shallow pan, then every 30-45 minutes for the first 2-3 hours, scrape it with a fork or beat it with a hand mixer to break up ice crystals. It’s more work, but totally doable if you’re committed.
FAQ (Frequently Asked Questions)
Got burning questions? I probably already thought of them. You’re welcome.
-
Do I *really* need an ice cream maker?
For the best, creamiest texture with this recipe, yes, an ice cream maker is highly recommended. It incorporates air and freezes quickly, preventing large ice crystals. See the “No Ice Cream Maker?” alternative above if you’re feeling adventurous! -
Can I use low-fat or skim milk?
Well, technically, you *could*. But why hurt your soul like that? Low-fat milk will result in a much icier, less creamy ice cream. Stick to whole milk for superior results, **IMO**. -
My ice cream is too hard. What gives?
Usually, this means it was frozen for too long, or your freezer is super cold. Let it sit out on the counter for 5-10 minutes before scooping. Also, sometimes too little sugar can contribute to hardness. -
How long does homemade ice cream last?
In an airtight container, it’ll last about 1-2 weeks in the freezer. Beyond that, it might start to develop ice crystals and lose its peak freshness. But honestly, it’s so good, it probably won’t last that long anyway. -
Can I double the recipe?
Absolutely! Just make sure your saucepan is large enough and your ice cream maker can handle the volume. Double everything, follow the steps, and enjoy double the deliciousness! -
Why is my ice cream grainy?
This usually happens if the sugar or cornstarch wasn’t fully dissolved before heating, or if it clumped up. Whisk thoroughly at the beginning, my friend!
Final Thoughts
So there you have it! Your ticket to homemade vanilla ice cream nirvana, no heavy cream required. You’ve conquered the simple art of ice cream making, and honestly, that’s a skill worth bragging about. This isn’t just dessert; it’s a little scoop of joy you made with your own two hands.
Now go impress someone (or just yourself, because you totally deserve it) with your new culinary superpowers. You’ve earned every single delicious bite. Happy scooping, you magnificent human!


