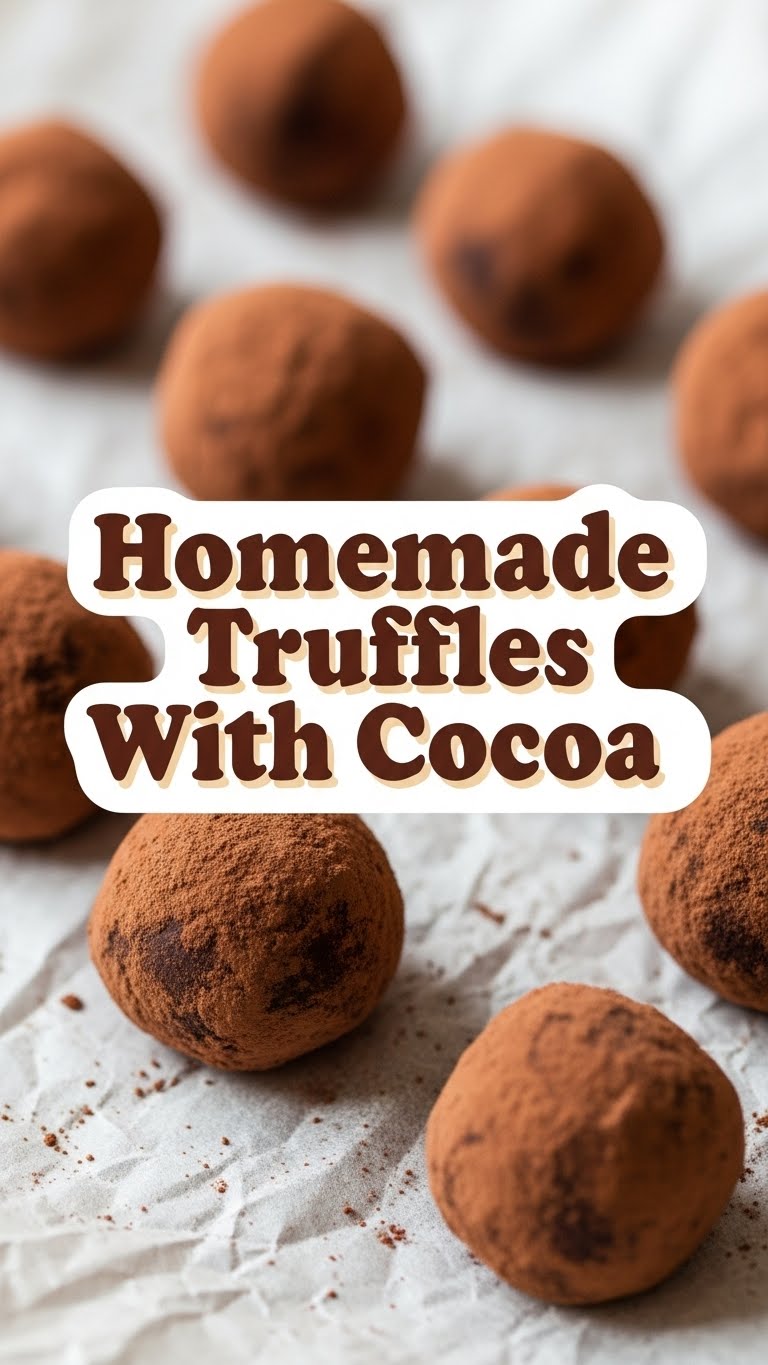
So you’ve had one of those days, huh? Or maybe it’s just Tuesday, and your sweet tooth is staging a full-blown rebellion. You want something decadent, something that screams “I know what I’m doing in the kitchen,” but also, like, requires minimal actual *doing*. Sound familiar? Good, because we’re about to make some ridiculously easy, ridiculously delicious homemade truffles with cocoa that will make you feel like a fancy pastry chef, without all the drama.
Why This Recipe is Awesome
Okay, let’s be real. Most dessert recipes demand too much. Too many bowls, too many steps, too much “folding gently.” Not this one. This recipe is your new best friend for several glorious reasons:
- It’s practically foolproof. Seriously, if you can melt chocolate and stir, you’re 90% there. Even I, a person who once set off the smoke detector making toast, can nail this.
- Minimal ingredients, maximum impact. We’re talking a handful of pantry staples turning into edible balls of pure bliss. Who needs a grocery list longer than their arm?
- Instant fancy status. Picture this: you offer a homemade truffle. People ooh and aah. You just shrug casually like, “Oh, these old things? Just whipped them up.” You’re welcome.
- No baking involved! That’s right, put away your oven mitts. This is an entirely no-bake affair, perfect for those “it’s too hot to turn on the oven” days, or “I can’t be bothered to preheat” days (which, let’s be honest, is most days).
Ingredients You’ll Need
Gather ’round, my sweet-toothed friends. Here’s what you’ll need to conjure up some cocoa magic. Nothing exotic, just good stuff:
- 8 oz (about 1.5 cups) good quality chocolate: We’re talking chocolate chips (dark or semi-sweet work best), or a nice bar chopped up. Don’t cheap out here, the chocolate is the star!
- ½ cup heavy cream: The stuff that makes everything rich and wonderful. No half-and-half, no milk, no sad substitutes. Go big or go home.
- 2 tablespoons unsalted butter: Helps with that silky smooth texture and a touch of extra richness. Don’t skip it unless you hate joy.
- 1 teaspoon vanilla extract: For that warm, comforting whisper of flavor. Pure vanilla, please; the imitation stuff just isn’t the same.
- ¼ cup unsweetened cocoa powder: For rolling. The more, the merrier, IMO.
- Pinch of salt (optional, but highly recommended): Just a tiny bit to make the chocolate flavor pop like fireworks.
Step-by-Step Instructions
Alright, let’s get this party started! Follow these simple steps and try not to eat all the ganache before it becomes truffles.
- Prep Your Chocolate: If you’re using chocolate bars, chop them up into small, even pieces. Toss them into a heat-proof bowl. Add that pinch of salt if you’re feeling fancy.
- Heat the Cream & Butter: In a small saucepan, gently heat the heavy cream and butter over medium heat. Stir occasionally until the butter is melted and the cream just starts to simmer around the edges. Don’t boil it! We’re warming, not scalding.
- Pour and Wait: Immediately pour the hot cream mixture over your chopped chocolate. Let it sit there, undisturbed, for about 5 minutes. This gives the chocolate time to melt into submission.
- Stir it Up: After 5 minutes, grab a whisk or a rubber spatula and gently stir the mixture from the center outwards until it’s completely smooth, glossy, and gorgeous. Stir in the vanilla extract. This magical mixture is called ganache, and it’s basically liquid gold.
- Chill Out: Cover the bowl with plastic wrap and pop it into the fridge. Let it chill for at least 2-3 hours, or until it’s firm enough to scoop. Patience is key here! Don’t rush it, or you’ll have a sticky mess.
- Roll ‘Em Up: Once firm, scoop out small amounts (about 1 tablespoon) of the ganache. Use your hands to roll them into neat little balls. If your hands get too warm and sticky, wash them with cold water and dry thoroughly.
- Cocoa Powder Dip: Pour your unsweetened cocoa powder into a shallow dish. Roll each truffle in the cocoa powder until it’s completely coated.
- Enjoy! Place your finished truffles on a plate and try not to devour them all at once. Store any leftovers in an airtight container in the fridge.
Common Mistakes to Avoid
Even though this recipe is super easy, there are a few banana peels you can slip on. Learn from my past culinary misadventures!
- Impatience with Chilling: Seriously, trying to roll warm ganache is like trying to catch smoke with your bare hands. It’s a sticky, frustrating disaster. Chill that ganache fully!
- Overheating the Cream: If you boil the cream, it can split or scorch the chocolate, leading to a grainy texture. Gentle heat is your friend.
- Using Subpar Chocolate: This isn’t the time for those questionable chocolate-flavored candy melts. Good chocolate makes good truffles. Bad chocolate makes… well, less good truffles.
- Rolling Too Slowly (or with Warm Hands): The longer you handle the ganache, the warmer it gets and the stickier it becomes. Work quickly, and if your hands run hot, dunk them in cold water periodically.
Alternatives & Substitutions
Feeling a little adventurous? Good. Here are some ways to jazz up your truffles:
- Different Coatings: Instead of just cocoa powder, try rolling them in:
- Finely chopped nuts (pistachios, almonds, hazelnuts are amazing)
- Shredded coconut
- Powdered sugar
- Melted chocolate (for a double chocolate crunch!)
- Sprinkles (because sometimes you just need some fun)
- Flavor Boosters: Add a tiny splash of:
- Liqueur (Kahlúa, Baileys, Grand Marnier – about 1-2 tablespoons when you add the vanilla)
- Peppermint extract (for a minty kick)
- Espresso powder (enhances the chocolate, obvi)
- Orange zest (bright and citrusy!)
- Milk or White Chocolate: You can totally use milk chocolate or white chocolate instead of dark/semi-sweet. Just be aware that they are sweeter, so you might want to use a little less butter with white chocolate as it’s already quite fatty.
FAQ (Frequently Asked Questions)
Got questions? I’ve got (casual) answers!
- Can I use margarine instead of butter? Well, technically yes, but why hurt your soul like that? Butter just tastes better and contributes to a smoother texture. Treat yourself!
- How long do these truffles last? In an airtight container in the fridge, they’ll last for about 1-2 weeks. But let’s be real, they usually disappear way before then.
- Can I freeze them? Yep! Pop them in a single layer in an airtight container or freezer bag. They’ll be good for about a month. Thaw them in the fridge before serving.
- My ganache is too runny, what happened? Likely didn’t chill long enough or perhaps too much liquid was used. Stick it back in the fridge! Sometimes it just needs more time.
- My ganache looks grainy or separated. Help! This usually happens if the chocolate got too hot or if the cream wasn’t mixed in properly. Try adding a tablespoon of hot water and stirring vigorously. It sometimes works miracles.
- Do I have to use heavy cream? Yes, absolutely. Heavy cream (or whipping cream) has a high fat content that is crucial for creating that rich, stable ganache. Lighter creams won’t work the same magic.
Final Thoughts
See? You did it! You’ve just made a batch of gorgeous, professional-looking truffles that taste like they came from a fancy chocolatier. Now go impress someone—or yourself—with your new culinary skills. You’ve earned it! Grab a cup of coffee (or a glass of wine, no judgment here), kick back, and enjoy the fruits of your very minimal labor. You absolute legend. Now, if you’ll excuse me, I think I hear my truffles calling my name…


