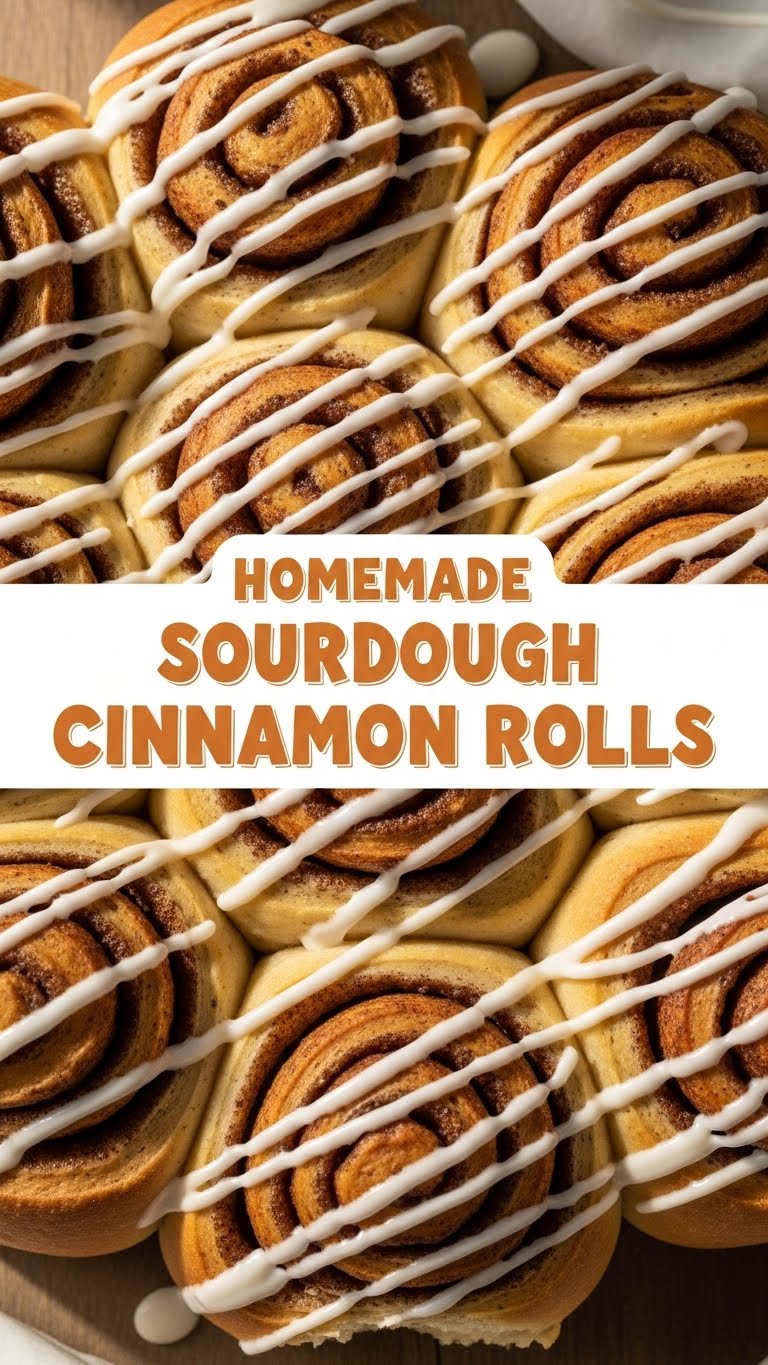
Ever wake up thinking, “Man, I need something ridiculously delicious but also kinda-sorta-healthy-ish because, you know, sourdough?” Or maybe you just saw an Instagram reel of gooey cinnamon rolls and now your brain won’t shut up about them? SAME, friend, same. Lucky for you (and me, let’s be real), we’re about to dive into the magical world of **Homemade Sourdough Cinnamon Rolls**. Get ready to smell like a bakery and feel like a kitchen wizard without actually having to wear a pointy hat.
Why This Recipe is Awesome
Look, I get it. Sourdough sounds fancy, like you need a degree in fermentation or at least a tiny monocle. But here’s the scoop: adding sourdough starter to cinnamon rolls is basically cheating in the best possible way. It gives them this incredible depth of flavor, a slight tang that cuts through the sweetness, and makes them ridiculously soft and fluffy. Plus, because we’re using a natural leavener, it feels a tiny bit healthier, right? (Don’t fact-check me on that, just nod and smile.)
This recipe isn’t just about making cinnamon rolls; it’s about making **the best cinnamon rolls of your life** with minimal fuss. It’s pretty much idiot-proof, even if you sometimes forget where you put your keys ten seconds after holding them. **The long, slow proofing (thanks, sourdough!) means less active work for you.** You just mix, wait, roll, bake, and then *devour*. Easy peasy, lemon squeezy… or rather, cinnamon-roll-cheesy? (Okay, that didn’t land, but you get the drift).
Ingredients You’ll Need
Gather your weapons, chef! Here’s what you’ll need to transform your kitchen into a fragrant wonderland:
- For the Dough:
- Active Sourdough Starter: About 1 cup (240g). Fed, bubbly, and ready to party.
- Warm Milk: 1 cup (240ml). Whole milk is best for richness, but whatever you’ve got works.
- Granulated Sugar: 1/2 cup (100g). Just enough to sweeten the deal.
- Large Egg: 1, room temperature. Gives ’em richness and color.
- Melted Unsalted Butter: 1/2 cup (113g), cooled slightly. Use the good stuff, you deserve it!
- All-Purpose Flour: About 4-5 cups (480-600g). Start with 4, add more if sticky.
- Salt: 1 teaspoon. Don’t skip this; it balances everything out.
- For the Filling:
- Softened Unsalted Butter: 1/2 cup (113g). Not melted, not rock-hard.
- Brown Sugar: 1 cup (200g), packed. The darker, the gooier.
- Ground Cinnamon: 2 tablespoons. Or more if you’re a cinnamon fiend (I am).
- For the Frosting:
- Cream Cheese: 4 oz (113g), softened. The full-fat kind, obviously.
- Softened Unsalted Butter: 1/4 cup (56g). More butter? Yes, always.
- Powdered Sugar: 2 cups (240g). Sift it if you’re feeling fancy.
- Vanilla Extract: 1 teaspoon. Pure stuff, please.
- Milk (or cream): 1-2 tablespoons. To get that perfect drizzly consistency.
Step-by-Step Instructions
- Mix the Dough: In a large bowl (or stand mixer), combine your active sourdough starter, warm milk, sugar, egg, and melted butter. Stir it up until it’s all happy and combined.
- Add Flour & Salt: Gradually add 4 cups of flour and the salt. Mix with a spoon or your dough hook until a shaggy dough forms. If it’s super sticky, add the remaining flour a little at a time until it pulls away from the sides of the bowl.
- Knead It Out: Turn the dough onto a lightly floured surface and knead for 8-10 minutes. You want it smooth, elastic, and ready for its beauty rest. If using a stand mixer, knead on medium-low for 6-8 minutes.
- First Proof (The Long Nap): Place the dough in a lightly oiled bowl, cover it with plastic wrap or a damp towel, and let it hang out at room temperature for 8-12 hours, or until it has noticeably increased in size and looks bubbly. **This is where the sourdough magic happens!**
- Shape the Dough: Once proofed, gently punch down the dough and turn it out onto a lightly floured surface. Roll it into a large rectangle, about 12×18 inches. Don’t go too thin, or it’ll be hard to roll up.
- Spread the Filling Love: Evenly spread your softened butter all over the dough, leaving a small border at one of the long edges. In a separate small bowl, mix the brown sugar and cinnamon. Sprinkle this delicious mixture generously over the butter.
- Roll ‘Em Up: Starting from the long edge opposite your clean border, tightly roll the dough into a log. Try to keep it as snug as possible to prevent gaps. **Tight rolls mean perfect spirals!**
- Slice & Dice: Use a sharp knife or, even better, unflavored dental floss (seriously, it works like a charm!) to cut the log into 12 equal rolls, about 1.5 inches thick.
- Second Proof (The Rise to Glory): Arrange the rolls in a lightly buttered 9×13 inch baking dish. Cover loosely and let them proof again in a warm spot for another 1-2 hours, or until they look puffy and snug against each other.
- Bake ‘Em: Preheat your oven to 375°F (190°C). Bake the rolls for 20-25 minutes, or until golden brown and cooked through. **Don’t overbake!** They should be soft and slightly gooey.
- Whip Up the Frosting: While the rolls are cooling slightly, beat together the cream cheese, butter, powdered sugar, and vanilla extract until smooth and creamy. Add milk a tablespoon at a time until it reaches your desired consistency.
- Frost & Devour: Spread the frosting generously over the warm (but not scorching hot) rolls. Serve immediately and watch them disappear like magic!
Common Mistakes to Avoid
- Ignoring Your Starter: Don’t use a sleepy, unfed starter and expect miracles. Your starter needs to be active and bubbly to do its job!
- Over-Flouring: Adding too much flour makes your dough tough and dry. Start with less and add only if necessary. We want soft, not dense!
- Rushing the Proofing: Sourdough takes time. **Patience is a virtue here.** Don’t cut the proofing times short, or your rolls won’t be as fluffy.
- Not Sealing the Roll: When you’re rolling up the dough, make sure to pinch that final seam together tightly. Otherwise, your beautiful spirals might unroll a bit during baking. Rookie mistake!
- Overbaking: Dry cinnamon rolls are a tragedy. Keep an eye on them. They should be golden, but still look soft in the center.
Alternatives & Substitutions
Feeling adventurous? Or maybe you just ran out of something key. Here are some quick swaps:
- Flour Power: You can swap up to 1 cup of all-purpose flour for whole wheat flour for a slightly nuttier flavor and a touch more wholesome goodness. Or try bread flour for an even chewier roll.
- Dairy-Free: Use a plant-based milk (almond or oat milk works great!) and a good quality dairy-free butter substitute for both the dough and the filling. For the frosting, try a dairy-free cream cheese alternative.
- Spice It Up: Add a pinch of nutmeg or cardamom to your cinnamon filling for an extra layer of warmth and complexity. So good!
- Nutty Crunch: Sprinkle some finely chopped pecans or walnuts over the cinnamon-sugar mixture before rolling. Hello, texture!
- Zesty Twist: Add a teaspoon of orange or lemon zest to your frosting for a bright, fresh kick that perfectly complements the cinnamon. IMO, orange zest is amazing here.
FAQ (Frequently Asked Questions)
Got questions? I’ve got answers (mostly truthful, slightly sarcastic ones).
- “My starter isn’t super active, can I still make these?” Well, technically yes, but why risk sad, flat rolls? For best results, give your starter a good feed and wait until it’s bubbly and strong. A strong starter means happy rolls!
- “Can I make these overnight?” Absolutely! After the first proof, you can form the rolls, place them in the baking dish, cover tightly, and stick them in the fridge for up to 12-18 hours. Pull them out, let them warm up for an hour or so, and then bake. Fresh rolls for breakfast? Yes, please!
- “Can I freeze the baked rolls?” You bet! Let them cool completely, then freeze them unfrosted in an airtight container. When you’re ready for a treat, thaw, warm gently in the oven, and then slather with fresh frosting.
- “My rolls look flat after baking, what happened?” Rookie mistake, probably. This usually means your starter wasn’t active enough, or you under-proofed them. **Don’t rush the proofing!** Or maybe your oven temp was off.
- “Can I use margarine instead of butter?” Well, technically yes, but why hurt your soul like that? Butter just tastes better. If it’s a dairy issue, check the substitution section!
- “How long do they last?” If you manage to have any leftovers (unlikely, but I admire your self-control), they’re best on day one. But they’ll still be pretty darn good for 2-3 days in an airtight container at room temp.
Final Thoughts
So there you have it! Your new go-to recipe for Homemade Sourdough Cinnamon Rolls. This isn’t just baking; it’s an experience. The smell alone is worth the effort (which, let’s face it, isn’t *that* much effort compared to the payoff). Go forth, bake these beauties, and impress everyone you know. Or don’t. Hoard them all for yourself. I won’t tell. You’ve earned it!


