So, you’ve got that ice cream craving hitting harder than a Monday morning alarm, right? And you’re thinking, “Ugh, store-bought just doesn’t cut it anymore.” My friend, you’ve come to the right place. We’re about to make some ridiculously good, ridiculously easy homemade ice cream with your trusty KitchenAid. Get ready to impress yourself (and maybe share, if you’re feeling generous).
Why This Recipe is Awesome
Honestly, this recipe is so simple, even my goldfish could probably follow it if it had opposable fins. It’s basically a three-step dance: mix, churn, freeze. Your KitchenAid does all the heavy lifting, leaving you free to, you know, supervise with a fancy beverage. Plus, it tastes about a million times better than anything you’ll scoop out of a plastic tub. It’s practically idiot-proof, and if I can do it without setting off a fire alarm, so can you!
Ingredients You’ll Need
Gather your magic potions. Seriously, the fewer ingredients, the fewer chances to mess up, am I right?
- 2 cups Heavy Cream: The undisputed star of the show. Don’t you dare skimp on the fat content here; this ain’t a diet plan, it’s a dream.
- 1 cup Whole Milk: The trusty sidekick, adding to that perfect creamy texture.
- ¾ cup Granulated Sugar: Sweet, sweet magic. Feel free to adjust to your happy level, but this is a solid starting point.
- 1-2 teaspoons Pure Vanilla Extract: Go for the good stuff. Your taste buds will thank you. None of that imitation nonsense, please.
- A tiny pinch of Salt: I know, I know, salt in dessert? Trust me, it balances everything out and makes the sweetness sing. Don’t skip it!
- Your Favorite Mix-ins (optional, but highly encouraged!): Chocolate chips, chopped cookies, fresh berries, a swirl of caramel… this is where your inner artist shines.
Step-by-Step Instructions
Alright, let’s get down to business. Prepare for minimal effort and maximum deliciousness.
Chill Your Heart Out (and your bowl!): This is arguably the most important step. Your KitchenAid ice cream maker bowl needs to be in the freezer for at least 15-24 hours. No shortcuts here, or you’ll end up with a sad, slushy mess. A super cold bowl is key!
Whisk Up the Goodness: In a large bowl (not the frozen one yet!), whisk together the heavy cream, whole milk, granulated sugar, vanilla extract, and that tiny pinch of salt. Whisk until the sugar is completely dissolved. Give it a taste – need more sweetness? Add it now!
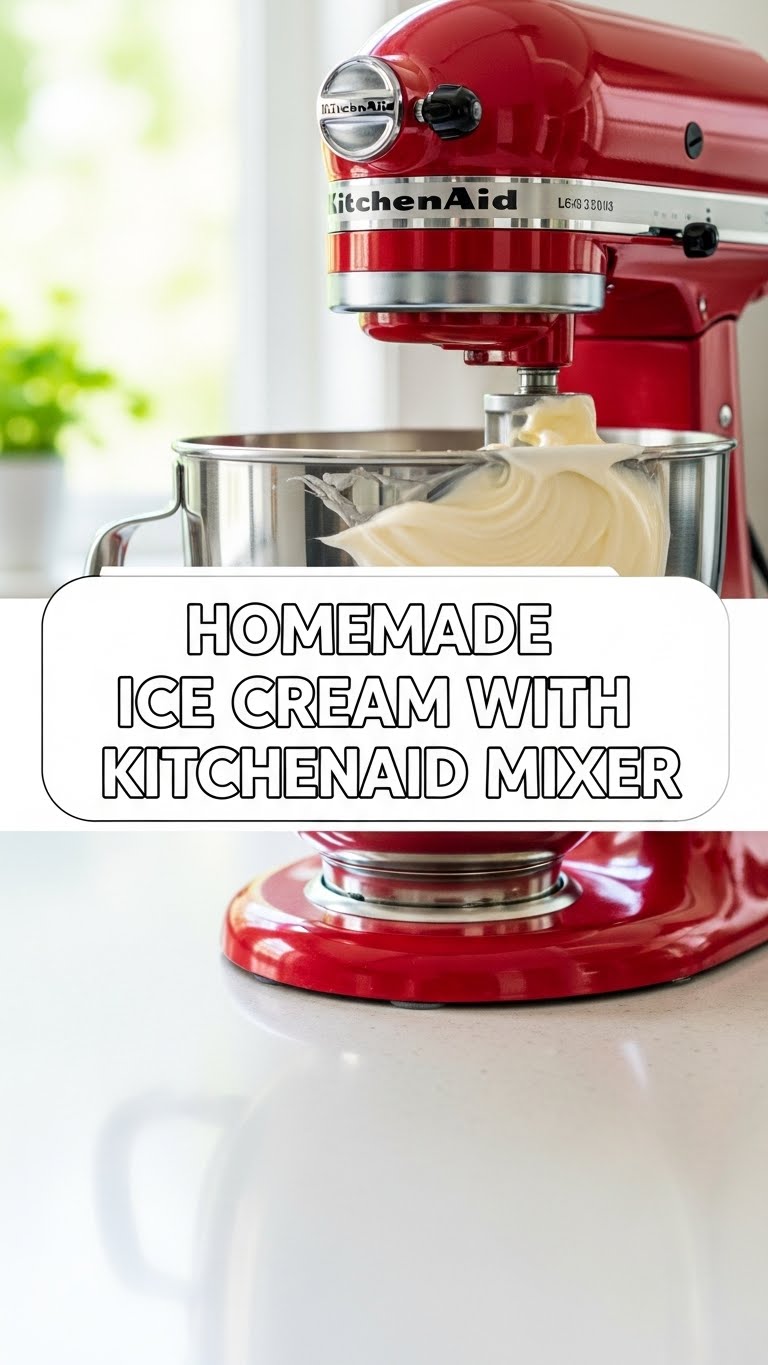
Get Ready to Churn: Attach your super-chilled ice cream maker bowl to your KitchenAid stand mixer. Make sure it’s properly secured according to your mixer’s instructions. Turn the mixer to a low speed (usually ‘STIR’ or ‘1’).
Pour and Ponder: Slowly and steadily pour your cream mixture into the churning bowl. Resist the urge to dive in headfirst. Let it churn for about 20-30 minutes, or until it looks like soft-serve ice cream. It’ll thicken beautifully right before your eyes.
Mix-in Mania (optional): If you’re adding mix-ins, now’s the time! Turn off the mixer and stir them in gently with a spatula. Don’t overdo it, we’re not making a cement mix here.
Freeze for Firmness: Transfer your soft ice cream to an airtight container. Pop it into the freezer for at least 4-6 hours (or overnight) to firm up. Patience, my friend, patience!
Scoop and Savor: When it’s firm enough to scoop, grab a spoon and dive in! You just made homemade ice cream, you legend!
Common Mistakes to Avoid
We’ve all been there, trust me. Learn from my (and others’) blunders:
- Not Chilling the Bowl Enough: This is a cardinal sin! If your bowl isn’t frosty AF, your ice cream won’t thicken. You’ll get a milky slush, and nobody wants that.
- Using Low-Fat Dairy: Remember that “ain’t a diet plan” comment? Fat equals creaminess. Skimping on the heavy cream or using skim milk will lead to icy, sad ice cream.
- Overfilling the Bowl: Ice cream expands as it churns. If you put too much mixture in, it’ll overflow and make a huge mess. Stick to the recommended amount for your bowl size.
- Not Freezing Long Enough Post-Churn: Churning gets it to soft-serve consistency. For that perfect scoopable goodness, it needs a proper nap in the freezer. Don’t rush perfection.
Alternatives & Substitutions
Feeling adventurous? Let’s talk options!
- Flavor Frenzy: Wanna go beyond vanilla? Swap out some vanilla extract for a little almond extract (IMO, divine!). Or add cocoa powder for chocolate ice cream, a shot of espresso for coffee, or fruit purées (just blend fresh fruit and add it during the last 5 minutes of churning). The world is your oyster!
- Sweetener Swaps: You can try maple syrup or honey instead of granulated sugar, but be warned: it might change the texture a little and make it slightly softer. Still delicious, though!
- Dairy-Free Delight: Yes, you can make this dairy-free! Use full-fat coconut cream (the thick stuff from the can, not coconut milk beverage) as a substitute for heavy cream and milk. The texture will be slightly different, but still rich and creamy.
FAQ (Frequently Asked Questions)
- Do I *really* need to chill the bowl for that long? Like, is 12 hours enough?
Oh, honey, I wouldn’t lie to you. Twenty-four hours is ideal. The colder, the better, or you’ll be staring at a milky swirl that just won’t thicken. Learn from my mistakes! - How long does the churning process usually take?
Typically, around 20-30 minutes. It depends on how cold your bowl is and the ambient temperature of your kitchen. Just watch it until it looks like thick soft-serve. - Can I make this without a KitchenAid ice cream attachment?
This specific recipe relies on that attachment. However, if you don’t have one, Google “no-churn ice cream recipes” – there are some great ones out there that don’t require fancy equipment! - How long does homemade ice cream last in the freezer?
If stored in an airtight container, it’ll be good for up to 2 weeks. Beyond that, ice crystals might start to form, and it won’t be as dreamy. So, eat it up! - Why is my ice cream icy instead of creamy?
This usually boils down to not enough fat (see “Common Mistakes”) or too much water in your mix (e.g., adding watery fruit purée without reducing other liquids). Fat is your friend here! - Can I add alcohol to my ice cream?
A little bit can be fun for flavor, but be careful! Alcohol doesn’t freeze, so adding too much will prevent your ice cream from firming up properly, leaving you with a boozy slush. Use sparingly!
Final Thoughts
You did it! You just whipped up a batch of homemade ice cream, you culinary rockstar! Go on, bask in the glory. Take a selfie with your magnificent creation. You’ve earned every single delicious scoop. Now go impress someone—or yourself—with your new culinary skills. You totally deserve it, you magnificent maker of frozen dreams!


