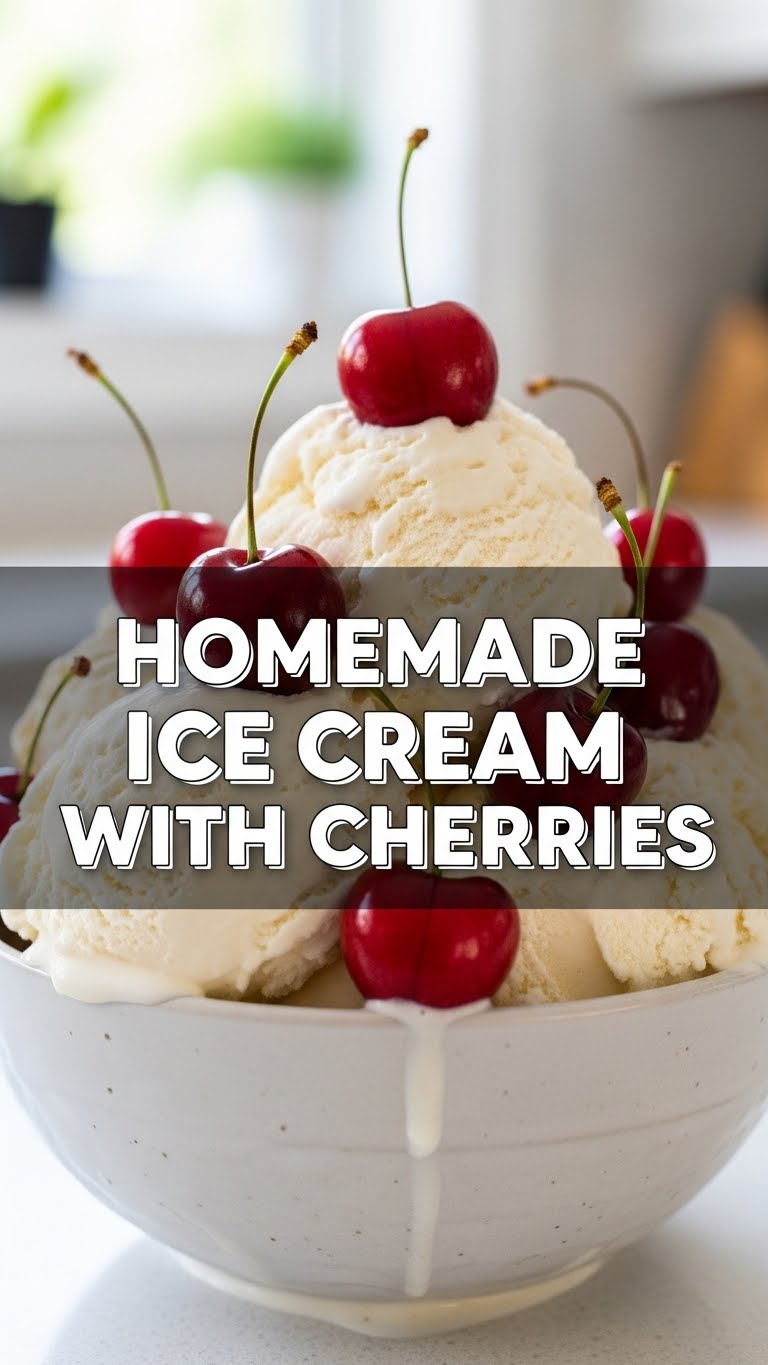
Ever stared into the abyss of your freezer, hoping a magical pint of gourmet ice cream would materialize just for you? Yeah, me too. But let’s be real, sometimes the universe needs a little nudge. Or, you know, a full-on DIY effort that doesn’t feel like a science experiment. So, if you’re craving something ridiculously tasty but don’t want to spend your entire Saturday slaving away, you’re in the right place, friend. We’re making homemade ice cream with cherries, and it’s going to be epic. Trust me.
Why This Recipe is Awesome
Okay, let’s talk about why this isn’t just *another* ice cream recipe. First off, it’s no-churn. That’s right, no fancy ice cream maker required! We’re rebels like that. Secondly, it tastes like a dream – rich, creamy, with those sweet-tart bursts of cherry goodness. It’s so easy, your pet goldfish could probably make it (if they had opposable fins and an understanding of basic refrigeration). Seriously, I’m pretty sure I could do this in my sleep. And if I can, you definitely can. Plus, you get to tell everyone, “Oh, this? Just a little something I whipped up.” Instant culinary cred, without the actual sweat.
Ingredients You’ll Need
Gather ’round, my fellow kitchen adventurers! Here’s what we need. Don’t worry, it’s nothing too wild.
- 2 cups (480ml) Heavy Whipping Cream: This is non-negotiable. Don’t even think about light cream. We’re going for lusciousness, people.
- 1 can (14 oz / 397g) Sweetened Condensed Milk: The magic glue that holds this whole delicious operation together. It’s sweet, it’s thick, it’s perfect.
- 1 teaspoon Pure Vanilla Extract: The unsung hero. Don’t skip it; it brings all the flavors to life.
- 3 cups Fresh Cherries, pitted and halved: Or frozen, if fresh aren’t in season. Just make sure they’re pitted. Nobody wants a trip to the dentist mid-dessert.
- ¼ cup Granulated Sugar: Just a little extra sweetness for our cherry concoction.
- 1 tablespoon Lemon Juice: A little zing to brighten up those cherries. It’s like a secret weapon for fruit.
- Pinch of Salt: Yes, even in dessert. It actually enhances the sweet flavors. Science!
Step-by-Step Instructions
Alright, apron on (or not, whatever), let’s get down to business. These steps are super straightforward.
- Prep Your Cherries: First things first, pit those cherries and slice them in half. If you’re using frozen, let them thaw a bit first. Once prepped, toss them into a small saucepan with the ¼ cup of sugar and the lemon juice.
- Cook the Cherries: Heat the cherry mixture over medium heat, stirring occasionally. Let it bubble gently for about 5-7 minutes, until the cherries soften and release their juices, creating a lovely syrup. Remove from heat and let them cool completely. This is important! Don’t add warm cherries to your cream, unless you want soup.
- Whip the Cream: While your cherries are chilling out, grab a large, chilled bowl and an electric mixer (or a whisk, if you’re feeling ambitious). Pour in the heavy whipping cream. Beat on medium-high speed until you get beautiful, stiff peaks. We’re talking fluffy clouds here, not liquid.
- Fold in the Good Stuff: Gently pour the sweetened condensed milk into the whipped cream. Add the vanilla extract and that tiny pinch of salt. Using a spatula, gently fold everything together until just combined. Be careful not to deflate all that lovely air you just whipped into the cream!
- Swirl in the Cherries: Now for the fun part! Gently spoon about two-thirds of the cooled cherry mixture into the cream base. Swirl it lightly with your spatula. Don’t overmix; we want lovely streaks of cherry, not a uniform pink mass. Save the remaining cherries for topping.
- Freeze It Up: Pour the mixture into a freezer-safe container (a loaf pan works perfectly). Drizzle the remaining cherry mixture over the top. Cover tightly with plastic wrap or a lid.
- Patiently Wait (The Hardest Part): Pop it in the freezer for at least 6 hours, or preferably overnight, until it’s firm. Try not to peek every five minutes, though I know it’s tempting.
Common Mistakes to Avoid
Look, we all make mistakes. It’s part of the journey! But here are a few rookie errors you can totally sidestep:
- Not Chilling Ingredients (Especially the Bowl!): Warm cream is a sad cream. For best whipping results, chill your bowl and beaters for 15-20 minutes before whipping. Trust me on this.
- Over-Whipping the Cream: Once you hit stiff peaks, stop! Keep going and you’ll end up with butter (which is cool for other things, but not ice cream). You want fluffy, not chunky.
- Adding Warm Cherries: I mentioned it, but it bears repeating. Hot cherries will melt your beautiful cream base, and then you’ve got a soupy mess. Patience, young padawan.
- Eating it Before It’s Fully Frozen: Yes, it smells amazing. Yes, it looks tempting. But it needs to harden properly for that true ice cream experience. You’ll thank me later.
Alternatives & Substitutions
Feeling creative? This recipe is super forgiving. Here are some ideas:
- Other Fruits: Not a cherry fan? No problem! Swap them out for berries (strawberries, raspberries, blueberries), peaches, or even roasted plums. Just cook them down similarly.
- Extract Fun: Try almond extract instead of vanilla (especially good with cherries!) or add a touch of mint extract for a festive twist.
- Mix-In Mania: After you’ve swirled in the fruit, feel free to add chocolate chips, chopped nuts (pistachios would be amazing with cherry!), or crushed cookies. Go wild!
- Boozy Twist: A tablespoon of kirsch (cherry brandy) added to the cherries as they cook would be next-level for an adult treat.
FAQ (Frequently Asked Questions)
Got questions? I’ve got (casual) answers!
- Can I use light cream or half-and-half instead of heavy cream? Well, technically you *can*, but why hurt your soul like that? For that rich, creamy, proper ice cream texture, heavy cream is non-negotiable. It’s the fat content that makes it so glorious.
- Do I *really* need to cook the cherries? Can’t I just fold them in raw? You *could*, but cooking them down releases their juices, intensifies their flavor, and creates that lovely syrupy goodness. Raw cherries can sometimes be a bit icy in the final product. So, yeah, do the cooking part.
- My ice cream turned out a bit icy, what went wrong? Hmmm. Did you whip your cream enough to stiff peaks? Or maybe your cherries weren’t fully cooled? Too much liquid or not enough air whipped into the cream can lead to iciness. Make sure everything is cold and whip that cream like you mean it!
- How long will this homemade ice cream last in the freezer? If stored in an airtight container, it’ll be good for about 1-2 weeks. But let’s be honest, will it even last that long? Probably not.
- Can I make this dairy-free? Absolutely! You can substitute full-fat canned coconut cream (chilled overnight, use the thick cream on top) for the heavy cream, and a dairy-free sweetened condensed milk alternative. The texture will be slightly different (more like a sorbetto), but still delicious.
Final Thoughts
And there you have it! A ridiculously easy, unbelievably delicious homemade cherry ice cream recipe that requires zero fancy gadgets. You’ve just unlocked a new level of dessert wizardry, my friend. Now go impress someone – or, more importantly, yourself – with your new culinary skills. You’ve earned every single creamy, cherry-filled bite. Enjoy!


