So, you’ve got that craving, huh? That deep, dark, decadent desire for something truly spectacular, but you also reeeeally don’t want to spend your entire weekend wrestling with a baking project that looks like it belongs on a professional chef’s resume. Girl, I hear you. And I’ve got your back. We’re talking Homemade German Chocolate Cake, but like, the *easy* version. The “I swear I made this myself, no really” version.
Why This Recipe is Awesome
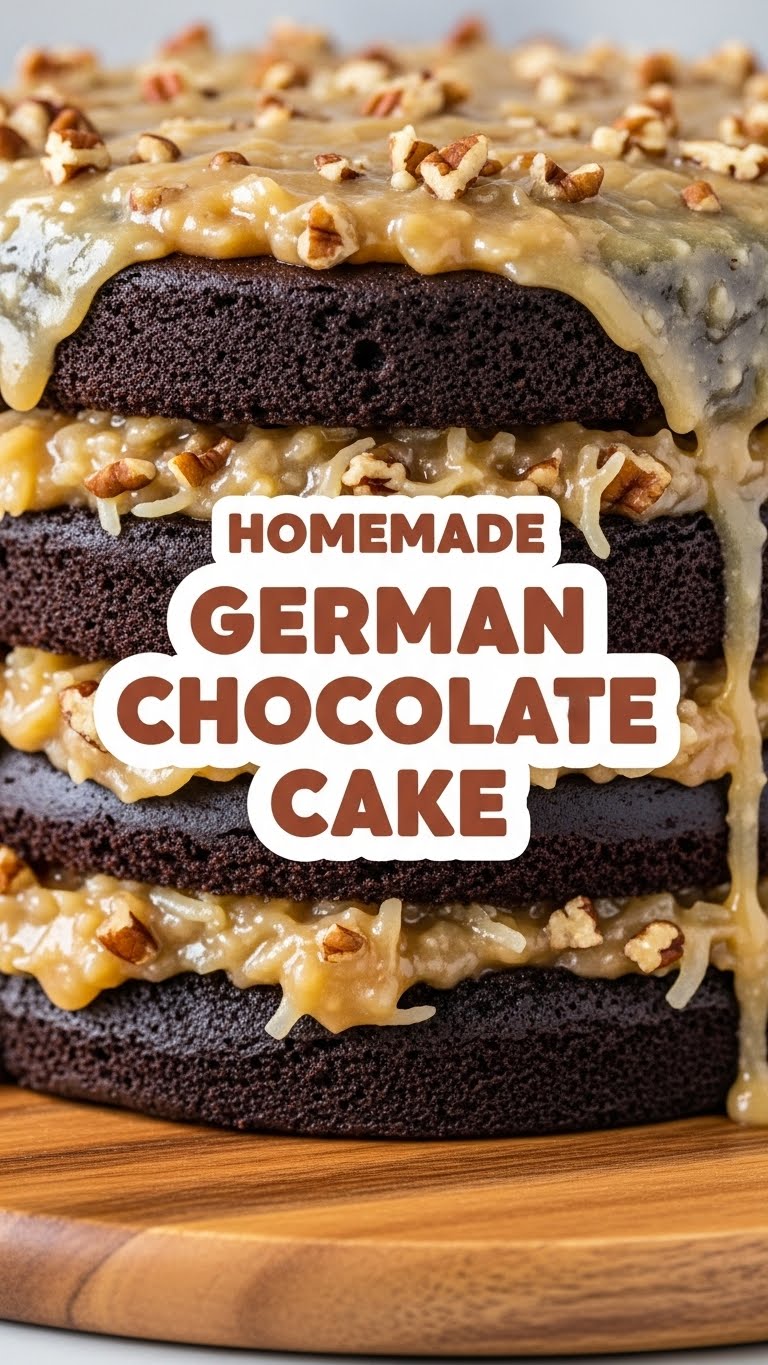
Let me tell you, this isn’t just *another* cake recipe. This is *the* cake recipe for when you want to impress without breaking a sweat (or a perfectly good kitchen). It’s got that rich, moist chocolate cake base that’s practically a hug in itself, but the real MVP? That luscious, caramelly, coconut-pecan frosting. It’s so good, you’ll want to eat it with a spoon straight from the pot – and honestly, no judgment if you do. This recipe is pretty much **idiot-proof**, even *I* didn’t mess it up, and my track record with delicate desserts is… spotty, to say the least. Plus, it just *looks* fancy, which means maximum bragging rights for minimum effort. Win-win, baby!
Ingredients You’ll Need
Get ready for a grocery list that’s mostly standard, with a couple of special guests for that iconic German Chocolate magic.
For the Cake:
- 1 ½ cups all-purpose flour: The backbone of our cakey dreams.
- 1 ½ cups granulated sugar: Sweetness, glorious sweetness.
- ¾ cup unsweetened cocoa powder: The “chocolate” in German Chocolate Cake. Don’t skimp!
- 1 ½ teaspoons baking soda: Our fluffy-maker.
- 1 teaspoon salt: Balances everything out like a culinary tightrope walker.
- 2 large eggs: Room temperature, please! They mix better.
- ¾ cup buttermilk: Don’t have it? See alternatives below, but this is **key** for moisture!
- ¾ cup vegetable oil: Keeps things tender and moist.
- 1 teaspoon vanilla extract: A must-have for depth of flavor.
- ¾ cup hot water: Just-boiled is great. It helps activate the cocoa.
For the Famous Coconut-Pecan Frosting:
- 1 cup evaporated milk: Not condensed milk! Check the label twice, seriously.
- 1 cup granulated sugar: More sweetness for our glorious frosting.
- 3 large egg yolks: These make the frosting super rich and custardy.
- ½ cup (1 stick) unsalted butter: The good stuff, softened. No sad substitutes here, IMO.
- 1 teaspoon vanilla extract: Because vanilla makes everything better.
- 1 ½ cups shredded sweetened coconut: The star of the show!
- 1 cup chopped pecans: Toasted, if you’re feeling fancy (and you should!).
Step-by-Step Instructions
Let’s Make the Cake First!
- Preheat & Prep: Preheat your oven to 350°F (175°C). Grease and flour two 9-inch round cake pans. Don’t skip this, unless you enjoy playing “cake vs. pan” games.
- Whisk Dry: In a large bowl, whisk together the flour, sugar, cocoa powder, baking soda, and salt. Make sure there are no lumpy bits.
- Mix Wet: In a separate medium bowl, whisk the eggs, buttermilk, oil, and vanilla extract until well combined.
- Combine: Pour the wet ingredients into the dry ingredients. Mix on low speed (or by hand) until just combined. Don’t overmix, or your cake will be tough – we’re going for tender here!
- Add Hot Water: Carefully add the hot water to the batter and mix until smooth. The batter will be thin, and that’s okay!
- Bake It Up: Divide the batter evenly between the two prepared pans. Bake for 30-35 minutes, or until a wooden skewer inserted into the center comes out clean.
- Cool Down: Let the cakes cool in the pans for about 10-15 minutes before inverting them onto a wire rack to cool completely. **This is crucial!** Trying to frost a warm cake is a recipe for disaster.
Now for That Amazing Frosting!
- Cook the Base: In a medium saucepan, combine the evaporated milk, sugar, egg yolks, and butter. Cook over medium-low heat, stirring constantly, until the mixture thickens to a pudding-like consistency. This usually takes about 10-12 minutes. **Do not boil!**
- Remove & Add: Take the saucepan off the heat. Stir in the vanilla extract, shredded coconut, and chopped pecans.
- Cool It Down: Let the frosting cool completely to room temperature. It will thicken even more as it cools. If it feels too stiff, you can gently warm it for a minute or two on low heat, stirring constantly.
- Assemble Your Masterpiece: Once both the cakes and frosting are completely cool, place one cake layer on your serving plate. Spread about half of the frosting evenly over the top. Place the second cake layer on top and spread the remaining frosting over that. You can also frost the sides if you’re feeling ambitious, but traditionally, this cake is just frosted on top!
Common Mistakes to Avoid
- Not Preheating the Oven: Rookie move! A properly preheated oven ensures even baking from the start. Otherwise, your cake might not rise correctly.
- Overmixing the Batter: Once the wet and dry ingredients just come together, stop. Overmixing develops the gluten too much, leading to a dry, tough cake. Nobody wants that!
- Frosting a Warm Cake: Unless you enjoy soupy frosting sliding off your cake like a sad waterfall, make sure your cakes are **completely** cool. Patience, young padawan.
- Using the Wrong Milk: Evaporated milk is *not* the same as sweetened condensed milk for the frosting. One is unsweetened and thick, the other is super sweet and sticky. Make sure you grab the right one!
- Walking Away from the Frosting: That custard-like frosting needs constant stirring. Step away for too long, and you might end up with scrambled eggs or burnt sugar. Stay vigilant!
Alternatives & Substitutions
- No Buttermilk? No Problem!: If you don’t have buttermilk on hand, don’t fret! Just add 1 tablespoon of lemon juice or white vinegar to a liquid measuring cup, then fill the rest of the way with regular milk (any kind works, really) until you reach ¾ cup. Let it sit for 5 minutes to curdle. Voila! Instant buttermilk.
- Nutty Swaps: Not a pecan fan? You can totally use walnuts instead, or even a mix of both! For a nut-free version, simply omit them from the frosting. The texture will be different, but still delicious.
- Coconut Preference: Sweetened shredded coconut is traditional, but if you’re feeling adventurous, toast some unsweetened coconut for a deeper, nuttier flavor. Just keep an eye on it – it burns fast!
- Butter or Oil?: While the recipe calls for vegetable oil for the cake for moisture, you can try melted butter for a richer flavor. Just be aware it might slightly change the cake’s texture to be a bit denser.
FAQ (Frequently Asked Questions)
- “Can I make this cake ahead of time?” Absolutely! The cake layers can be baked a day in advance, wrapped tightly in plastic wrap, and stored at room temperature. The frosting can also be made a day ahead and stored in an airtight container in the fridge. Bring the frosting to room temp before using, and give it a good stir.
- “How long does German Chocolate Cake last?” If stored properly (covered at room temperature or in the fridge), it’s best within 3-4 days. But let’s be real, it rarely lasts that long!
- “My frosting didn’t thicken. What did I do wrong?” Did you use enough egg yolks? Did you cook it long enough over medium-low heat, stirring constantly? Patience is key here. It takes a bit for those yolks and sugar to do their magic and create that thick, custardy texture. Keep stirring!
- “Is German Chocolate Cake actually German?” Fun fact: Nope! It’s an American invention. It’s named after an American baker, Samuel German, who developed a sweet baking chocolate bar in the mid-19th century. So, it’s German, but not *from* Germany. Mind blown, right?
- “Can I use store-bought frosting?” Well, technically yes, but why hurt your soul like that? The homemade coconut-pecan frosting is what makes this cake iconic and worth every tiny bit of effort. It’s truly a game-changer!
Final Thoughts
There you have it, friend! Your very own, completely doable, ridiculously delicious Homemade German Chocolate Cake. Seriously, you’ve just unlocked a new level of baking prowess without even breaking a sweat. So, go on, bake that cake, slather on that glorious frosting, and prepare for compliments. Now go impress someone – or yourself – with your new culinary skills. You’ve earned it!


