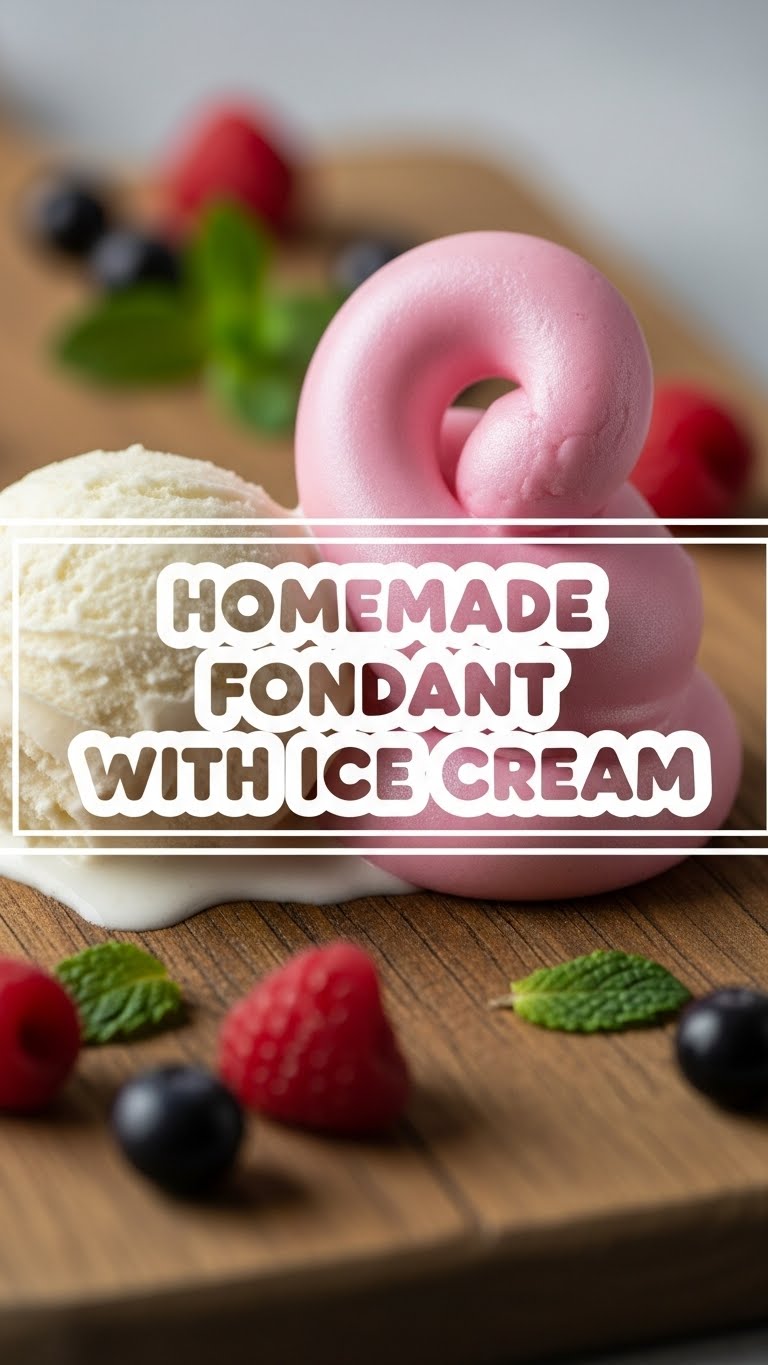
So you’re craving something tasty but too lazy to spend forever in the kitchen, huh? Same. What if I told you we’re making *fondant*? Yeah, the fancy stuff you usually see on wedding cakes and think, “Nope, that’s wizardry, not baking.” But here’s the kicker: we’re making an **easy, homemade version** that’s not just for decorating, it’s actually delicious to eat – especially when paired with a big scoop of your favorite ice cream. Get ready to impress yourself (and your taste buds) with minimal effort!
Why This Recipe is Awesome
Let’s be real, most fondant recipes sound like they require a culinary degree and the patience of a saint. Not this one, my friend. This recipe is genuinely **idiot-proof** – seriously, even I didn’t mess it up, and my kitchen adventures often involve smoke alarms. Here’s why it’s about to become your new favorite party trick:
- It’s lightning fast! We’re talking minutes, not hours.
- Uses super simple ingredients you probably already have lurking in your pantry.
- The result? A smooth, pliable, and surprisingly tasty fondant that’s way better than the store-bought stuff.
- It’s ridiculously fun to make, especially if you have little helpers (or just like getting messy).
- And the best part? It’s phenomenal with ice cream. Think of it like a soft, chewy, custom-flavored candy shell that melts ever so slightly on a cold scoop. Divine!
Ingredients You’ll Need
Gather your magic dust and get ready. You won’t need much, FYI:
- 1 bag (10 oz) Mini Marshmallows: The fluffier, the better. These are the foundation of our sweet dreams.
- 1 lb Powdered Sugar (Confectioners’ Sugar): Also known as icing sugar, this is your fairy dust. You might not use all of it, but it’s good to have extra.
- 1-2 Tablespoons Water (or Milk): Just a tiny splash to get things going. Don’t drown your marshmallows!
- 1-2 Teaspoons Vanilla Extract: Or any other extract you fancy (almond, peppermint, lemon – get wild!).
- Shortening (like Crisco) or a Neutral Oil: For greasing your hands and work surface. Trust me, you’ll thank me later for this sticky situation prevention.
- Food Coloring (Optional): Want pink fondant for strawberry ice cream? Green for mint chip? Go for it!
Step-by-Step Instructions
Alright, apron on (or don’t, I won’t tell). Let’s do this!
- Melt the Marshmallows: Grab a large, microwave-safe bowl. Toss in your mini marshmallows and 1 tablespoon of water (or milk). Microwave on high for 30-second intervals, stirring after each, until the marshmallows are puffed up and mostly melted. This usually takes about 1-2 minutes total. Stir until smooth.
- Add the Sweetness: Sift about 3/4 of your powdered sugar into the melted marshmallow mixture. Add your vanilla extract (and food coloring, if using). Stir with a sturdy spoon until it starts to come together and becomes difficult to mix.
- Get Your Hands Dirty (the Fun Part!): Liberally grease your hands and a clean work surface (a large cutting board or your countertop works great) with shortening. Dump the marshmallow-sugar mixture onto the greased surface.
- Knead It Out: Start kneading the mixture like dough. Gradually add more powdered sugar, a little at a time, until the fondant is smooth, pliable, and no longer super sticky. It should feel like playdough. This might take 8-10 minutes of kneading. **The key is to keep your hands and surface greased!**
- Rest & Relax (You Too!): Once it’s smooth, form it into a ball, lightly grease the outside, wrap it tightly in plastic wrap (no air bubbles!), and let it rest at room temperature for at least 30 minutes. This helps it firm up and become easier to work with.
- Roll & Enjoy! When you’re ready to use it, unwrap, give it a quick knead if needed, and roll it out thin on a lightly powdered sugar surface. Cut out shapes with cookie cutters, drape it over a small cake, or simply tear off pieces to enjoy with a scoop of ice cream. Yum!
Common Mistakes to Avoid
Look, we all make mistakes. Let’s learn from mine, shall we? These are the rookie errors that can turn your fondant dreams into a sticky nightmare:
- Too Much Liquid: Starting with too much water/milk or adding more too quickly. Your fondant will become a gooey, impossible mess. Stick to the initial tablespoon!
- Not Enough Grease: Thinking you can skip greasing your hands and work surface? Ha! That’s like trying to wrestle a greased pig with bare hands. Embrace the shortening!
- Adding All the Powdered Sugar at Once: You’ll end up with a dry, crumbly mess that refuses to cooperate. Add it gradually until you reach the right consistency.
- Over-Kneading: While it needs kneading, overdoing it can make your fondant tough. Once it’s smooth and pliable, stop.
- Impatience: Not letting it rest. The rest time is crucial for the fondant to firm up and become easier to roll. Don’t skip it!
Alternatives & Substitutions
Feeling a little adventurous? Or just realized you’re missing an ingredient? No worries, we’ve got options!
- For the Shortening: While shortening is best for non-sticking, a neutral oil like vegetable or canola oil can work in a pinch for greasing hands/surface. For making the fondant itself, shortening is key.
- Different Flavorings: Vanilla is classic, but why stop there? Try almond extract for a marzipan-like flavor, lemon extract for a zesty kick, or even a tiny bit of coffee extract for a grown-up treat. IMO, almond fondant with vanilla bean ice cream is a match made in heaven.
- Vegan Option: Yes, you can make this vegan! Just grab a bag of vegan marshmallows (they’re readily available now!) and ensure your powdered sugar is vegan-friendly (some contain bone char, sad face).
- Corn Syrup: A tiny bit of corn syrup (like a teaspoon) added with the water can make your fondant even more pliable and less prone to tearing. Pro baker tip!
FAQ (Frequently Asked Questions)
Got questions? I’ve got (casual) answers!
- “Can I use regular large marshmallows instead of mini ones?” Technically yes, but you’ll need to cut them into smaller pieces first so they melt evenly and quickly. Mini marshmallows are just easier, trust me.
- “How long does this homemade fondant last?” If wrapped **super** tightly in plastic wrap (then maybe popped into an airtight container), it can last a couple of weeks at room temperature. Don’t put it in the fridge; it’ll dry out and get hard.
- “My fondant is super sticky, what did I do wrong?” Ah, the sticky situation! You either didn’t add enough powdered sugar or too much liquid initially. Keep kneading in more powdered sugar, a little at a time, until it reaches that playdough consistency. And re-grease those hands!
- “Can I make this ahead of time?” Absolutely! It’s actually better if you do. Just remember to let it come back to room temperature and give it a good knead before rolling it out if it feels a bit stiff.
- “What kind of ice cream pairs best with this?” Oh, the possibilities! Classic vanilla is a no-brainer, allowing your fondant’s flavor to shine. But imagine it with strawberry ice cream (pink fondant, anyone?), or even chocolate for a s’mores vibe. Don’t be afraid to experiment!
- “What if my fondant is too stiff or crumbly?” Don’t panic! It’s likely you added too much powdered sugar. Microwave it for 5-10 seconds, then knead in a tiny bit more shortening or a few drops of water. Be gentle and patient!
- “Is it really better than store-bought fondant?” IMO, yes, hands down! Store-bought often tastes like chemicals and sadness. This marshmallow fondant is sweet, chewy, and actually pleasant to eat. Plus, you get bragging rights!
Final Thoughts
See? That wasn’t so scary, was it? You just whipped up some homemade fondant like a total pro! Now you’ve got this wonderfully versatile, edible art material (that also happens to be a fantastic ice cream companion). Go on, show off a little! Cut out some fun shapes, make little edible bowls, or just tear off a piece and enjoy the sweet, chewy goodness straight up. You’ve earned it!


