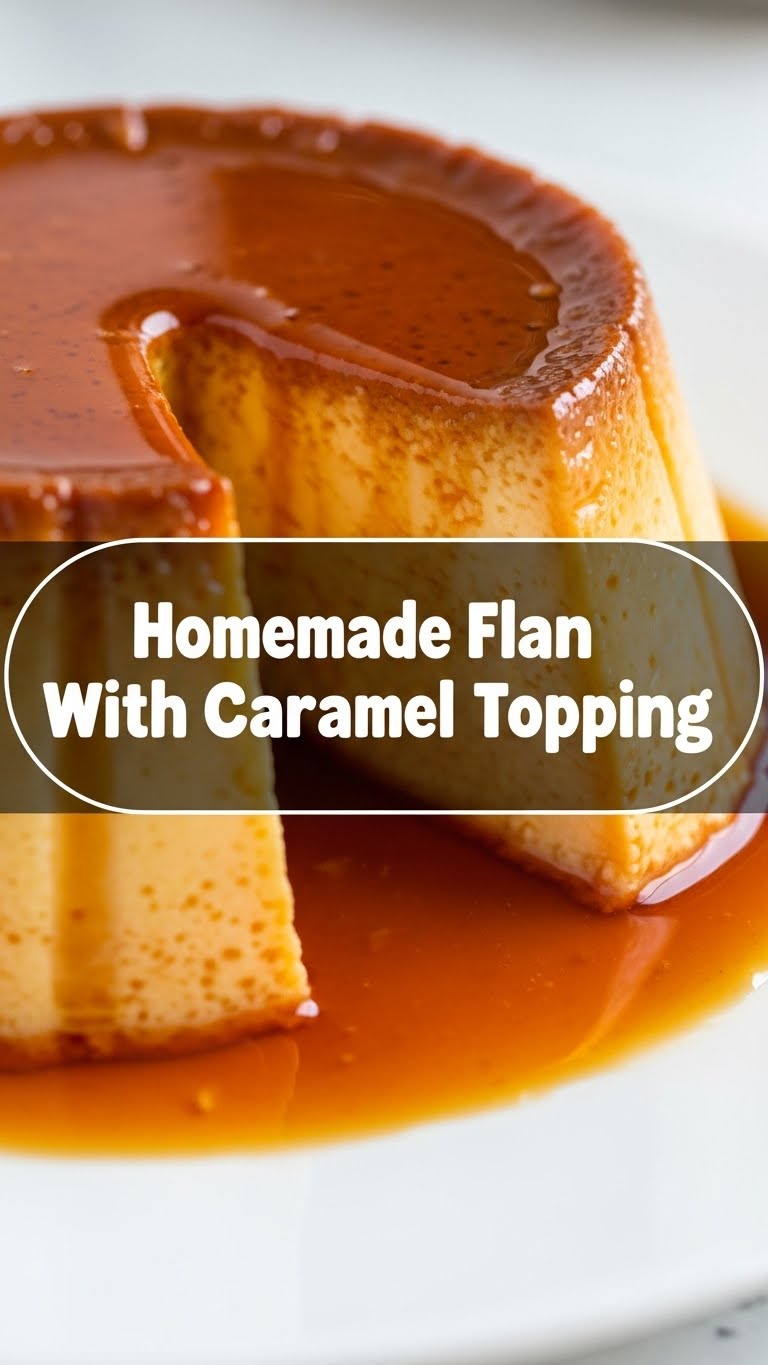
So, you’re craving something that screams “fancy dessert” but doesn’t require a culinary degree or a full day chained to the stove, huh? Welcome to the club! Today, we’re diving headfirst into the glorious, silky world of homemade flan with that irresistible caramel topping. Trust me, this isn’t just a recipe; it’s a passport to dessert heaven with minimal effort and maximum bragging rights. Get ready to impress yourself (and anyone lucky enough to share) with this absolute stunner.
Why This Recipe is Awesome
Okay, let’s be real: most “impressive” desserts come with a laundry list of steps and the potential for epic failure. Not this one, my friend! This flan recipe is so forgiving, it practically makes itself. It’s **idiot-proof**, I swear, even I didn’t mess it up, and my kitchen adventures often involve smoke alarms and frantic Google searches. It tastes like you slaved away for hours, but in reality? You’ll be chilling (literally, the flan needs to chill) while looking like a total kitchen wizard. Plus, it’s naturally gluten-free, so you can tell your GF pals you made a fancy dessert just for them. You’re welcome.
Ingredients You’ll Need
Gather your troops, fellow dessert warrior! Here’s what you’ll need for this creamy, dreamy flan magic:
- For the Caramel:
- 1 cup Granulated Sugar: The star of our show, transforming into liquid gold.
- ¼ cup Water: Just a splash to help things along.
- For the Flan:
- 1 (12 oz) can Evaporated Milk: The unsung hero for that perfect creamy texture.
- 1 (14 oz) can Sweetened Condensed Milk: Our secret weapon for sweetness and even more creaminess. Don’t skip this!
- 1 cup Whole Milk: Because we’re going for luscious, not lackluster. Feel free to use 2% if that’s all you have, but whole is king here.
- 4 Large Eggs: Fresh ones, please! No ancient relics from the back of the fridge.
- 2 Large Egg Yolks (Optional, but recommended for extra richness): Because sometimes, extra is just better, right?
- 1 teaspoon Vanilla Extract: A good quality splash makes all the difference. None of that imitation nonsense, IMO.
- Pinch of Salt: Just a tiny bit to balance out all that wonderful sweetness.
Step-by-Step Instructions
- Preheat & Prepare: Preheat your oven to 350°F (175°C). Grab a 9-inch round baking dish (or individual ramekins for single servings, if you’re feeling fancy). Set aside a larger baking pan or roasting pan – this will be our water bath!
- Caramel Time (Careful!): In a medium saucepan, combine the 1 cup sugar and ¼ cup water. Cook over medium heat, swirling occasionally (don’t stir too much, or it can crystallize!). Watch it like a hawk. When it turns a beautiful amber color – like a golden sunset – immediately remove it from the heat.
- Coat the Dish: Quickly and carefully pour the hot caramel into your baking dish, tilting and swirling to coat the bottom and slightly up the sides. Be speedy; it sets fast!
- Blend the Flan Base: In a large bowl, whisk together the evaporated milk, sweetened condensed milk, whole milk, eggs, egg yolks (if using), vanilla extract, and pinch of salt until everything is well combined and smooth. Don’t over-whisk, we don’t want too many bubbles.
- Strain for Silkiness: For an extra silky-smooth flan (and trust me, you want this), pour the flan mixture through a fine-mesh sieve directly into your caramel-coated baking dish. This catches any bits of cooked egg or undissolved sugar.
- Water Bath Magic: Place your flan dish into the larger roasting pan. Carefully pour hot water into the larger pan until it comes about halfway up the sides of the flan dish. This creates a gentle, even cooking environment.
- Bake It Up: Carefully transfer the whole water bath setup to your preheated oven. Bake for 50-60 minutes, or until the edges are set but the center still jiggles slightly when gently shaken. A knife inserted near the edge should come out clean.
- Cool Down: Once baked, carefully remove the flan dish from the water bath (the water is hot!). Let it cool on a wire rack for about an hour at room temperature.
- Chill Out: Cover the flan dish with plastic wrap and transfer it to the refrigerator. This is crucial! Chill for at least 4 hours, but **ideally overnight**. Patience, grasshopper!
- The Grand Reveal: When you’re ready to serve, run a thin knife around the edge of the flan to loosen it. Place a serving plate upside down over the flan dish. In one swift, confident motion, flip the flan onto the plate. The caramel will cascade down the sides in a gorgeous, glossy river. Ta-da!
Common Mistakes to Avoid
- Burning the Caramel: Rookie mistake! Caramel goes from perfectly golden to burnt in seconds. Watch it closely and remove it immediately when it hits that lovely amber. Burnt caramel is bitter and unforgivable.
- Not Using a Water Bath: Seriously, don’t skip this. The water bath ensures your flan cooks gently and evenly, preventing it from cracking and giving it that signature silky texture.
- Over-Whisking the Flan Mixture: Too many air bubbles can lead to a less smooth, more porous flan. Whisk just until combined.
- Not Chilling Long Enough: Trying to unmold a warm flan is like trying to wrangle a greased pig – messy and likely to end in disappointment. **Seriously, chill it overnight.**
- Stirring the Caramel Too Much: When making the caramel, mostly just swirl the pan. Too much stirring can cause the sugar to crystallize.
Alternatives & Substitutions
Feeling a little adventurous? Here are a few ways to tweak your flan masterpiece:
- Dairy-Free Flan: You *can* substitute the evaporated and condensed milk with dairy-free versions (like coconut condensed milk) and regular milk with almond or oat milk. Just be aware that the texture might be slightly different – perhaps a bit less rich, but still delicious!
- Flavor Boost: Add a pinch of cinnamon, a hint of orange zest, or even a shot of espresso to the flan mixture before baking for a different flavor profile. Coffee flan? Yes, please!
- Individual Servings: Instead of one large flan, divide the caramel and flan mixture among smaller ramekins. Adjust baking time accordingly (usually around 30-40 minutes for smaller ramekins). Perfect for portion control (or avoiding sharing!).
- Can I use store-bought caramel? Well, technically yes, but why hurt your soul like that? Making your own caramel is surprisingly easy and tastes infinitely better. Plus, it’s part of the fun!
FAQ (Frequently Asked Questions)
Got questions? I’ve got (casual) answers!
- My caramel seized up! What happened? Oh, the horror! Usually, this means it cooled too fast, or you might have stirred it too much causing crystallization. Don’t fret! Sometimes adding a tiny splash of hot water and reheating gently can fix it, but often it’s best to start over. Live and learn, right?
- How do I know my flan is done? Give the pan a gentle jiggle. The edges should be set, but the very center might still have a slight wobble. Think of it like a firm Jell-O. A knife inserted near the edge should come out clean.
- Can I make this ahead of time? Absolutely! In fact, it’s highly recommended. Flan tastes even better the next day once the flavors have had time to meld and it’s thoroughly chilled. **FYI, it’s a perfect make-ahead dessert!**
- Why did my flan crack? Likely culprits: overbaking (cooked too long or at too high a temperature) or not using a water bath. The cracks mean it dried out a bit. Still edible, but maybe not picture-perfect.
- What if I don’t have a fine-mesh sieve? You can skip it, but your flan might not be *quite* as silky. It’ll still be delicious, just a tiny bit less refined. No biggie.
- My flan stuck to the dish when I tried to unmold it! Help! You probably didn’t run the knife around the edges well enough, or it wasn’t chilled long enough. Make sure to truly loosen the edges, and for the love of all that is holy, chill it overnight!
Final Thoughts
There you have it, folks! You just mastered flan, a dessert that looks sophisticated but is secretly one of the easiest to whip up. Go on, pat yourself on the back! Now go impress someone—or yourself—with your new culinary skills. You’ve earned it! Serve it up, bask in the compliments, and don’t forget to savor every single, glorious bite. You’re basically a dessert superstar now. Don’t forget to send me a slice!


