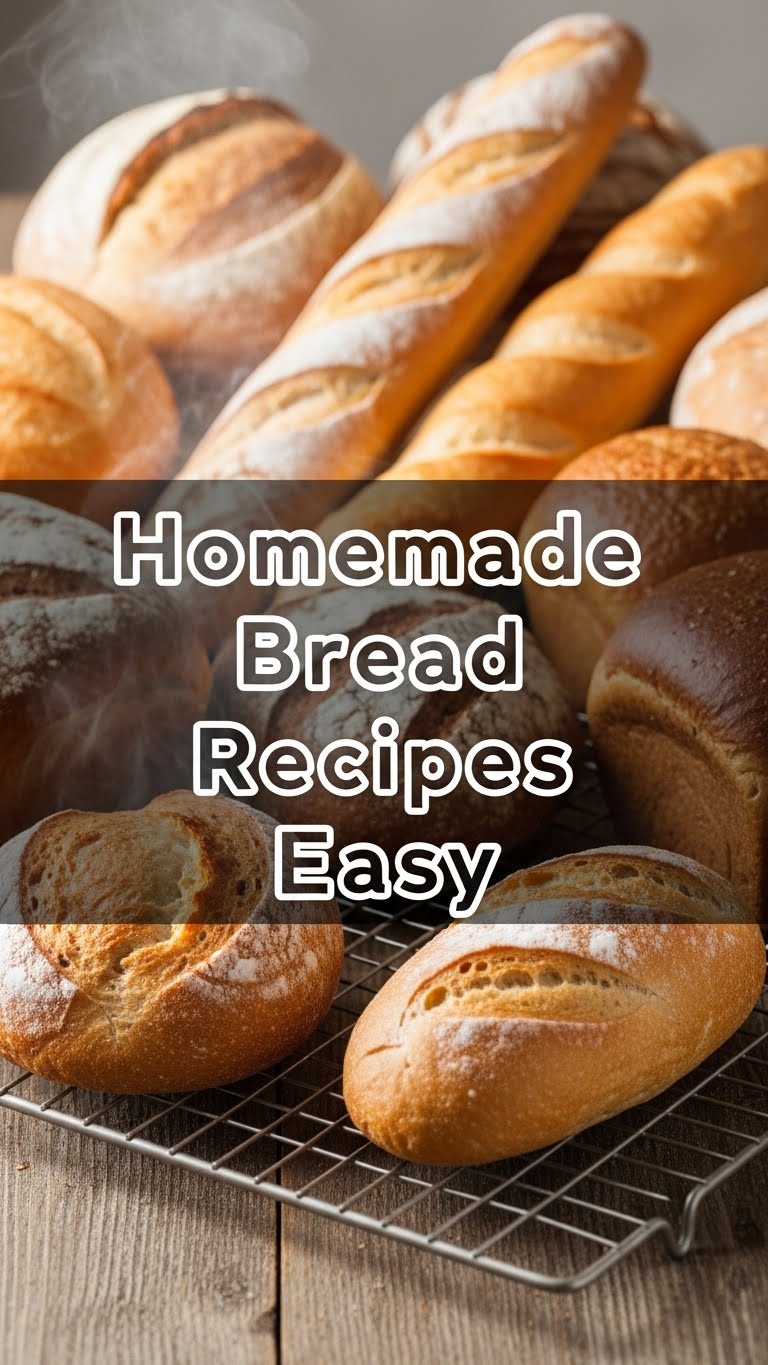
So you’re craving that warm, heavenly smell of freshly baked bread but dread the idea of a complicated recipe, huh? Me too, friend. Me too. Let’s make some magic without breaking a sweat (or a spirit). Because who says incredible bread has to be a whole weekend project? Not us, obviously!
Why This Recipe is Awesome
Okay, first off, this isn’t your grandma’s 17-hour sourdough. This is the “I woke up and decided I deserve deliciousness today” kind of bread. It’s so easy, it’s almost suspicious. Seriously, if you can stir, you can make this bread. It’s forgiving, requires minimal fuss, and tastes like you spent all day slaving away. Your secret’s safe with me. Plus, the smell alone is worth the minuscule effort, IMO. It’s practically aromatherapy!
Ingredients You’ll Need
Gather ’round, pantry explorers! Here’s your very manageable shopping list:
- 3 cups All-Purpose Flour: The unsung hero of baking. Don’t get fancy; just regular old AP flour works perfectly here.
- 1 packet (2 ¼ teaspoons) Active Dry Yeast: Not the instant kind, unless you’re feeling adventurous and want to test fate. We’re playing it safe to guarantee that fluffy rise.
- 1 teaspoon Granulated Sugar: Just a pinch for the yeast to snack on and get energetic. Think of it as their pre-workout fuel.
- 1 teaspoon Salt: Because bland bread is a crime. Seriously, don’t skimp.
- 1 ¼ cups Warm Water: Crucial! Not hot (you’ll kill the yeast!), not cold (they’ll be too sleepy!), just “I’d take a bath in this if I were a tiny bread creature” warm. Around 105-115°F (40-46°C) is ideal.
- 1 tablespoon Olive Oil (plus a bit extra for the bowl and brushing): For that gorgeous golden crust and a softer crumb. Like sunscreen for your bread, but delicious.
Step-by-Step Instructions
Get ready to impress yourself! These steps are so simple, you’ll wonder why you ever bought bread from a store (just kidding, we all love conveniences, right?).
- Wake Up the Yeast: In a large mixing bowl, combine the warm water, sugar, and active dry yeast. Give it a gentle stir. Now, here’s the important part: let it sit for 5-10 minutes. It should get nice and foamy, like a tiny yeast party. If it doesn’t foam, your yeast might be expired or your water was too hot/cold. Time to restart!
- Mix the Dry Crew: While your yeast is getting active, whisk together the flour and salt in a separate bowl. This ensures everything is evenly distributed.
- Combine & Conquer: Once your yeast is bubbly, pour in the tablespoon of olive oil. Then, gradually add the dry flour mixture to the wet ingredients, stirring with a wooden spoon or spatula until a shaggy dough forms. It won’t be perfectly smooth, and that’s totally fine.
- Knead (Lightly, Promise!): Turn the dough out onto a lightly floured surface. Knead for about 5-7 minutes. You’re looking for a smooth, elastic dough. Don’t go crazy; this isn’t a CrossFit session. A gentle, rhythmic push and fold will do the trick. If it’s too sticky, add a tiny bit more flour, but be conservative!
- First Rise (The Chill-Out Session): Lightly oil a clean bowl. Place your dough in it, turning once to coat the top. Cover the bowl with plastic wrap or a clean kitchen towel. Let it rise in a warm spot for about 1 to 1 ½ hours, or until it has roughly doubled in size. Patience, grasshopper!
- Shape Your Masterpiece: Once doubled, gently punch down the dough to release the air (surprisingly satisfying, FYI). Turn it out onto a lightly floured surface again. Gently shape it into a loaf. You can do a simple rectangle or fold the sides into the center, then roll it into a neat log.
- Second Rise (Almost There!): Place your shaped loaf into a lightly greased loaf pan. Cover it again and let it rise for another 30-45 minutes, or until it looks puffy and almost doubled.
- Preheat & Bake: About 20 minutes before the second rise is done, preheat your oven to 375°F (190°C). Once the oven is hot and the loaf has risen, you can brush the top with a little olive oil for extra goldenness. Bake for 30-35 minutes, or until the crust is golden brown and the loaf sounds hollow when tapped on the bottom.
- Cool Down (The Hardest Part): Remove the bread from the oven and immediately transfer it from the pan to a wire rack to cool completely. Yes, completely. This is crucial for the texture. Resist the urge to cut into it immediately! Trust me, it’s worth the wait.
Common Mistakes to Avoid
Even though this recipe is practically foolproof, here are a few rookie mistakes that could trip you up. Don’t say I didn’t warn you!
- The Water Temperature Fiasco: Too hot, you’ve essentially boiled your yeast. Too cold, they stay sleepy and unenthusiastic. Aim for that warm bath water feel. Goldilocks it!
- Impatience, Thy Name Is Not Bread-Maker: Rushing the rises is like trying to finish a marathon in a sprint. It won’t end well, and your bread will be dense and sad. Let it do its thing.
- Over-Flouring During Kneading: Adding too much flour makes your dough stiff and tough. Less is often more, folks. A slightly sticky dough is better than a dry one.
- Forgetting to Preheat the Oven: Sliding your beautiful loaf into a cold oven is like jumping into a pool without testing the water. Bad idea! It messes with the final rise and crust.
- Cutting Hot Bread: Seriously, just don’t. The steam inside needs to redistribute as it cools, otherwise, you’ll end up with a gummy interior. It’s torture, I know, but you can do it!
Alternatives & Substitutions
Feeling a little wild? Want to customize? Go for it! This recipe is your canvas.
- Flour Power: Want to try whole wheat? Go for it! Maybe swap half the AP flour for whole wheat to start. Full whole wheat might need a tiny bit more liquid, FYI. Bread flour will give you a chewier loaf.
- Sweet Swap: Honey or maple syrup can work instead of sugar, same idea – feed the yeast, give some flavor. Use roughly the same amount.
- Fat Options: Melted butter instead of olive oil for brushing? Absolutely! Or skip it for a more rustic, less shiny crust.
- Flavor Boosters: Once you’ve mastered the basic loaf, feel free to add garlic powder, dried herbs (rosemary, thyme, oregano), shredded cheese, or even some seeds (sunflower, poppy) to the dough after the first mix!
FAQ (Frequently Asked Questions)
Got questions? I’ve got answers. (Mostly.)
My yeast isn’t foaming, what gives?
Uh oh! Most likely your water was too hot or too cold, or your yeast has checked out (expired). Always check the expiration date! If it doesn’t foam, it won’t rise. Start over with fresh yeast and properly warm water.
Do I *really* need to knead? I’m lazy.
Yes, but just a little! Kneading helps develop the gluten, which gives your bread its structure and chewiness. It’s not an intense workout, I promise. Just a few minutes makes a world of difference.
Can I use instant yeast instead of active dry?
You sure can, rebel! If using instant yeast, you can skip the activation step with the warm water and sugar. Just mix it directly with your dry ingredients, then add the warm water and olive oil.
How do I know if it’s baked through?
A perfectly baked loaf will be golden brown on top and, when removed from the pan, should sound hollow when you tap its bottom. Trust your ears!
How long does this glorious bread last?
If stored in an airtight container or bag at room temperature, it’s generally good for 3-4 days. It also freezes beautifully for up to a month – just wrap it tightly!
Can I make this dairy-free/vegan?
Good news! This recipe is naturally dairy-free and vegan, assuming you stick to olive oil. So, you’re good to go!
Final Thoughts
So there you have it, folks! Your new superpower: making bread that makes people say “You *made* this?!” Nothing beats the smell of fresh bread filling your kitchen, except maybe eating it slathered with butter. Seriously, you just created something amazing from scratch. Now go forth and conquer those carbs. Now go impress someone—or yourself—with your new culinary skills. You’ve earned it! High five!


