So you’re craving something warm, gooey, and utterly delicious but the thought of spending an entire Saturday chained to the kitchen makes you want to curl up with a tub of ice cream (which, let’s be honest, is a mood)? Same, friend. Same. But what if I told you that you could whip up a homemade apple pie, complete with a scoop of melty vanilla ice cream, without needing a culinary degree or, like, all your life savings? Get ready to unleash your inner pie-making wizard!
Why This Recipe is Awesome
Okay, let’s be real. There are a million apple pie recipes out there. So why *this* one? Because it’s practically **idiot-proof**. Seriously. If I can make it without setting off the smoke detector (which, for the record, is a low bar for me), you absolutely can too. This isn’t one of those overly complicated recipes that requires weird obscure spices you’ll only use once. It’s classic, comforting, and guaranteed to make your house smell like a cozy autumn dream. Plus, it’s the perfect excuse to have ice cream for dinner. Just sayin’.
It’s also surprisingly quick for the “wow” factor it delivers. You’ll get that beautiful golden crust and tender, spiced apples, all without breaking a sweat. Your friends will think you’re a genius, and your taste buds will thank you profusely. What’s not to love?
Ingredients You’ll Need
Gather your battle gear, I mean, ingredients! Most of these are probably already lurking in your pantry.
- **For the Pie:**
- **2 ready-made pie crusts** (the refrigerated kind that roll out easily – no judgment here, we’re keeping it chill!)
- **6-8 medium-sized apples**, a mix of tart (like Granny Smith) and sweet (like Fuji or Honeycrisp) works best for a flavor party. About 6 cups sliced.
- **1/2 cup granulated sugar** (or a bit more if your apples are super tart, you do you!)
- **1/4 cup packed light brown sugar** (hello, extra caramel-y goodness!)
- **2 tablespoons all-purpose flour** (our little secret for a non-soggy bottom!)
- **1 teaspoon ground cinnamon** (because what’s apple pie without cinnamon?)
- **1/4 teaspoon ground nutmeg** (just a pinch, don’t overdo it unless you’re feeling adventurous)
- **1/8 teaspoon salt** (enhances all those sweet flavors, trust me)
- **2 tablespoons unsalted butter**, cut into small pieces (for that rich, buttery filling)
- **1 egg**, beaten (for an egg wash – makes the crust all golden and shiny!)
- **1 tablespoon water** (to mix with the egg)
- **1 teaspoon coarse sugar** (optional, but it gives a pretty sparkle!)
- **For the Serving Squad:**
- **A big tub of good quality vanilla ice cream** (this is non-negotiable, IMO)
Step-by-Step Instructions
- **Preheat & Prep:** First things first, get that oven heating to **425°F (220°C)**. And grab your 9-inch pie plate. No pie plate? Improvise! (Just kidding, maybe buy one.)
- **Crust Deployment:** Carefully unroll one of your ready-made pie crusts and gently fit it into your pie plate. Trim the edges so there’s about a 1/2-inch overhang. Pop this into the fridge while you get the filling ready. Nobody likes a warm crust before baking!
- **Apple Party Time:** Peel, core, and slice your apples into 1/4-inch thick pieces. Aim for uniform slices so they cook evenly. Throw them into a large bowl.
- **Flavor Bomb:** In a separate smaller bowl, whisk together the granulated sugar, brown sugar, flour, cinnamon, nutmeg, and salt. Sprinkle this magical mix over your apples and toss gently until every apple slice is coated. This is where the magic starts!
- **Fill ‘Er Up:** Pour your apple mixture into the chilled pie crust in the pie plate. Try to mound them slightly in the center, as they’ll shrink a bit during baking. Dot the top of the apples with those small pieces of butter.
- **Top It Off:** Unroll your second pie crust. You can either place it directly over the apples or get fancy and cut it into strips for a lattice top (if you’re feeling ambitious and have five extra minutes). Trim the edges, leaving about an inch of overhang.
- **Seal the Deal:** Press the edges of the top and bottom crusts together. Then, fold the overhang under itself and crimp the edges using your fingers or a fork. This not only looks pretty but also seals in all that yummy apple goodness.
- **Golden Glow:** In a small bowl, whisk together the beaten egg and water. Brush this egg wash over the top crust. If you’re using coarse sugar, sprinkle it on now for that extra sparkle! Don’t forget to cut a few slits in the top crust (if not doing lattice) to let the steam escape. Nobody wants an exploding pie!
- **Bake Away!** Place your pie on a baking sheet (to catch any potential drips – better safe than sorry!) and pop it into your preheated oven. Bake for **15 minutes at 425°F (220°C)**.
- **Lower the Heat, Continue the Bake:** After 15 minutes, reduce the oven temperature to **375°F (190°C)**. Continue baking for another **35-45 minutes**, or until the crust is beautifully golden brown and the filling is bubbling. If your crust starts to get too dark, loosely cover the edges with aluminum foil.
- **The Hard Part (Waiting!):** Take your masterpiece out of the oven and let it cool on a wire rack for at least **2-3 hours**. I know, I know, it’s torture. But this allows the filling to set properly, preventing a soupy mess when you slice it. Patience, young padawan!
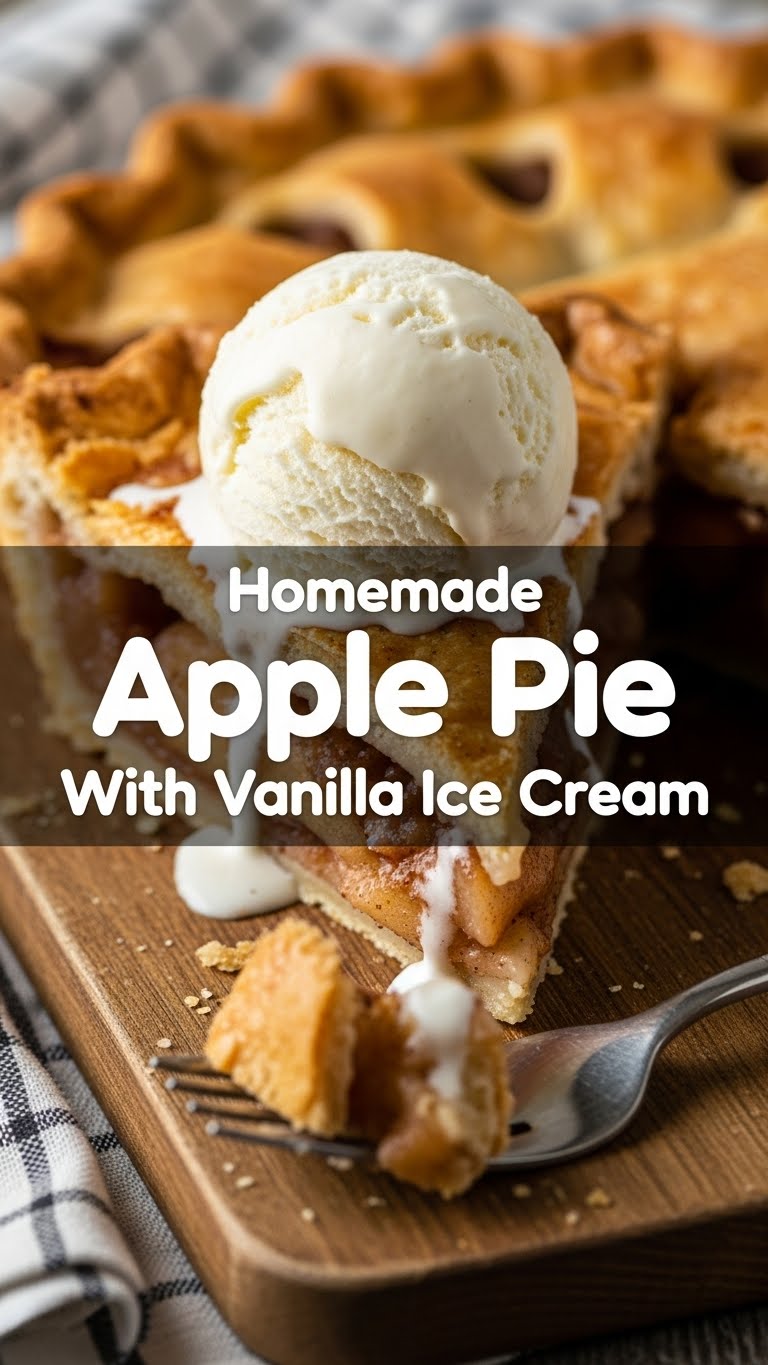
- **Serve and Devour:** Once cooled enough, slice into a generous wedge. Top with a glorious scoop (or two, we’re not judging) of vanilla ice cream. Watch it melt. Eat. Repeat.
Common Mistakes to Avoid
- **Forgetting to Preheat the Oven:** Rookie mistake! Your pie needs that initial burst of heat to set the crust and start the cooking process evenly. Don’t skip it!
- **Not Chilling Your Crust:** If you’re using a homemade crust (or even some store-bought ones get warm), chilling it before filling helps prevent it from shrinking too much in the oven.
- **Soggy Bottom Blues:** This is the arch-nemesis of all pie makers. Our flour in the filling helps, but **make sure your pie is fully cooked** and the bottom crust looks browned. Placing it on a lower rack in the oven during the last 15-20 minutes can help too.
- **Under-spicing:** Apples are great, but they love a little cinnamon-nutmeg hug. Don’t be shy, but also don’t drown them. Follow the recipe, you’ll be golden.
- **Slicing Too Soon:** Seriously, let it cool! I know the smell is intoxicating, but if you cut it hot, the filling will just ooze out like a lava flow. Delicious lava, but still messy.
- **Forgetting the Ice Cream:** Is it even legal to eat apple pie without vanilla ice cream? I think not. This isn’t a mistake, it’s a crime against humanity.
Alternatives & Substitutions
Feeling a little rebellious? Here are some ways to shake things up a bit:
- **Apple Variety:** While the Granny Smith/Fuji combo is a winner, feel free to experiment! Braeburn, Gala, or even Pink Lady apples work beautifully. Just try to mix tart with sweet for the best flavor balance.
- **Spice It Up (or Down):** Not a nutmeg fan? Leave it out! Want more warmth? Add a pinch of ground ginger or allspice. A tiny dash of cardamom can also be surprisingly delightful.
- **Lemon Zest Zing:** A teaspoon of fresh lemon zest added to the apple filling can brighten up the flavors beautifully. Plus, a splash of lemon juice prevents the apples from browning too fast.
- **A Touch of Caramel:** Drizzle a little store-bought (or homemade, if you’re feeling fancy) caramel sauce over the apples before putting on the top crust. Mind. Blown.
- **Homemade Crust vs. Store-Bought:** Look, I gave you the easy way out with store-bought, and there’s ZERO shame in that. But if you *do* want to tackle a homemade crust, go for it! Just make sure it’s flaky and delicious.
- **Ice Cream Flavors:** Vanilla is classic, but why not try salted caramel, cinnamon, or even a good quality pecan praline ice cream? Live a little!
FAQ (Frequently Asked Questions)
Got questions? I’ve got (casual) answers!
- **Can I use any kind of apple?** Well, technically yes, but why risk a mushy or flavorless pie? Stick to baking apples that hold their shape and offer a good balance of sweet and tart. Granny Smiths are your BFF here.
- **What if I don’t have brown sugar?** You *can* use all granulated sugar, but the brown sugar adds a lovely depth and chewiness to the filling. If you have molasses, a tiny drizzle with granulated sugar can mimic it.
- **My crust is browning too fast! Help!** Don’t panic! Grab some aluminum foil and gently tent it over the pie, or crimp small strips around the edges. This protects the crust while the filling finishes cooking.
- **Can I make this pie ahead of time?** Absolutely! You can bake it a day in advance. Store it loosely covered at room temperature. A quick reheat in a 350°F (175°C) oven for 15-20 minutes will bring it back to life!
- **Can I freeze apple pie?** You betcha! You can freeze a baked pie (cool completely first) for up to 3 months. Thaw in the fridge overnight and reheat. You can also freeze an unbaked pie; just add about 15-20 minutes to the baking time, no need to thaw.
- **Is the egg wash really necessary?** Necessary? No. Highly recommended? Yes! It gives your pie a beautiful golden-brown color and a lovely sheen. Totally worth the extra 30 seconds.
- **Can I skip the vanilla ice cream?** Wait, what? Are you feeling okay? While you *can* (I guess), you’d be missing out on half the magic. The cold, creamy ice cream melting into the warm, spiced pie is pure culinary bliss. Don’t rob yourself of that joy!
Final Thoughts
See? That wasn’t so scary, was it? You just created a masterpiece! The smell alone is worth the (minimal) effort. Now go impress someone – or, more importantly, yourself – with your new culinary skills. You’ve earned every single bite of that warm, spiced apple pie with its perfect vanilla ice cream sidekick. Happy baking (and eating)!


