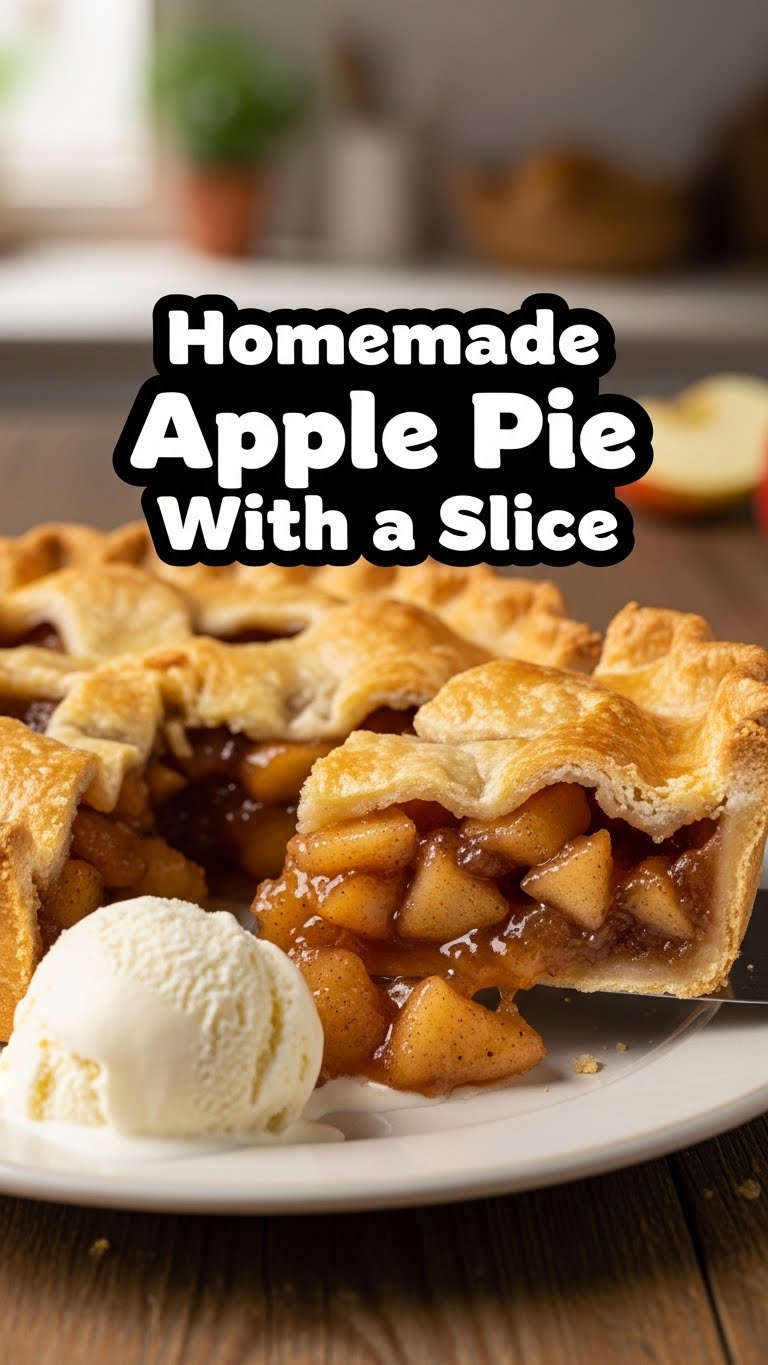
Okay, let’s be real. Your sweet tooth is screaming for something warm, comforting, and ridiculously delicious, but the thought of a culinary marathon makes you wanna crawl under a blanket, right? Good news, my friend! We’re about to bake an apple pie that’s so ridiculously easy, you’ll wonder why you ever bothered buying one.
Why This Recipe is Awesome
Seriously, this isn’t some fancy chef’s secret involving obscure ingredients and hours of kneading. This is ‘dump and bake’ friendly, designed for maximum deliciousness with minimum fuss. It tastes like your grandma made it, but without the guilt of making *her* make it. And the best part? We’re preventing that dreaded **soggy bottom** tragedy before it even thinks about happening. You’re welcome.
Ingredients You’ll Need
Gather your troops! Here’s what we need:
For the Crust (or cheat if you’re like me):
- 2 Store-bought pie crusts: (Hey, no shame in my game! Seriously, they’re a lifesaver.) Or your favorite homemade recipe if you’re feeling ambitious and have extra time.
For the Filling:
- 6-8 medium apples: A mix of tart (like Granny Smith) and sweet (Fuji, Honeycrisp, Gala) is an absolute **chef’s kiss**. Peeled, cored, and sliced about 1/4-inch thick. Don’t go too thin or they’ll turn to mush!
- 1/2 cup granulated sugar: Adjust this based on how sweet your apples are and your personal preference.
- 1/4 cup packed light brown sugar: Adds a lovely caramel depth. Don’t skip it, IMO.
- 2 tablespoons all-purpose flour: Our secret weapon against watery filling. Don’t worry, it thickens, it doesn’t make it gluey.
- 1 teaspoon ground cinnamon: Because what’s apple pie without it?
- 1/4 teaspoon ground nutmeg: A tiny pinch elevates everything.
- 1/8 teaspoon ground cloves (optional): If you’re feeling extra spicy and festive!
- 2 tablespoons unsalted butter: Cut into small cubes. These little nuggets will melt into pure bliss, creating a rich filling.
- 1 tablespoon lemon juice: Brightens the flavors and keeps your apples from browning too quickly. Smart, right?
For the Topping (Egg wash & Sparkle):
- 1 large egg: Lightly beaten with a splash of water or milk. For that gorgeous golden glow.
- 1 tablespoon coarse sugar (turbinado): For extra crunch and sparkle. Because who doesn’t want their pie to sparkle?
Step-by-Step Instructions
- **Prep Time!** Preheat your oven to **425°F (220°C)**. Grab a 9-inch pie plate. If you’re using store-bought crusts, let them sit out for about 10-15 minutes. This makes them more pliable and prevents cracking when you unroll them.
- **Apple Magic.** In a *huge* bowl, gently toss your sliced apples with both sugars, flour, cinnamon, nutmeg, and cloves (if using). Make sure every apple slice gets some love! Then, drizzle in the lemon juice and toss again.
- **Crust Down.** Unroll one pie crust and carefully fit it into your pie plate. **Avoid stretching it too much**, or it’ll shrink back in the oven. Trim any excess, leaving about a 1/2-inch overhang.
- **Fill ‘er Up!** Pile your glorious apple mixture into the bottom crust. Really mound it up in the center – the apples will cook down, trust me. Dot the top evenly with those little cubes of butter.
- **Top It Off.** Unroll the second pie crust. You can either lay it directly over the apples, or get fancy with a lattice top (YouTube is your friend for quick tutorials!). Trim the top crust, again leaving a 1/2-inch overhang.
- **Seal the Deal.** Crimp the edges of both crusts together. You can use your fingers, a fork, or get creative. Make sure it’s sealed tight to keep all that deliciousness inside. If you didn’t do a lattice, cut a few small slits in the top crust so steam can escape.
- **Glow Up!** Brush the top crust with your egg wash and sprinkle generously with coarse sugar. This makes it look professionally baked, FYI.
- **Bake Time!** Place your pie on a baking sheet (to catch any potential drips). Bake at **425°F (220°C)** for 15 minutes. Then, reduce the oven temperature to **375°F (190°C)** and continue baking for another 35-45 minutes, or until the crust is golden brown and the filling is bubbly. If the crust starts browning too quickly, loosely tent it with foil.
- **Patience, Grasshopper.** Let the pie cool on a wire rack for at least 2-3 hours before slicing. This is absolutely **crucial!** It allows the filling to set properly, preventing a runny, sad mess. Yes, it’s torture, but it’s worth every single second.
Common Mistakes to Avoid
- **Not preheating the oven:** Rookie mistake. Your crust needs that initial blast of heat to get wonderfully flaky and golden. Don’t skip this!
- **Forgetting to cut steam vents:** Hello, sad, puffy crust! Okay, maybe not *exploding*, but a very unhappy, trapped pie. Steam needs to escape.
- **Slicing it too soon:** I know, I know, the smell is intoxicating, and you want it NOW. But a warm, unset pie means a liquidy, unphotogenic slice. **Patience, my friend, is a virtue here.**
- **Using only super soft apples:** They turn into applesauce. A good mix of firm and slightly softer apples gives you fantastic texture!
Alternatives & Substitutions
Feeling adventurous, or just working with what you’ve got? Here are some ideas:
- **Crust:** Store-bought is perfectly fine – seriously, no judgment! Want to impress? Use your favorite all-butter pie crust recipe from scratch. For something different, try a crumbly streusel topping instead of a second crust.
- **Apples:** Can’t find the perfect mix? Granny Smiths are a solid tart base and always reliable. Or try all Honeycrisp for a sweeter, firmer pie. Honestly, just use what you love, but avoid super mealy varieties like Red Delicious.
- **Spices:** No cinnamon? Just nutmeg works! Add a pinch of ground ginger or a touch of allspice for extra warmth. A hint of cardamom is also surprisingly delicious.
- **Butter:** For a dairy-free version, coconut oil can work in the filling, but the flavor will be slightly different. For the crust (if making from scratch), shortening can yield a very flaky crust.
FAQ (Frequently Asked Questions)
- **Q: Can I use pre-sliced frozen apples?** A: Technically, yes, but they tend to be much wetter. You might need an extra tablespoon of flour in your filling. Thaw and drain them really well first!
- **Q: My crust is browning too fast, what do I do?** A: Ah, the classic pie dilemma! Just loosely tent a piece of aluminum foil over the pie. Crisis averted.
- **Q: How long does homemade apple pie last?** A: Covered at room temperature, it’s generally good for 2-3 days. In the fridge, maybe 4-5 days. But let’s be real, it rarely lasts that long!
- **Q: Can I make this pie ahead of time?** A: You bet! You can assemble the whole pie, cover it loosely with plastic wrap, and refrigerate it for up to 24 hours before baking. Just add about 10-15 minutes to the baking time.
- **Q: What’s the best way to reheat a slice?** A: A quick zap in the microwave for 30-45 seconds is good for speed. Even better? Pop it in a toaster oven at 300°F (150°C) for 10-15 minutes to get that crust crispy again. Oh, and a scoop of vanilla ice cream is practically mandatory.
Final Thoughts
See? You just whipped up a masterpiece! Your kitchen probably smells amazing right now, and you’ve got bragging rights for days. Go on, grab a slice (or two!), maybe with a dollop of ice cream or a generous slice of cheddar cheese (don’t knock it ’til you’ve tried it!), and bask in your pie-making glory. You totally crushed it!
Now go impress someone—or yourself—with your new culinary skills. You’ve earned it!


