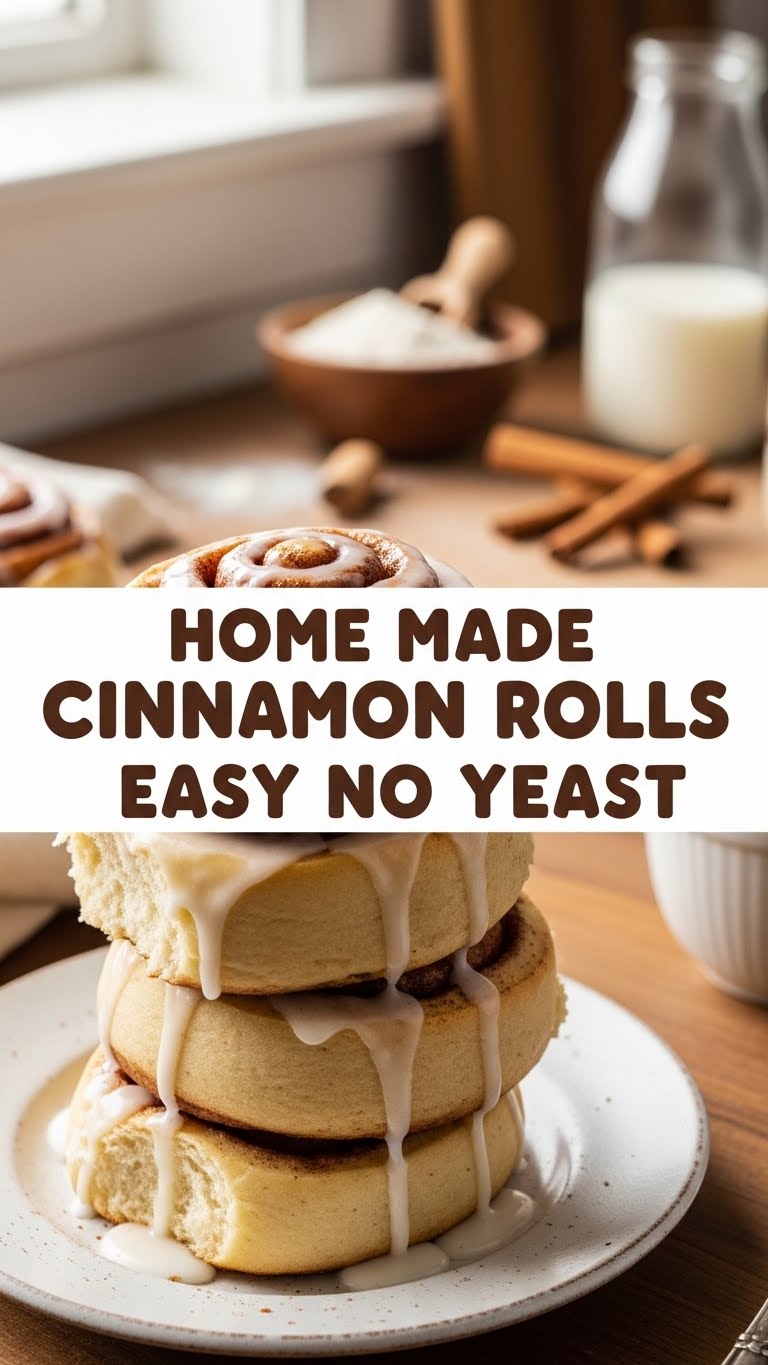
So you’re craving something warm, gooey, and utterly delicious but the thought of yeast and all that waiting just makes you want to crawl back into bed? Been there, done that, bought the T-shirt. Good news, my friend: you can totally whip up amazing cinnamon rolls without a single speck of yeast, and without spending your entire day hovering over a rising dough. Yes, really!
Why This Recipe is Awesome
Okay, let’s be real. We all want that “freshly baked” vibe without the “OMG, did I kill the yeast?” anxiety attack. This recipe is basically your culinary superhero. It’s fast, it’s furious (in a good way, like fast food but fancy), and it delivers maximum cozy vibes with minimal effort. Seriously, it’s almost embarrassingly easy. It’s idiot-proof, even I didn’t mess it up, and my kitchen adventures often end with a smoke detector concert. Plus, no yeast means no waiting for proofing, which translates directly to cinnamon rolls in your face way sooner. Score!
Ingredients You’ll Need
Alright, gather your goodies. Most of these are probably chilling in your pantry already. No fancy-pants ingredients here, just good old reliable kitchen staples.
- For the Dough:
- 2 cups all-purpose flour (the basic stuff, no need for anything artisanal unless you’re feeling extra)
- 2 tablespoons granulated sugar (just a little kiss of sweetness for the dough)
- 1 tablespoon baking powder (this is your yeast replacement, don’t skimp!)
- 1/2 teaspoon salt (balances everything out, trust the process)
- 1/2 cup cold unsalted butter, cut into small cubes (cold is key for flaky goodness, like a tiny pastry ninja)
- 3/4 cup milk (any kind works, but whole milk makes them extra dreamy)
- For the Filling:
- 1/2 cup packed light brown sugar (that lovely caramel-y flavor)
- 1 tablespoon ground cinnamon (the star of the show, obvs!)
- 1/4 cup unsalted butter, melted (makes spreading a breeze)
- For the Glaze:
- 1 cup powdered sugar (confectioners’ sugar, if you’re being formal)
- 2-3 tablespoons milk (or heavy cream for extra richness, you deserve it)
- 1/2 teaspoon vanilla extract (a dash of pure happiness)
Step-by-Step Instructions
Ready? Set? Bake! Seriously, this is gonna be quicker than deciding what to watch on Netflix.
- Preheat & Prep: First things first, get that oven going to 400°F (200°C). Lightly grease an 8×8 inch or 9-inch round baking dish. Don’t skip this, unless you enjoy playing “pry the sticky bun” later.
- Make the Dough: In a large bowl, whisk together the flour, sugar, baking powder, and salt. Now, add those cold butter cubes. Using your fingers or a pastry blender, cut the butter into the flour mixture until it looks like coarse crumbs with some pea-sized bits of butter remaining. This is important for that tender texture.
- Add Milk & Mix: Pour in the milk and mix with a spoon or your hands until a shaggy dough forms. Don’t overmix! Just combine until there’s no dry flour left.
- Roll it Out: Lightly flour your work surface. Turn out the dough and gently knead it a few times, just enough to bring it together into a ball. Roll it into a rectangle, roughly 12×8 inches. Keep it somewhat even.
- Fill ‘er Up: In a small bowl, mix the brown sugar and cinnamon for the filling. Brush the melted butter evenly over your dough rectangle, all the way to the edges. Sprinkle the cinnamon-sugar mixture generously over the butter.
- Roll & Slice: Starting from one of the long sides, carefully roll the dough into a tight log. Pinch the seam gently to seal it. Now, with a sharp knife (or even dental floss for super clean cuts, seriously!), slice the log into 8-9 equal pieces.
- Bake Time: Arrange your beautiful cinnamon rolls in the prepared baking dish. Pop it into the preheated oven and bake for 20-25 minutes, or until they’re golden brown and smell absolutely heavenly.
- Whip up the Glaze: While the rolls are doing their thing, whisk together the powdered sugar, milk (or cream), and vanilla extract in a small bowl until smooth. If it’s too thick, add a tiny bit more milk; too thin, add more powdered sugar. You’re aiming for a pourable, dreamy consistency.
- Glaze & Devour: As soon as the rolls come out of the oven, let them cool for just about 5 minutes. Then, generously drizzle or spread that amazing glaze all over them. Don’t be shy! Serve warm and bask in the glory of your own genius.
Common Mistakes to Avoid
Look, we all make mistakes. It’s how we learn… or at least how we get a good laugh later. But let’s try to avoid these rookie errors, shall we?
- Overmixing the Dough: You want tender rolls, not hockey pucks. Mix just until combined. Seriously, your biceps will thank you.
- Warm Butter in Dough: Remember that “cold butter” instruction? It’s not just for aesthetics. Warm butter melts too fast and won’t create those lovely tender pockets. Cold butter is your friend.
- Not Pinching the Seam: If you don’t pinch that seam on the log, your beautiful rolls might just unfurl into flat, sad-looking spirals in the oven. Not the vibe we’re going for.
- Forgetting to Grease the Pan: Thinking you don’t need to grease the pan—rookie mistake! Unless you enjoy chiseling your rolls out, slather that pan.
- Ignoring the Glaze: Waiting too long to glaze them. The glaze needs to melt a little into the warm rolls to create that ultimate gooey magic. Don’t let them get cold first!
Alternatives & Substitutions
Feeling creative? Or maybe you just ran out of something important? No worries, we’ve got options!
- Butter: Can you use margarine instead of butter? Well, technically yes, but why hurt your soul like that? Butter just tastes better, IMO. But in a pinch, margarine could work for the dough, just be aware the texture might be slightly different. For the filling, stick with butter if you can.
- Milk: Any milk works for the dough and glaze. Almond, oat, soy… go nuts (pun intended)!
- Brown Sugar: If you’re out of brown sugar for the filling, you can totally use granulated sugar mixed with a tiny bit of molasses (if you have it) or just use all white sugar. It’ll still be sweet, just a slightly different flavor profile.
- Vanilla Extract: Ran out? A tiny pinch of almond extract in the glaze can be a fun twist! Or just skip it, it won’t be the end of the world.
- Add-ins: Want to jazz it up? Add a handful of chopped pecans or walnuts to the filling. Or a sprinkle of orange zest for a bright kick!
FAQ (Frequently Asked Questions)
- “Can I make these ahead of time?” You absolutely can! Prepare the rolls up to step 6 (rolling and slicing), then place them in your greased baking dish, cover tightly with plastic wrap, and pop them in the fridge overnight. In the morning, pull them out while your oven preheats, then bake as directed, maybe adding an extra 5 minutes to the baking time since they’re coming from the cold.
- “My rolls aren’t rising much, is that normal?” Yup, totally normal! Remember, these are no-yeast rolls. They’ll puff up a bit from the baking powder, but you won’t get that super airy, yeast-risen texture. They’ll be dense, tender, and delicious in their own right.
- “Can I freeze these?” You bet! FYI: Freeze unbaked rolls (after slicing) on a baking sheet until solid, then transfer to a freezer-safe bag for up to 1 month. When you’re ready to bake, place them in a greased dish and bake from frozen, adding about 10-15 minutes to the baking time. You can also freeze baked, unglazed rolls, then thaw and rewarm before glazing.
- “What if my glaze is too runny/thick?” Easy fix! Too runny? Whisk in more powdered sugar a tablespoon at a time. Too thick? Add more milk (or cream) a teaspoon at a time until you hit that perfect drizzly consistency. You’re the boss!
- “Are these healthy?” Honey, it’s cinnamon rolls. We’re here for the joy, not the kale. Enjoy them in moderation and don’t overthink it. Life’s too short for sad, healthy cinnamon rolls.
Final Thoughts
So there you have it, your secret weapon for battling those sweet cravings without battling a tricky dough. These no-yeast cinnamon rolls are a game-changer, whether you’re impressing brunch guests (who will have no idea how easy this was) or just treating yourself to some well-deserved comfort food. Go on, unleash your inner baker, even if that baker is usually just reheating leftovers. You’ve totally got this! Now go impress someone—or yourself—with your new culinary skills. You’ve earned it!


