So you’re craving something warm, fluffy, and slightly sinful, but your nutritionist is giving you the side-eye from across the room, huh? Been there. Many times. We all want that ‘treat yourself’ moment without the sugar crash or the guilt trip. And guess what? It’s totally achievable! Say hello to the healthy waffle — your new best friend for weekend brunch, a quick weeknight ‘breakfast for dinner’ situation, or just because you deserve something delicious that actually fuels you. Let’s get waffling!
Why This Recipe is Awesome
Okay, let’s be real. “Healthy” and “waffle” don’t always hang out in the same sentence without a side of skepticism. But hear me out! This recipe is a game-changer because:
- It’s legitimately tasty. Like, “I can’t believe this is good for me” tasty.
- It’s packed with whole grains and less sugar than your average diner waffle, meaning you get sustained energy, not a post-waffle nap.
- **It’s idiot-proof.** Seriously, if I can make this without setting off the smoke detector (a common occurrence in my kitchen, FYI), anyone can.
- No weird, obscure ingredients you need to sell a kidney for. Just pantry staples, baby!
- It makes your kitchen smell like a cozy, cinnamon-spiced hug. What’s not to love?
Ingredients You’ll Need
Gather your troops! These are the heroes of our healthy waffle adventure:
- 1 ½ cups whole wheat flour: Because adulting means pretending to be healthy sometimes. Plus, fiber!
- ½ cup rolled oats: For texture, chewiness, and that extra dose of “I’m a health guru” vibe.
- 2 teaspoons baking powder: The magic dust that makes things fluffy and light. Don’t skimp, it’s important!
- ½ teaspoon ground cinnamon: (Optional, but highly recommended) For that cozy, ‘autumn leaves and pumpkin spice’ feeling, even if it’s July.
- ¼ teaspoon salt: Just a pinch to make everything pop, like your favorite reality TV drama.
- 2 large eggs: Binders, baby! Also, protein.
- 1 ½ cups milk (any kind): Dairy, almond, oat – whatever floats your boat (or makes your waffles fluffy).
- ¼ cup maple syrup or honey: A touch of sweetness, because life’s too short for bland waffles. Adjust to your preference.
- ¼ cup melted coconut oil or butter: For a little richness and to keep things from sticking. Don’t be shy, flavor is key!
- 1 teaspoon vanilla extract: Because everything tastes better with vanilla, IMO.
Step-by-Step Instructions
Alright, apron on, game face on. Let’s do this!
- Preheat & Grease: Fire up that waffle iron to medium-high heat. Give it a good spray with non-stick spray or brush with a little extra melted coconut oil/butter. Nobody likes a sticky situation (or a broken waffle).
- Dry Mix: Grab a big mixing bowl. Toss in your whole wheat flour, oats, baking powder, cinnamon (if using), and salt. Whisk ’em good until they’re all buddy-buddy and well combined.
- Wet Mix: In a separate, medium-sized bowl, crack those eggs. Add the milk, maple syrup (or honey), melted coconut oil/butter, and vanilla extract. Whisk it like you’re trying to win an Olympic medal until everything’s smoothly integrated.
- Combine (Gently!): Gently pour the wet ingredients into the bowl with the dry ingredients. **Mix *just* until combined.** Lumps are totally okay, even encouraged! Overmixing makes sad, tough waffles. Don’t be a waffle bully.
- Waffle Time!: Pour about 1/2 to 3/4 cup of batter onto your preheated waffle iron (check your iron’s specific needs, they’re all divas in their own way). Close the lid.
- Cook ‘Em Up: Cook for 3-5 minutes, or until golden brown and steamy. Most irons have a light that tells you when it’s done. Trust the light, it knows!
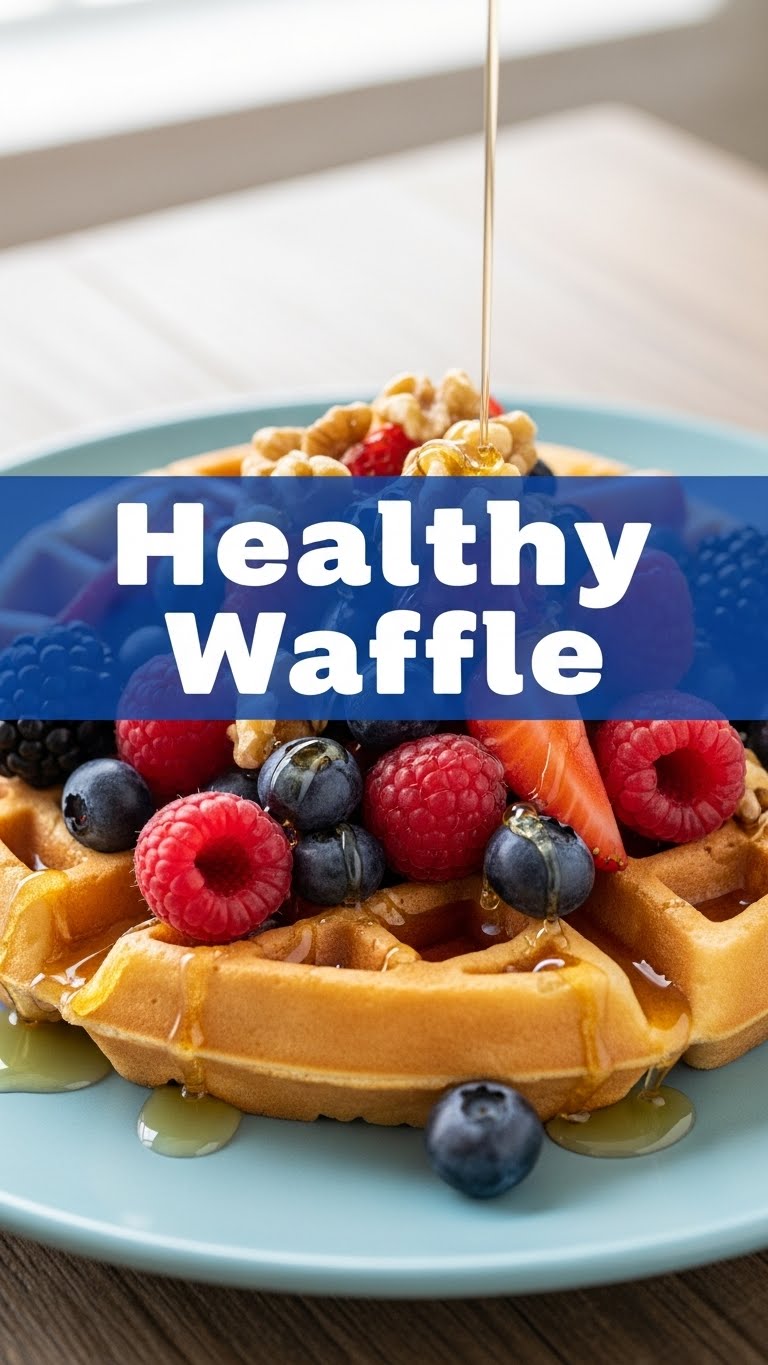
- Serve & Devour: Carefully remove the waffle. Repeat with the remaining batter. Serve immediately with your favorite toppings (berries, a drizzle of maple syrup, Greek yogurt – go wild!).
Common Mistakes to Avoid
We’ve all been there. Learning from mistakes is character-building, but avoiding them is just smarter. Here are some pitfalls to skip:
- Not preheating your iron: This is like trying to run a marathon without stretching. It results in sad, pale, floppy waffles. Give your iron a good 5-10 minutes to heat up properly.
- Overmixing the batter: **This is the cardinal sin of waffle-making!** Lumpy batter is happy batter. Smooth batter means you’ve developed too much gluten, which leads to tough, chewy waffles. Nobody wants a tough waffle.
- Under-greasing the iron: You’ll be scraping off bits for days, and your waffle will disintegrate. Trust me, it’s not fun. Grease thoroughly between batches too, especially if your iron isn’t truly non-stick.
- Opening the iron too early: Patience, grasshopper! Let it cook. Opening it mid-cook can split your waffle, leading to an unsightly (but still edible) mess.
Alternatives & Substitutions
Life’s about options, right? This recipe is super flexible, so feel free to play:
- Gluten-free? No problem! Swap out the whole wheat flour for a 1:1 gluten-free baking blend. The texture might be slightly different, but still delicious.
- No eggs? You can try flax ‘eggs’ (1 tablespoon ground flaxseed + 3 tablespoons water, let sit for 5 minutes per egg). The binding won’t be quite as strong, but it works in a pinch for a vegan option.
- Sweetener switch-up: Agave nectar, brown sugar, or even stevia can work instead of maple syrup. Adjust to your sweetness preference, you sweet tooth!
- Spice it up: A pinch of nutmeg, cardamom, or even a tiny bit of ginger can add a fun, unexpected twist. Go on, be adventurous!
- Add-ins: Fresh berries, chocolate chips, or chopped nuts can be gently folded into the batter right before cooking for extra flair.
FAQ (Frequently Asked Questions)
Got questions? I’ve got (casual) answers!
- Can I make the batter ahead of time? Absolutely! Cover and refrigerate for up to 24 hours. Give it a gentle stir before using. Cold batter can sometimes make for slightly crispier waffles, so win-win!
- What if my waffles aren’t crispy enough? Two things: your iron might not be hot enough, or your batter might be too thick. Add a tiny splash more milk if it’s too gloopy. Also, try cooking them a little longer until they’re a deeper golden brown.
- Can I use regular all-purpose flour instead? Sure, but then they’re just ‘waffles,’ not ‘healthy waffles.’ And where’s the fun in that? But yes, it works 1:1 if that’s what you have.
- How do I store leftover waffles? Pop them in an airtight container in the fridge for 2-3 days, or freeze them for up to a month. To reheat, toast them in a toaster or pop them in a hot oven (350°F/175°C) until crispy. It’s almost like they’re fresh again!
- Are these *really* healthy? Look, it’s all relative, right? They’ve got whole grains, natural sweetness, and less processed stuff than your average diner waffle. It’s a step in the right direction without sacrificing joy. Don’t overthink it, just enjoy the deliciousness!
Final Thoughts
So there you have it, your new go-to healthy-ish waffle recipe! Perfect for a lazy weekend brunch, a quick weeknight ‘breakfast for dinner’ situation, or when you just want to feel good about indulging a little. These aren’t just waffles; they’re a mini celebration of smart eating that doesn’t feel like a compromise.
Now go impress someone—or yourself—with your new culinary skills. You’ve earned it! Send me pics, seriously!
Happy Waffling!


