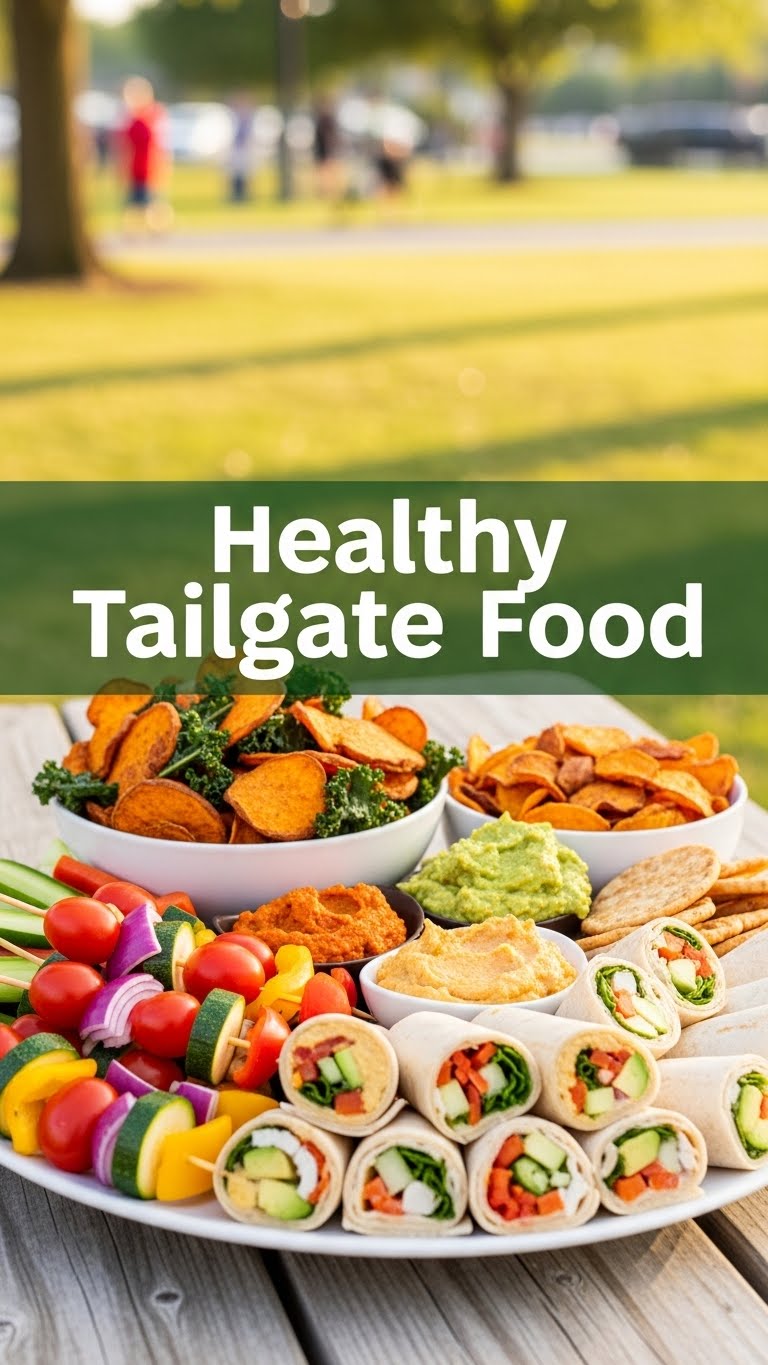
So you’re craving something tasty but too lazy to spend forever in the kitchen, huh? Same. And let’s be real, tailgate food often means a greasy, gut-bomb-inducing fest that leaves you feeling like a deflated football by halftime. But what if I told you we could enjoy all the game-day munching without the dreaded food coma? Impossible, you say? Hold my (light) beer, friend. We’re about to whip up some seriously delicious, surprisingly healthy bites that are perfect for tailgating, potlucks, or just a Tuesday when you want to feel good about your snack choices. Let’s get this party started!
Why This Recipe is Awesome
Okay, buckle up, because these aren’t just *any* power bites. These are your new secret weapon for impressing everyone without actually trying too hard. First off, they’re basically idiot-proof. Seriously, if I can make them without setting off the smoke alarm, you’re golden. They’re vegetarian (hello, healthy!), packed with flavor, and — here’s the kicker — they taste amazing warm, at room temperature, or even slightly chilled. So no more stressing about keeping things piping hot or perfectly cold. Plus, they’re super portable, meaning less mess and more cheering. And did I mention they look kinda fancy? You’ll practically be a culinary genius in your friends’ eyes. You’re welcome.
Ingredients You’ll Need
Get ready for a grocery list that won’t break the bank or require a treasure hunt. These are mostly pantry staples, so you might even have half of them already!
- 2 cans (15 oz each) Chickpeas: Drained and rinsed, obvi. Our plant-based superstars!
- 1 Medium Sweet Potato: Peeled and diced into small, bite-sized cubes. The unsung hero of healthy sweetness.
- 1 Bell Pepper (any color, or a mix!): Diced. Adds that vibrant crunch and a dose of vitamins.
- ½ Red Onion: Finely diced. A little zing never hurt anyone.
- 2-3 tablespoons Olive Oil: For roasting those veggies to perfection. Don’t be shy, but don’t drown them either.
- 1 teaspoon Smoked Paprika: This is where the magic happens, people. Smoky, savory goodness.
- 1 teaspoon Cumin: Earthy and aromatic, essential for that depth of flavor.
- ½ teaspoon Chili Powder: Just enough kick to keep things interesting. Adjust to your spice tolerance!
- ½ teaspoon Garlic Powder: Because garlic makes everything better. It’s a fact.
- Salt and Black Pepper: To taste. Don’t be shy, seasoning is key!
- Fresh Cilantro (handful): Chopped. For a burst of freshness at the end. Trust me on this.
- 1 Lime: For a zesty squeeze just before serving. Wakes up all the flavors!
Step-by-Step Instructions
- Preheat & Prep: Crank that oven to 400°F (200°C). While it’s heating up, grab a large baking sheet and line it with parchment paper for easy cleanup (you’ll thank me later).
- Chop ’em Up: Dice your sweet potato, bell pepper, and red onion into roughly ½-inch pieces. Keep them uniform so they cook evenly.
- Season the Veggies: In a large bowl, toss the diced sweet potato, bell pepper, and red onion with 1-2 tablespoons of olive oil. Sprinkle with ½ teaspoon smoked paprika, ½ teaspoon cumin, ¼ teaspoon chili powder, ¼ teaspoon garlic powder, and a good pinch of salt and pepper. Spread them out in a single layer on your prepared baking sheet.
- Roast Away: Pop the veggies into the preheated oven and roast for 15-20 minutes, or until they’re tender and slightly caramelized. Give them a quick stir halfway through.
- Chickpea Time: While the veggies are roasting, gently pat your drained and rinsed chickpeas dry with a paper towel. This helps them get nice and crispy. Toss them in the same bowl you used for the veggies (less washing, hooray!) with the remaining 1 tablespoon of olive oil, ½ teaspoon smoked paprika, ½ teaspoon cumin, ¼ teaspoon chili powder, ¼ teaspoon garlic powder, and another pinch of salt and pepper.
- Combine & Roast Again: Once the veggies are tender, pull the baking sheet out. Add the seasoned chickpeas to the baking sheet, spreading them evenly amongst the roasted veggies. Return to the oven for another 10-15 minutes, or until the chickpeas are slightly crispy and the veggies are perfectly tender.
- Finishing Touches: Remove from the oven. Squeeze the juice of half a lime over everything and sprinkle generously with fresh chopped cilantro. Toss gently to combine. Taste and adjust seasoning if needed – maybe a little more salt or a squeeze of lime?
- Serve It Up: You can serve these warm or let them cool to room temperature. They’re great on their own, or with a side of your favorite healthy dip (hummus, Greek yogurt dip, tahini sauce, you name it!).
Common Mistakes to Avoid
- Under-seasoning: This isn’t bland diet food, people! Don’t be shy with your spices and salt. Taste as you go, especially at the end.
- Overcrowding the Baking Sheet: If your veggies and chickpeas are piled on top of each other, they’ll steam instead of roast. Use two sheets if you have to, or do it in batches. Crispy is the goal!
- Not Patting Chickpeas Dry: This is crucial for crispiness. Wet chickpeas = mushy chickpeas. And nobody wants mushy chickpeas, IMO.
- Ignoring Uniform Dicing: Uneven pieces mean some will be burnt while others are still raw. Keep things consistent for that perfect texture in every bite.
Alternatives & Substitutions
Feel free to get creative here! This recipe is super flexible, like a yoga instructor on a Tuesday morning.
- Veggies: Not a fan of bell peppers? Swap ’em for zucchini, broccoli florets, or even chopped carrots. Just adjust roasting times as needed (carrots take a bit longer than zucchini, FYI).
- Spice It Up (or Down!): Want more heat? Add a pinch of cayenne pepper or some red pepper flakes. Less heat? Dial back the chili powder. You’re the boss of your taste buds.
- Protein Power: While chickpeas are awesome, you could totally add some cooked shredded chicken or even black beans (drained and rinsed!) to the mix in the last 10 minutes of roasting.
- Herb Variations: No cilantro? Parsley works too, or even a sprinkle of dried oregano if you’re going for a more Mediterranean vibe.
- Dips: A dollop of plain Greek yogurt mixed with a little garlic and lemon juice makes a killer cooling dip. Or a creamy avocado ranch if you’re feeling extra fancy!
FAQ (Frequently Asked Questions)
- Can I make these ahead of time? Absolutely! They hold up beautifully. Just make them, let them cool, and store them in an airtight container in the fridge for up to 3-4 days. Reheat gently or serve at room temp.
- Are these good cold? Surprisingly, yes! They’re fantastic at room temperature, making them ideal for tailgates where you might not have access to a microwave.
- Can I skip the sweet potato? You *could*, but why would you want to? The sweetness balances the spices so well. But if you must, maybe add an extra bell pepper or some zucchini for bulk.
- What if I don’t have all the spices? Don’t panic! The smoked paprika and cumin are pretty key for that signature flavor, but if you’re missing one or two others, it’ll still be tasty. Just use what you have and maybe a little extra salt and pepper.
- How do I transport these to a tailgate? Easy-peasy! Once cooled, pack them in a sturdy airtight container. You can bring individual serving cups for people to scoop into, or just let everyone dig in!
Final Thoughts
So there you have it, folks! A healthy tailgate recipe that tastes so good, no one will even realize it’s good for them. You’ve just leveled up your game-day grub without breaking a sweat (or a diet). Now go impress someone—or yourself—with your new culinary skills. You’ve earned it, and your taste buds (and your tummy) will thank you. Happy munching, and may your team win!


