So, you’re in that eternal parent-chef dilemma, huh? You want your little munchkins to eat something nutritious, but the thought of a veggie stand-off at the dinner table makes you want to hide under a blanket with a tub of ice cream. Been there, friend, been there. What if I told you there’s a way to sneak a superhero vegetable into a fluffy, delicious treat so cunningly that even *you’ll* wonder where the green went? Get ready for the easiest, most sneaky, and ridiculously tasty Healthy Spinach Muffins for Kids recipe that will have everyone (yes, even the grown-ups) asking for more. No spinach-related tears, guaranteed!
Why This Recipe is Awesome
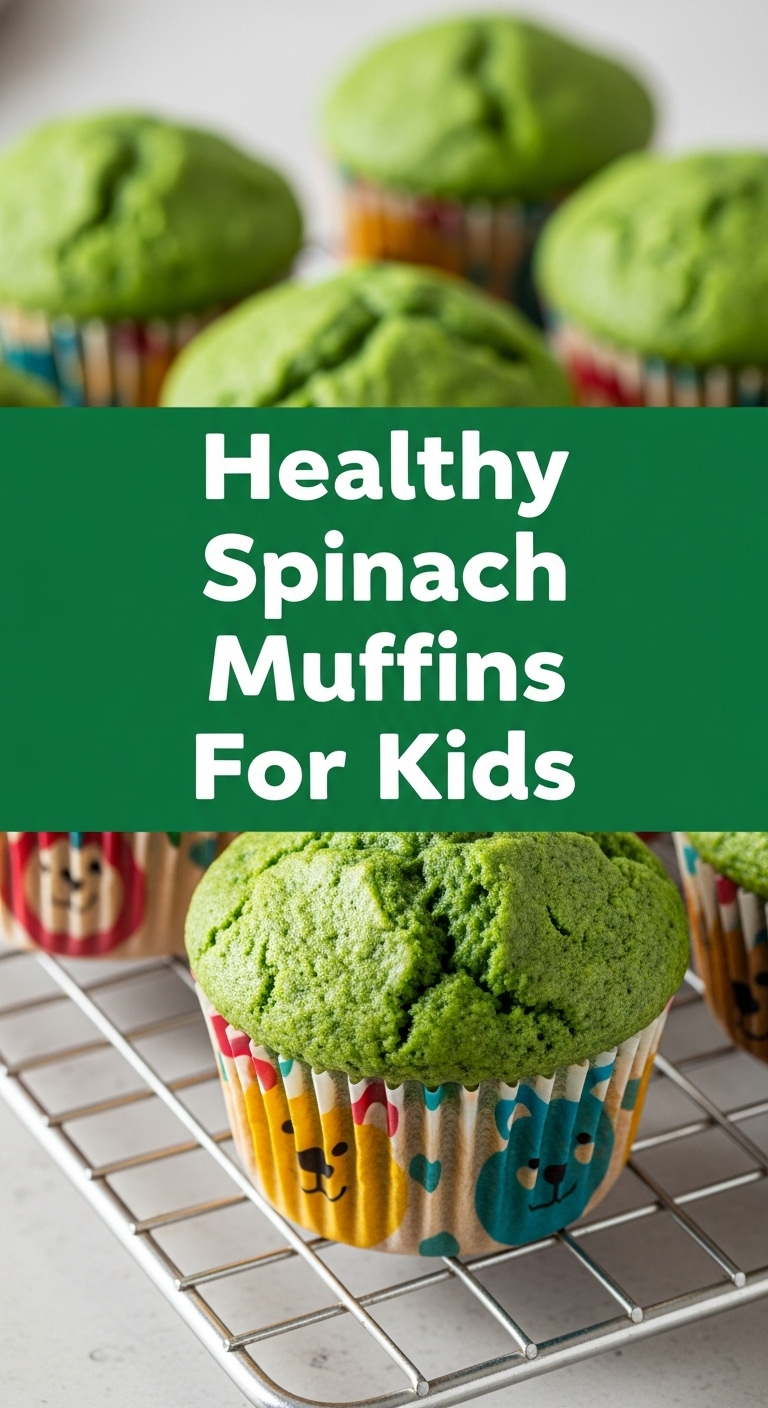
Okay, let’s be real. This isn’t just “awesome”; it’s borderline magical. First off, it’s **idiot-proof**. Seriously, if I can do it without setting off the smoke detector, you definitely can. Second, we’re talking about getting a healthy dose of spinach into tiny bodies without them suspecting a thing. It blends right in, turning the muffins a fun, vibrant green (or a murky brownish-green, depending on your lighting and commitment to blending, but hey, it’s green!). Third, it’s quick. Like, “I need something for breakfast/snack/lunchbox *now*” quick. And finally, they’re surprisingly light and fluffy. So, less guilt, more yum. What’s not to love?
Ingredients You’ll Need
Gather ’round, my fellow kitchen adventurer! Here’s your shopping list. Don’t panic, it’s all super basic stuff you probably already have, or can grab without selling a kidney.
- **1 cup (about 2 large handfuls) fresh spinach:** The star of our undercover operation. Don’t worry, it practically disappears!
- **1 ½ cups all-purpose flour:** The backbone of any good muffin.
- **½ cup granulated sugar:** Just enough sweetness to keep things interesting. You can dial this up or down based on your sweet tooth (or your kids’ demands).
- **2 teaspoons baking powder:** Our little lifting agent. Don’t skip it unless you like hockey pucks.
- **½ teaspoon salt:** Brings all the flavors together. Think of it as the fairy dust.
- **1 large egg:** Our binder. Happy chickens lay happy eggs, right?
- **½ cup milk:** Any kind works – dairy, almond, oat. Whatever you have chilling in the fridge.
- **¼ cup vegetable oil (or melted unsalted butter):** For that moist, tender crumb.
- **1 teaspoon vanilla extract:** Because everything is better with vanilla. It’s science.
Step-by-Step Instructions
Alright, apron on, game face ready! Let’s get baking. These steps are so easy, you could probably do them blindfolded. (Please don’t, for safety reasons.)
- **Preheat Power-Up:** First things first, get your oven to **375°F (190°C)**. Line a 12-cup muffin tin with paper liners or grease it really well. No one likes a stuck muffin.
- **Dry Mix Magic:** In a large bowl, whisk together your flour, sugar, baking powder, and salt. Give it a good swirl so everything is happily combined.
- **Wet Mix Whiz:** In a separate, smaller bowl, whisk your egg, milk, oil (or melted butter), and vanilla extract.
- **Spinach Smoothie Time:** Now for the fun part! Grab your blender (or food processor, whatever you’ve got). Toss in the spinach with the wet ingredients from Step 3. Blend it until it’s super smooth and, well, green. You want no spinach chunks left behind. This is where the magic happens!
- **Combine & Conquer:** Pour the green wet mixture into your dry ingredients. **Mix just until combined.** A few lumps are totally fine, even desirable. Overmixing is the enemy of fluffy muffins!
- **Fill ‘Em Up:** Divide the batter evenly among your 12 muffin cups. Fill them about two-thirds full. They’ll rise like little green mountains!
- **Bake Away!** Pop that muffin tin into your preheated oven. Bake for **18-22 minutes**, or until a toothpick inserted into the center comes out clean. They should be lightly golden on top, even if they’re green inside.
- **Cool Down:** Let them cool in the muffin tin for a few minutes before transferring them to a wire rack to cool completely. Or, you know, eat one while it’s still warm because you can’t resist. (I won’t tell.)
Common Mistakes to Avoid
Look, we all make mistakes. It’s how we learn! But let’s try to minimize the oops moments with these pro tips (from someone who’s made all these oops moments).
- **Forgetting to Preheat:** Rookie mistake! Your oven needs to be hot and ready for those muffins to rise properly. Don’t put cold batter into a cold oven. It’s just rude.
- **Overmixing:** This is probably the biggest muffin sin. Overmixing develops the gluten too much, giving you tough, chewy muffins instead of light, tender ones. **Mix until *just* combined**, seriously. Lumps are your friends.
- **Not Greasing/Lining Properly:** There’s nothing worse than a muffin that refuses to leave its tin. Use liners or grease those cups generously. Your future self will thank you.
- **Peeking Too Early:** Resist the urge! Opening the oven door too often lets out heat, causing your muffins to sink. Let them bake undisturbed for at least 15 minutes.
Alternatives & Substitutions
Feel free to get creative! This recipe is super forgiving. Think of it as a canvas for your culinary masterpieces (or just whatever you have in the pantry).
- **Flour Power:** Want to go a bit healthier? Swap half of the all-purpose flour for whole wheat flour. Just be aware they might be a tad denser. Or, if you’re feeling adventurous, oat flour can work too!
- **Sweet Swaps:** Instead of granulated sugar, you could use maple syrup or honey (reduce other liquids slightly if using liquid sweeteners). Or even try a banana for natural sweetness and extra moisture!
- **Milk It:** Any milk works here – almond, soy, oat, regular dairy. Use whatever floats your boat or whatever your family prefers.
- **Add-Ins:** This is where the real fun begins! Throw in a handful of mini chocolate chips (because spinach + chocolate = culinary genius), blueberries, or a sprinkle of shredded coconut. Just don’t go overboard, or your muffins might refuse to hold together.
- **Spice It Up:** A pinch of cinnamon or nutmeg can add a lovely warm flavor, especially if you’re using sweeter add-ins.
FAQ (Frequently Asked Questions)
Got questions? I’ve got answers! (Mostly.)
- **Can I use frozen spinach instead of fresh?** Technically yes, but why bother? You’ll need to thaw it and squeeze out *all* the excess water, or your muffins will be soggy. Stick to fresh for ease, IMO.
- **My muffins aren’t very green, what gives?** Blending, my friend! You need to blend that spinach *really* well with the wet ingredients. Also, sometimes the baking process changes the color a bit. They’re still full of spinach goodness, even if they’re more “forest green” than “emerald.”
- **Can I make these gluten-free?** You can try! Use a 1:1 gluten-free flour blend. Results can vary, but generally, it works pretty well for muffins.
- **How do I store these magical muffins?** Keep them in an airtight container at room temperature for 2-3 days, or in the fridge for up to a week.
- **Can I freeze them?** Absolutely! Once completely cooled, pop them into a freezer-safe bag or container. They’ll last for up to 3 months. Just thaw them at room temp or give them a quick zap in the microwave when you’re ready to eat.
- **My kids are suspicious of the green color, help!** Tell them they’re “Hulk muffins” or “dinosaur eggs.” Or, if you’ve added chocolate chips, distract them with the chocolate! A little creative storytelling goes a long way.
- **Are these just for kids?** Well, technically yes, but why limit yourself? I’ve been known to devour a few of these myself. It’s like a secret healthy treat for adults too. Don’t tell anyone.
Final Thoughts
There you have it! A super simple, ridiculously delicious, and sneakily healthy muffin recipe that will make you feel like a culinary wizard. Go forth and bake these green wonders. You’ve just leveled up your parenting (and snack-making) game. Now go impress someone—or yourself—with your new culinary skills. You’ve earned it!


