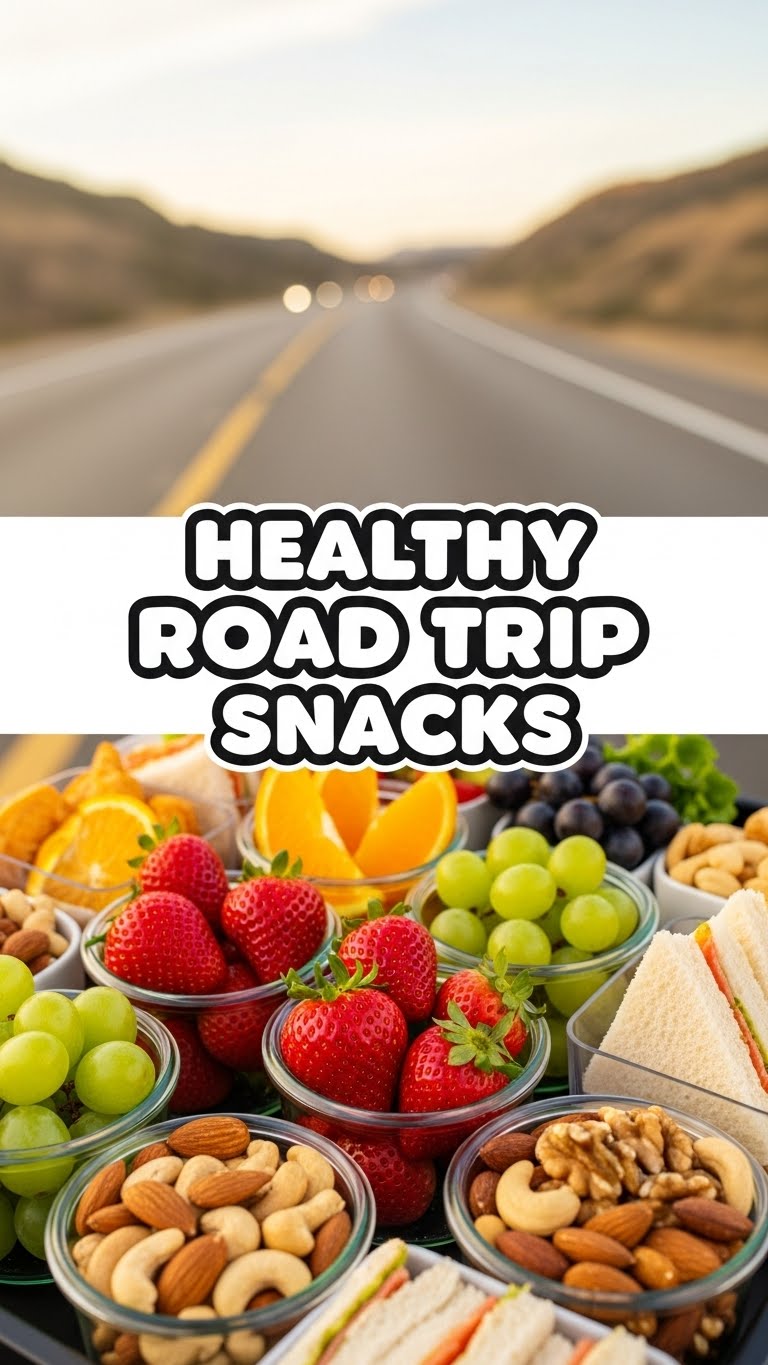
So you’re staring down another epic road trip, dreaming of endless horizons and… uh-oh, what about the endless parade of questionable gas station snacks? We’ve all been there: promising ourselves we’ll eat “healthy” this time, only to crumble at the sight of a hot dog roller. But what if I told you there’s a way to actually *enjoy* your road trip snacks without feeling like you’ve eaten a small, deep-fried car engine? Yeah, I know, revolutionary!
Introducing your new best friend for long hauls and even longer cravings: **No-Bake Road Trip Energy Bites**! They’re ridiculously easy, packed with good stuff, and taste like you actually put effort in (shhh, don’t tell anyone you didn’t!).
Why This Recipe is Awesome
Let’s be real, you’re not trying to win any Michelin stars here, you just want something yummy that doesn’t require a culinary degree or, you know, an oven. This recipe is pretty much **idiot-proof** – even *I* haven’t managed to mess it up, and that’s saying something! It’s awesome because:
- It’s literally no-bake. Your oven can stay on vacation with you.
- Whips up in about 10 minutes flat (plus chilling time, but that’s the fridge’s job, not yours).
- **Packed with energy** that won’t give you a sugar crash two exits later.
- **Customizable AF!** Don’t like something? Swap it out!
- They’re basically little bundles of deliciousness designed to stop you from buying those neon orange cheese puffs. You’re welcome.
Ingredients You’ll Need
Gather ’round, my lazy-gourmet friend. Here’s what you’ll need for these magical munchies:
- **1 ½ cups rolled oats:** The foundation of all things good and chewy. Not instant oats, unless you like sadness.
- **½ cup nut butter:** Peanut butter, almond butter, cashew butter – whatever floats your boat (or fills your jar). This is the glue, so don’t skimp!
- **⅓ cup honey or maple syrup:** For that perfect touch of sweetness. Go with maple syrup if you’re feeling fancy (or vegan!).
- **¼ cup ground flaxseed or chia seeds:** Sneaky omega-3s and fiber. Because we’re adults and we try.
- **½ cup dark chocolate chips (mini ones work best!):** Optional, but seriously, why would you skip joy?
- **1 tsp vanilla extract:** Just a splash to make everything sing.
- **Pinch of salt:** To balance out the sweetness, because flavor science!
Step-by-Step Instructions
Get ready for the most strenuous cooking you’ll do all day. (Spoiler: it’s not strenuous at all.)
- **Grab a Bowl, Big One:** Toss your rolled oats, ground flaxseed (or chia), chocolate chips, and salt into a large mixing bowl. Give it a quick stir.
- **Warm It Up (Maybe):** In a microwave-safe bowl, lightly warm your nut butter and honey/maple syrup for about 20-30 seconds. This makes them easier to mix, trust me. Add your vanilla extract here too.
- **Combine Forces:** Pour the warm, gooey mixture over your dry ingredients. Now, get in there with a spoon or your (clean!) hands and mix it all up until everything is well combined and sticky. You want it to hold together when pressed.
- **Roll ‘Em Up:** Take about a tablespoon of the mixture and roll it between your palms into cute little balls. Repeat until all the mixture is gone. You should get about 18-24 bites.
- **Chill Out:** Arrange your masterpieces on a parchment-lined plate or baking sheet. Pop them into the fridge for at least 30 minutes (or the freezer for 15) to firm up. This is the hardest part: waiting!
- **Snack Time!** Once firm, store them in an airtight container in the fridge, or pack them up for your road trip!
Common Mistakes to Avoid
Look, we all make mistakes. But these ones are easily dodged, especially when it comes to these bites:
- **Not Chilling Long Enough:** Thinking you can just eat them immediately? Rookie mistake! They’ll be a glorious, sticky mess. Give them their spa time in the fridge.
- **Too Much Liquid:** If your mixture is super wet and won’t hold shape, you likely added too much honey or your nut butter was extra runny. Add a little more oats or flaxseed to compensate.
- **Too Little Liquid:** If it’s crumbly and won’t form balls, your nut butter might have been too thick or you didn’t warm it enough. Add a tiny bit more honey or a splash of water/milk until it’s pliable.
- **Forgetting to Taste Test:** This isn’t just a mistake, it’s a crime against humanity. Always taste before chilling and adjust sweetness or flavors as needed!
Alternatives & Substitutions
This recipe is basically a choose-your-own-adventure novel. Get creative!
- **Nut Butter Swaps:** Not a peanut butter fan? Almond, cashew, or even sunflower seed butter (great for nut-free zones!) work perfectly.
- **Sweetener Choices:** Agave nectar, date syrup, or even a puréed ripe banana can stand in for honey/maple syrup. Adjust to your desired sweetness.
- **Flavor Boosters:** A sprinkle of cinnamon, a dash of nutmeg, a pinch of espresso powder, or even some orange zest can totally change the vibe.
- **Extra Goodies:** Feel free to throw in some shredded coconut, dried cranberries, chopped dried apricots, or even a scoop of your favorite protein powder for an extra kick.
FAQ (Frequently Asked Questions)
- **Do I *really* need to chill them?** Well, do you *really* want to scrape goo off your car seats? Yes, you really do. Unless you enjoy sticky fingers and melty chocolate.
- **How long do these beauties last?** In an airtight container in the fridge, they’re good for about a week. On a road trip, though? Probably about 24 hours, if you’re disciplined. (I’m not.)
- **Can I make them vegan?** Absolutely! Just use maple syrup (or agave) instead of honey, and make sure your chocolate chips are dairy-free. Easy peasy!
- **What if I don’t have a food processor?** Good news, pal! You don’t need one for this recipe. A good old mixing bowl and some elbow grease are all you require.
- **Are these good for kids?** Oh, definitely! They’re a fantastic, healthier alternative to sugary snacks. Just be mindful of nut allergies if sharing. My kids devour them.
- **Can I freeze them?** You bet! Freeze them on a baking sheet first, then transfer to a freezer-safe bag or container. Thaw in the fridge or just pop one in your mouth and let it slowly melt. IMO, they’re pretty good frozen too!
Final Thoughts
So there you have it, folks! Your new secret weapon against hangry road trip moments and sad snack choices. These No-Bake Road Trip Energy Bites are proof that healthy can be seriously delicious, and easy can be seriously satisfying. Now go impress someone—or yourself—with your new culinary skills. You’ve earned it! Happy travels and happy munching!

