So, you’re craving something tasty but too lazy to spend forever in the kitchen, huh? Same, friend, *same*. And let’s be real, “healthy” often sounds like code for “boring.” But what if I told you we could whip up some absolutely killer chicken tenders that are both good for your bod *and* your taste buds? No, I’m not pulling your leg. Get ready to ditch the greasy takeout and embrace your inner kitchen superstar, because we’re about to make some magic happen with humble chicken tenders!
Why This Recipe is Awesome
Okay, let’s break down why this isn’t just *another* chicken recipe. First off, it’s ridiculously fast. Like, “I can’t even decide what show to binge-watch before this is done” fast. We’re talking **minimal prep, maximum flavor**. Second, it’s healthy without tasting like you’re chewing on a cardboard box filled with regret. It’s lean, protein-packed, and you control every single ingredient, so no mystery oils or suspicious additives. Third, and perhaps most importantly, it’s practically **idiot-proof**. Seriously, even if your culinary skills usually involve calling for delivery, you got this. No complex techniques, no fancy equipment. Just good food, fast.
Ingredients You’ll Need
Gather ’round, my fellow food adventurer! Here’s what you’ll need to transform those tenders into a feast. Don’t worry, it’s all super accessible, no obscure root vegetables required!
- **1 lb Chicken Tenders:** The star of our show! Make sure they’re boneless and skinless.
- **1 tbsp Olive Oil:** Your trusty sidekick for getting that perfect sear and keeping things juicy.
- **1 tsp Garlic Powder:** Because garlic makes everything better, fight me on this.
- **1 tsp Onion Powder:** Garlic’s best friend, adding another layer of savory goodness.
- **1 tsp Smoked Paprika:** For that gorgeous color and a hint of smoky flavor without needing a campfire.
- **½ tsp Dried Oregano (or Italian Seasoning):** Adds a lovely herb-y depth.
- **½ tsp Salt:** Don’t skimp, seasoning is key!
- **¼ tsp Black Pepper:** Freshly ground if you’re feeling fancy, otherwise, pre-ground is totally fine.
- **½ Lemon (optional, but highly recommended):** For a squeeze of brightness at the end.
- **Fresh Parsley (optional garnish):** Makes it look like you actually tried, even if you spent 5 minutes on it.
Step-by-Step Instructions
Right, apron on (or not, we don’t judge), let’s get cooking! These steps are so easy, you could probably do them in your sleep. (Please don’t.)
- **Preheat Power:** First things first, get that oven hot! Preheat your oven to 400°F (200°C). If you’re using an air fryer, set it to 375°F (190°C). Line a baking sheet with parchment paper for easy cleanup – because who needs more dishes?
- **Pat ‘Em Dry:** Grab those chicken tenders and give them a good pat-down with a paper towel. This is super important for getting a nice, crispy exterior, otherwise, you’ll end up with steamed chicken, and nobody wants that.
- **Spice It Up:** In a medium bowl, toss the chicken tenders with the olive oil. Then, sprinkle in the garlic powder, onion powder, smoked paprika, oregano (or Italian seasoning), salt, and pepper. Use your hands (clean ones, please!) to make sure every tender is beautifully coated in that flavorful goodness.
- **Arrange & Bake:** Lay the seasoned chicken tenders in a single layer on your prepared baking sheet or in your air fryer basket. Make sure they’re not overcrowding each other; they need their space to crisp up.
- **Cook to Perfection:** Bake in the preheated oven for 15-20 minutes, flipping halfway, or until they’re cooked through and lightly golden. For air fryers, cook for 10-14 minutes, shaking the basket halfway. Chicken is done when it reaches an internal temperature of 165°F (74°C). Don’t overcook them unless you enjoy dry, sad chicken.
- **Finishing Touch (Optional, but awesome):** Once they’re out of the oven or air fryer, give them a squeeze of fresh lemon juice and a sprinkle of chopped parsley. Boom! You just elevated your tenders to gourmet status.
Common Mistakes to Avoid
We all make mistakes, but let’s try to avoid these common pitfalls that could turn your perfect tenders into… well, not-so-perfect tenders. Learn from my past kitchen mishaps, folks!
- **Not Patting the Chicken Dry:** This is like the cardinal sin of crispy chicken. If there’s moisture, you’ll steam it instead of getting that glorious golden crust. **Seriously, pat it dry.**
- **Overcrowding the Pan:** I get it, you want to cook everything at once. But giving your tenders personal space on the baking sheet is crucial. Too many in one pan means steam, not crispiness. Use two sheets if you have to!
- **Forgetting to Season:** Bland chicken is a sad chicken. Don’t be afraid of the spices! A little more salt or an extra pinch of paprika won’t hurt, I promise.
- **Overcooking:** The fastest way to dry, rubbery chicken. Once it hits 165°F internally, pull it! A meat thermometer is your best friend here.
Alternatives & Substitutions
Feeling adventurous? Or just realized you’re out of one of the ingredients? No stress, my friend, we’ve got options! This recipe is super flexible, so feel free to play around.
- **Different Spice Blends:** No smoked paprika? Use regular paprika, or even chili powder for a kick! Swap oregano for rosemary or thyme for a different herb profile. **IMO, whatever spices you love, just go for it!**
- **Chicken Cut:** Don’t have tenders? Boneless, skinless chicken breasts sliced into strips work perfectly. Just adjust cooking time slightly as they might be thicker.
- **Fresh Herbs:** Parsley not your jam? Cilantro for a more Mexican vibe, or chives for a delicate oniony touch.
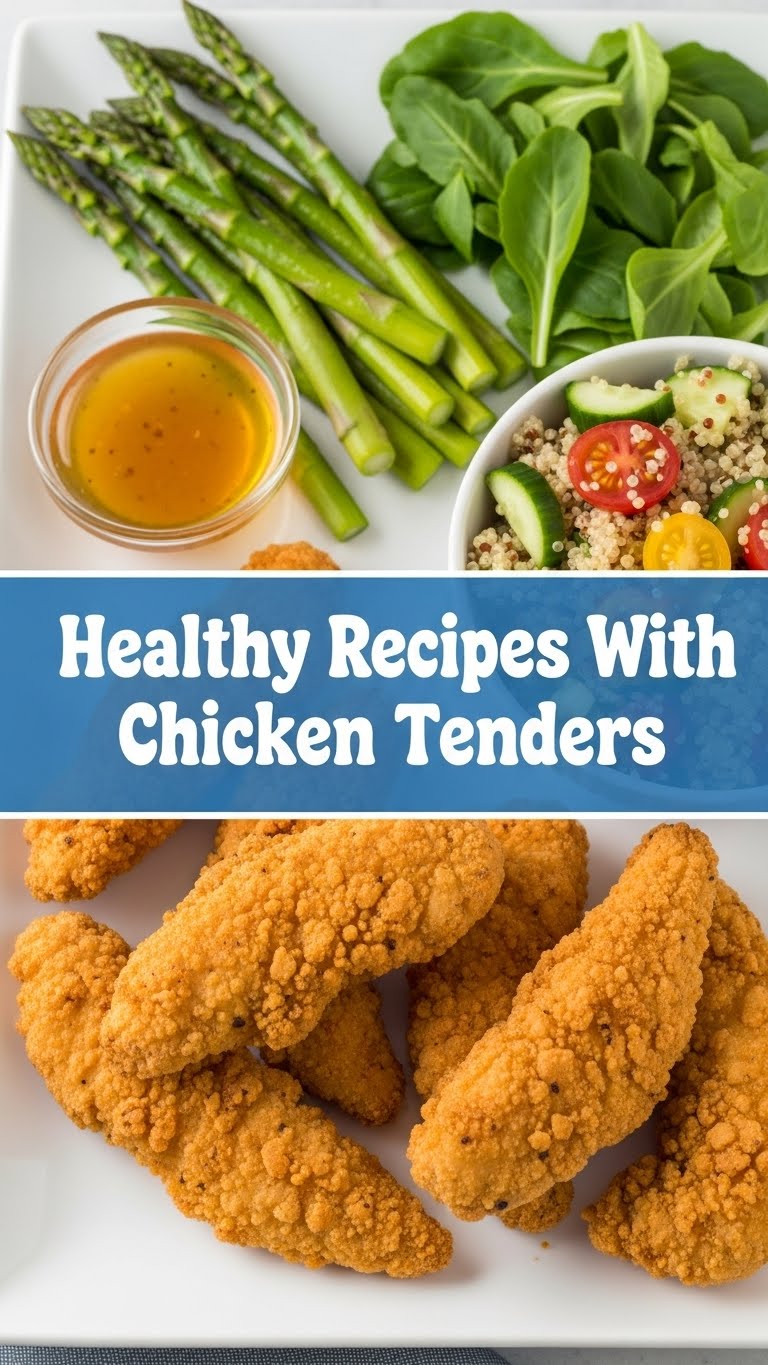
- **Add Veggies:** Want a complete meal? Toss some broccoli florets, asparagus spears, or bell pepper strips with a little olive oil and salt/pepper on the same baking sheet. Roast them alongside your chicken for an easy one-pan dinner.
- **Air Fryer vs. Oven:** Both work great! Air fryer will give you a slightly crispier exterior in less time. Oven is perfect if you’re making a larger batch or want to roast veggies simultaneously.
FAQ (Frequently Asked Questions)
Got questions? I’ve got (casual and hopefully helpful) answers! Let’s clear up some common kitchen curiosities.
- **Can I use frozen chicken tenders?**
Well, technically yes, but please, for the love of all that is delicious, **thaw them completely first!** Otherwise, they’ll cook unevenly and release too much water, making them soggy. - **What if I don’t have fresh lemon? Bottled lemon juice okay?**
Bottled lemon juice is totally acceptable in a pinch, but fresh lemon just brings such a vibrant, bright flavor that’s hard to beat. If you have it, use it! If not, don’t sweat it. - **Can I meal prep this for the week?**
Absolutely! These chicken tenders are a meal prep superhero. Cook up a batch, let them cool, and store them in an airtight container in the fridge. They’re great cold on salads or reheated gently. - **How long do leftovers last in the fridge?**
Cooked chicken tenders are good for about 3-4 days in an airtight container in the refrigerator. Any longer and they start getting a bit… sad. - **Is this *actually* healthy? Like, no catch?**
No catch! This is lean protein, minimal added fat (just a touch of olive oil), and packed with flavor from natural spices. Ditch the deep fryer and heavy sauces, and you’ve got yourself a seriously healthy and satisfying meal. - **What’s a good dipping sauce to go with these?**
Oh, the possibilities! Greek yogurt mixed with a little sriracha and lime, a classic honey mustard (homemade is best!), or even just a simple dollop of ketchup if that’s your jam. **FYI, a quick dip of plain yogurt mixed with a squeeze of lemon and some dill is surprisingly good!**
Final Thoughts
And there you have it, my friend! You’ve just unlocked the secret to healthy, delicious, and ridiculously easy chicken tenders. No more excuses for bland dinners or unhealthy takeouts. You’ve got the power now! So go forth and impress someone—or more importantly, yourself—with your new culinary skills. You’ve earned it, you magnificent kitchen wizard! Now, go enjoy your tenders, you superstar!


