So you’re craving something tasty but too lazy to spend forever in the kitchen, huh? Same. And maybe you’re also trying to, you know, *not* eat an entire pint of questionable ingredients straight from the store. Been there, done that, bought the stretchy pants. But what if I told you that you could whip up some genuinely delicious, super healthy ice cream right at home with minimal effort and maximum reward? No fancy ice cream maker required, just your trusty blender and a craving that needs satisfying. Let’s get scooping!
Why This Recipe is Awesome
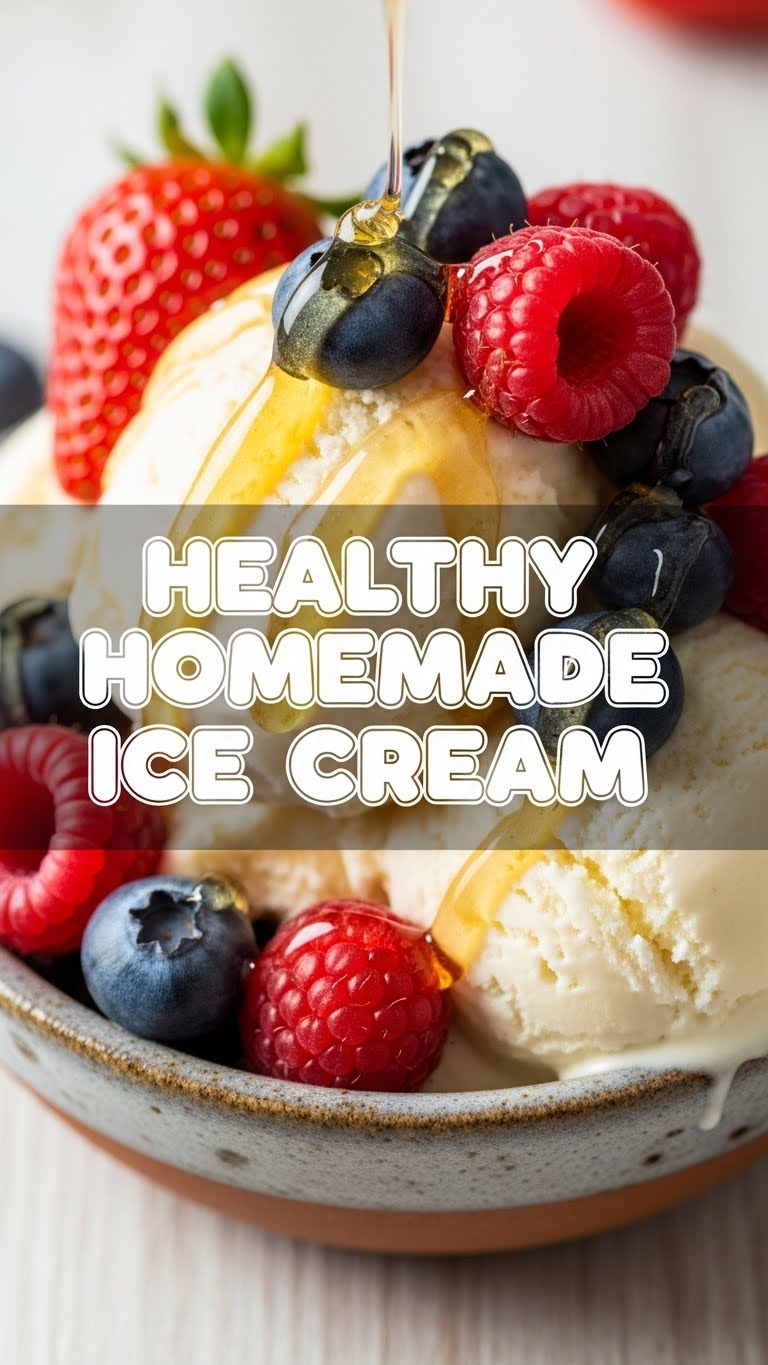
Okay, let’s be real. Most “healthy” desserts sound about as appealing as a sock sandwich. But this, my friend, is different. This healthy homemade ice cream recipe is your new best friend for several glorious reasons:
- It’s literally 2 ingredients, plus whatever fun stuff you wanna toss in. Two! You heard me.
- No churn, no fuss, no fancy gadgets. If you own a blender, you’re 90% of the way there. The other 10% is pure willpower not to eat the entire batch at once.
- It’s idiot-proof. Seriously, even I haven’t messed this up, and my kitchen skills sometimes peak at ordering takeout.
- It’s actually healthy! Like, fruit and milk healthy. None of that “healthy-ish” nonsense that’s secretly full of sugar. This is the real deal, perfect for guilt-free late-night snacking.
- Customizable AF. Want chocolate? Add it. Berries? Go wild. Peanut butter? You get the idea.
Ingredients You’ll Need
Get ready for the world’s shortest shopping list. You probably have most of this already, TBH.
- Frozen Bananas (3-4 medium, ripe): These are the absolute MVPs of this recipe. Make sure they’re ripe (like, with brown spots, not green ones) before you slice ’em up and freeze them. The riper, the sweeter! No need to peel before freezing – just peel, chop, and bag ’em.
- Milk (1/4 cup – 1/2 cup): Any milk works! Almond milk, oat milk, cow’s milk, soy milk… whatever your heart desires. Start with less and add more if needed. We’re going for thick, not soupy.
- Optional Fun Stuff (because life’s too short for plain ice cream):
- Cocoa Powder (1-2 tbsp): For that chocolate fix.
- Vanilla Extract (1 tsp): A classic for a reason.
- Peanut Butter/Almond Butter (1-2 tbsp): For a creamy, nutty dream.
- Berries (1/2 cup, frozen): Strawberries, blueberries, raspberries – whatever you’re feelin’.
- Maple Syrup or Honey (1-2 tsp): If your bananas aren’t sweet enough for your sweet tooth (or you just like extra sweetness).
- Chocolate Chips or Cacao Nibs (a small handful): For texture and indulgence.
Step-by-Step Instructions
This is where the magic happens, and by magic, I mean “press a button on your blender.”
Freeze Those Bananas: If you haven’t already, peel and chop your ripe bananas into 1-inch pieces. Pop them into a freezer-safe bag or container and freeze for at least 4-6 hours, or until they’re rock solid. This is crucial!
Blend the Base: Toss your frozen banana chunks into a sturdy blender or food processor. Add about 1/4 cup of your chosen milk. Close the lid and blend!
Scrape and Repeat: It’ll look chunky and like nothing’s happening at first. Don’t panic! Stop, scrape down the sides with a spatula, and blend again. Repeat this process, adding a tiny splash more milk (a tablespoon at a time) only if absolutely necessary, until it transforms into a thick, soft-serve consistency. This might take a few minutes and some patience. You’re aiming for creamy, not liquid.
Add Your Flavor Fun: Once it’s smooth and creamy, now’s the time to throw in any of your optional extras! Add cocoa powder, nut butter, vanilla, etc. Blend for another 30 seconds until everything is well combined.
Serve Immediately or Freeze for Later: If you love soft-serve, dig in right now! If you prefer a firmer scoopable ice cream, transfer the mixture to a freezer-safe container, smooth the top, and freeze for another 1-2 hours. Enjoy!
Common Mistakes to Avoid
You’re smart, you’re capable, but even the best of us can stumble. Avoid these rookie blunders:
- Not Freezing Bananas Enough: Trying to blend partially frozen bananas is like trying to convince a cat to take a bath. It won’t work well, and you’ll just end up with a smoothie. They NEED to be frozen solid.
- Adding Too Much Liquid Too Soon: Remember, this isn’t a milkshake. Start with minimal milk, and only add more a tablespoon at a time if your blender is really struggling. Too much liquid, and you’ll have a thin, icy banana soup, not ice cream.
- Expecting Dairy Ice Cream: Look, it’s not going to be Ben & Jerry’s. It’s healthier, fruit-based, and delicious in its own right! Manage your expectations, and you’ll be pleasantly surprised. It’s its own glorious thing.
- Using Unripe Bananas: Green bananas will give you a bland, less sweet, and potentially slightly starchy ice cream. Wait for those beautiful brown spots!
Alternatives & Substitutions
Feeling adventurous? Here’s how you can mix things up!
- Swap the Fruit: While bananas give the best creamy base, you can get experimental! Try adding frozen mango chunks for a tropical vibe, or a cup of frozen mixed berries (just know berries can make it a bit icier and less creamy without banana). A mix of banana and other fruit is usually a winner.
- Sweetener Boost: If your bananas aren’t super ripe or you just like things extra sweet, a teaspoon or two of maple syrup, honey, or agave can be added. IMO, the riper the banana, the less you’ll need anything extra.
- Protein Power: Want to make it a post-workout treat? Add a scoop of your favorite protein powder along with the optional mix-ins. Vanilla or chocolate protein works great!
- Nut-Free Version: If you’re avoiding nuts, skip the nut butter and load up on cocoa powder, vanilla, or fruit instead.
- Spice it Up: A pinch of cinnamon, nutmeg, or even pumpkin spice can add a lovely warmth, especially if you’re making a fall-themed flavor.
FAQ (Frequently Asked Questions)
Got questions? I’ve got (casual and possibly sarcastic) answers!
Q: Do the bananas *really* have to be frozen?
A: Did you read step 1? Yes, sweetie, they absolutely *have* to be frozen solid. Otherwise, you’re making a banana smoothie, and that’s a whole different recipe.
Q: My ice cream is too soft/melts too fast! What gives?
A: You likely added too much milk during blending. Next time, go easier on the liquid. Or, just pop it back in the freezer for an hour or two to firm up. No biggie!
Q: How long does this healthy ice cream last in the freezer?
A: It’s best enjoyed fresh, ideally within a day or two. After that, it can get a bit hard and icy (like your ex’s heart). If it does get too hard, just let it sit on the counter for 10-15 minutes before scooping.
Q: Can I use non-ripe bananas?
A: You *can*, but why would you want to? They won’t be as sweet or as creamy, and the flavor will be a bit… sad. Wait for those glorious brown-spotted bananas! Trust me on this one.
Q: Is this actually healthy? Like, for real?
A: Yes, for real! Compared to most store-bought ice creams packed with added sugars, artificial flavors, and who-knows-what, this is practically a health food. It’s mostly fruit and a splash of milk. You’re basically eating a dessert-fruit-smoothie-hybrid, which is a win in my book.
Q: What if I don’t have a high-powered blender?
A: A regular blender or food processor should still work, but you might need to stop and scrape down the sides more often, and you might need a tiny bit more milk to get things moving. Just be patient, and don’t burn out your motor!
Final Thoughts
See? I told you this was easy. Now you’ve got a super delicious, secretly healthy, and totally customizable treat that you can whip up whenever that ice cream craving hits. No guilt, no complicated steps, just pure frozen bliss. Go forth and conquer your sweet cravings with confidence! You’ve officially earned your healthy ice cream chef badge. Now go impress someone—or yourself—with your new culinary skills. You’ve earned it!


