So, you’re craving something warm, comforting, and utterly delicious, but the thought of spending hours in the kitchen wrestling with dough makes you want to curl up with a bag of chips instead? Same, friend, same. And don’t even get me started on the ingredient lists of store-bought bread—what even *is* mono- and diglycerides of fatty acids, and why is it in my morning toast?!
Good news! Today, we’re diving into the ridiculously easy, incredibly satisfying world of homemade healthy bread. This isn’t some super-chef, artisan-level, ‘I spent three days proofing this sourdough’ kind of recipe. Oh no. This is the ‘I woke up, threw some stuff in a bowl, and now my house smells amazing’ kind of recipe. Get ready to impress yourself (and maybe a lucky housemate).
Why This Recipe is Awesome
Let’s be real, most homemade bread recipes look daunting. But not this one! This recipe is the culinary equivalent of a warm hug and a pat on the back. It’s so **idiot-proof**, even *I* didn’t mess it up, and my track record with yeast can be… spotty. Here’s the lowdown on why you’ll love it:
- It’s ridiculously simple: Minimal kneading, no fancy equipment. Just your hands and a bowl!
- **Healthier than store-bought:** You control what goes in. No weird preservatives, no hidden sugars, just wholesome goodness.
- **Tastes like heaven:** The smell of fresh bread baking? Unbeatable. The taste? Pure bliss.
- **Seriously satisfying:** There’s an undeniable joy in tearing into a loaf of bread you made yourself. Bragging rights, much?
Ingredients You’ll Need
Gather ’round, my fellow kitchen adventurers! Here’s your simple shopping list. Don’t worry, nothing too wild.
- 3 cups (about 360g) Whole Wheat Flour: The star of the show! We’re going for wholesome here. Don’t be scared, it won’t taste like cardboard, promise.
- 1 packet (2 ¼ teaspoons) Active Dry Yeast: These little guys are the magic workers. Check the expiry date, folks! Dead yeast means flat bread, and nobody wants that.
- 1 teaspoon Salt: Just a pinch for flavor. Don’t skip it, it truly makes a difference.
- 1 tablespoon Honey or Maple Syrup: A little sweetener to wake up our yeast and add a lovely subtle flavor.
- 1 ½ cups Warm Water: Not hot, not cold. Think a comfy bath temperature for your yeast. Too hot, and you’ll kill them. Too cold, and they’ll just chill out and do nothing.
- 1 tablespoon Olive Oil (plus a little extra for the bowl): For a nice crust and to keep things from sticking.
Step-by-Step Instructions
Alright, apron on, good vibes only! Let’s get this bread-making party started.
- Activate the Yeast: In a large mixing bowl, combine the warm water, honey (or maple syrup), and active dry yeast. Give it a gentle stir. Let it sit for about 5-10 minutes. You should see it get frothy and bubbly—that means your yeast is alive and ready to party! If it doesn’t bubble, your yeast might be dead, or your water was the wrong temperature. Try again with fresh yeast!
- Mix the Dry: Once your yeast is foamy, add the whole wheat flour and salt to the bowl. Pour in the olive oil.
- Get Your Hands Dirty (or use a spoon): Stir everything together with a sturdy spoon or, even better, your clean hands, until a shaggy dough forms. It’ll be a bit sticky, and that’s totally okay!
- Knead (Just a Little!): Turn the dough out onto a lightly floured surface. Knead it for about 5-7 minutes. You’re not trying to win a kneading competition, just work it until it’s smooth and elastic. If it’s too sticky, add just a tiny bit more flour, but **don’t overdo it**!
- First Rise: Lightly oil your mixing bowl (the one you just used is fine). Place the dough in the bowl, turning it once to coat with oil. Cover the bowl with a clean kitchen towel or plastic wrap. Let it rise in a warm spot for 1-1.5 hours, or until it has roughly doubled in size. This is where patience pays off!
- Shape the Loaf: Gently punch down the risen dough to release the air. Turn it out onto a lightly floured surface. Shape it into a loaf. You can simply tuck the edges under to form a tight log, or get fancy with a few folds.
- Second Rise: Place your shaped loaf into a lightly greased loaf pan (9×5 inches works great). Cover it again and let it rise for another 30-45 minutes, or until it looks puffy and almost doubled again.
- Preheat & Bake: While your loaf is doing its second rise, preheat your oven to 375°F (190°C). Once preheated and the loaf has risen, pop it into the hot oven.
- Bake to Golden Glory: Bake for 30-35 minutes, or until the crust is a beautiful golden brown and the internal temperature reaches 200-210°F (93-99°C) if you have a thermometer. You can also tap the bottom—if it sounds hollow, it’s done!
- Cool Down: Immediately remove the bread from the loaf pan and place it on a wire rack to cool completely before slicing. Seriously, resist the urge to cut into it right away! It continues to cook and set as it cools.
Common Mistakes to Avoid
Baking is a science, but also an art, and sometimes, well, things just go sideways. Here are a few pitfalls to steer clear of:
- Ignoring Yeast: As mentioned, don’t use old yeast. Also, **the water temperature is crucial!** Too hot, and you’ve committed yeast-icide. Too cold, and they’ll just snooze. Aim for lukewarm.
- Over-flouring During Kneading: Resist the temptation to keep adding flour if your dough is sticky. A slightly sticky dough is a happy dough. Too much flour makes for dense, dry bread. You’re not making Play-Doh, remember?
- Being Impatient: Baking bread requires a little zen. Don’t rush the rises. If your kitchen is cold, find a warmer spot (like a slightly warm oven that’s been turned off, or near a sunny window).
- Cutting it Hot: I know, I know, the smell is intoxicating. But cutting into hot bread can make it gummy and mess with its texture. **Let it cool!** Your patience will be rewarded.
Alternatives & Substitutions
Feeling adventurous or just missing an ingredient? No worries, we’ve got options!
- Flour Power: Not a fan of 100% whole wheat? You can absolutely do a 50/50 blend of whole wheat and all-purpose flour. It’ll be a bit lighter in texture. Or use spelt flour for a slightly different nutty flavor.
- Sweetener Swap: Out of honey or maple syrup? A tablespoon of brown sugar or even regular granulated sugar will work just fine to feed the yeast.
- Oil Alternatives: Avocado oil or even melted coconut oil (if you don’t mind a hint of coconut flavor) can stand in for olive oil.
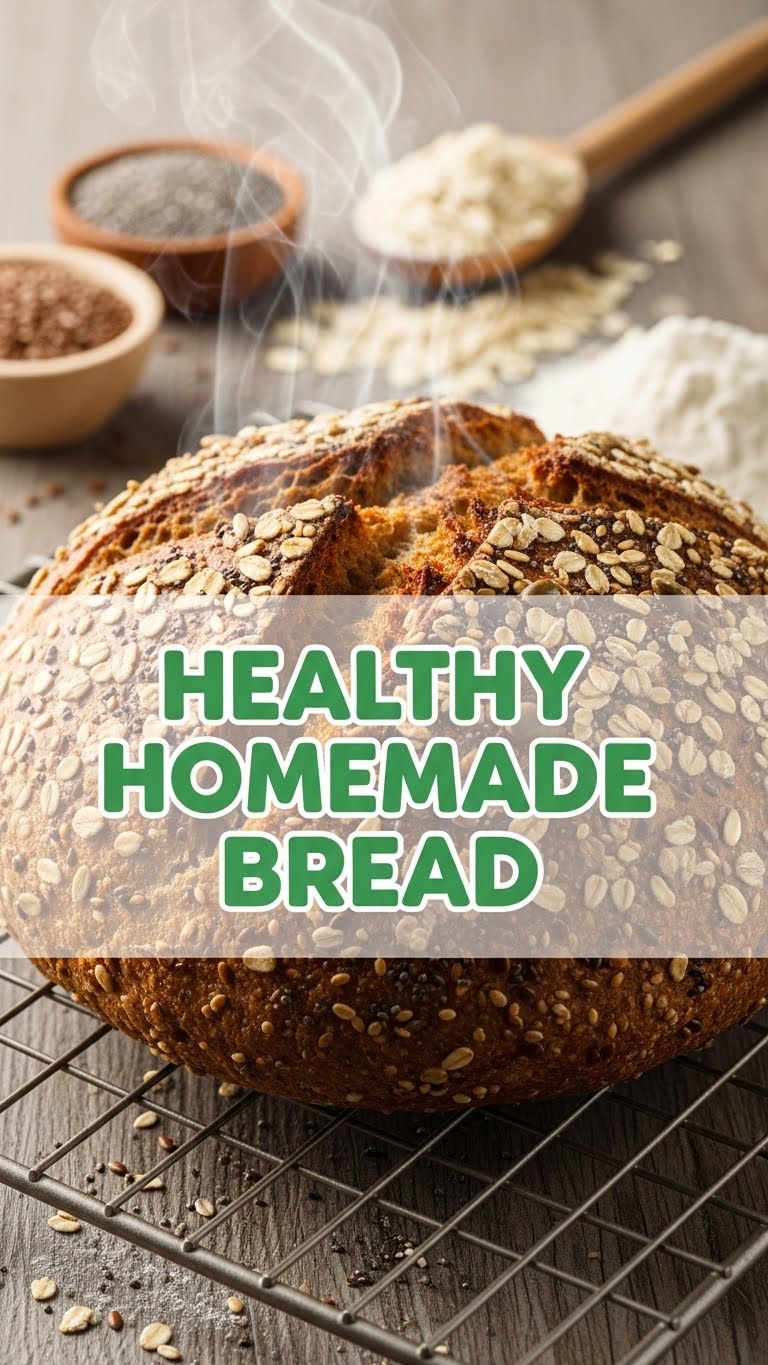
- Add-ins (The Fun Part!): Want to jazz it up? Try adding a handful of **oats, seeds** (like flax or chia for extra fiber!), or even some dried herbs (rosemary and thyme are divine!). Add these during the initial mixing stage with the flour.
FAQ (Frequently Asked Questions)
Got questions? I probably did too when I first started! Let’s get them answered.
- Can I use instant yeast instead of active dry?
Totally! If you’re using instant yeast, you can skip the activation step and just mix it directly with the dry ingredients. However, I still like to give it a head start with the water and sweetener, just to be sure it’s alive and kicking!
- My bread didn’t rise, help! What went wrong?
Oh no! Usually, it’s one of two culprits: **dead yeast** (check the expiry date, or your water was too hot/cold when you tried to activate it) or **a cold environment** during the rise. Try moving your dough to a warmer spot for its next rise.
- Can I make this dairy-free/vegan?
Yep, this recipe is already vegan! No dairy, no eggs, just pure plant-based goodness. You’re welcome, earth warrior!
- How do I store homemade bread?
Once completely cool, store it at room temperature in an airtight container, a bread box, or a tightly sealed plastic bag. It’ll stay fresh for 3-4 days. For longer storage, slice it and **freeze it!**
- Can I use a stand mixer for this?
Absolutely! If you have one, use the dough hook attachment. It’ll make the kneading even easier. Just mix on low speed until combined, then increase to medium-low for 5-7 minutes until the dough is smooth and elastic.
Final Thoughts
There you have it! Your ticket to fresh, healthy, homemade bread without all the fuss. You’ve just created something truly delicious and wholesome, and honestly, that’s a superpower in itself. The aroma filling your kitchen right now? That’s the smell of victory, my friend.
Now go impress someone—or more importantly, yourself—with your new culinary skills. Slather a slice with butter, jam, or just eat it plain. You’ve earned every single bite! Happy baking!


