So you’re craving something tasty, kinda healthy, but too lazy to spend forever in the kitchen, huh? Same, friend, same. And let’s be real, those fancy store-bought granolas? They either taste like cardboard or cost an arm and a leg for a sprinkle of oats. Well, buckle up, buttercup, because we’re about to make some seriously delicious, super easy, and genuinely healthy homemade granola. Your snack game is about to get a major upgrade, and your wallet will thank you!
Why This Recipe is Awesome
Okay, let’s break down why this isn’t just *another* granola recipe. First off, it’s practically **idiot-proof**. I’ve burnt toast more times than I care to admit, and even *I* can nail this. Seriously, it’s that forgiving. Secondly, it’s healthy without tasting like “health food.” We’re talking whole grains, good fats, and natural sweetness – none of that weird, overly processed stuff. Plus, your kitchen will smell like a cozy bakery, which is a major bonus. And let’s not forget the bragging rights: “Oh, this granola? Yeah, I just whipped it up.” So casually impressive, right?
Ingredients You’ll Need
Get ready for a lineup of everyday heroes. No obscure ingredients that require a quest to a specialty store, promise!
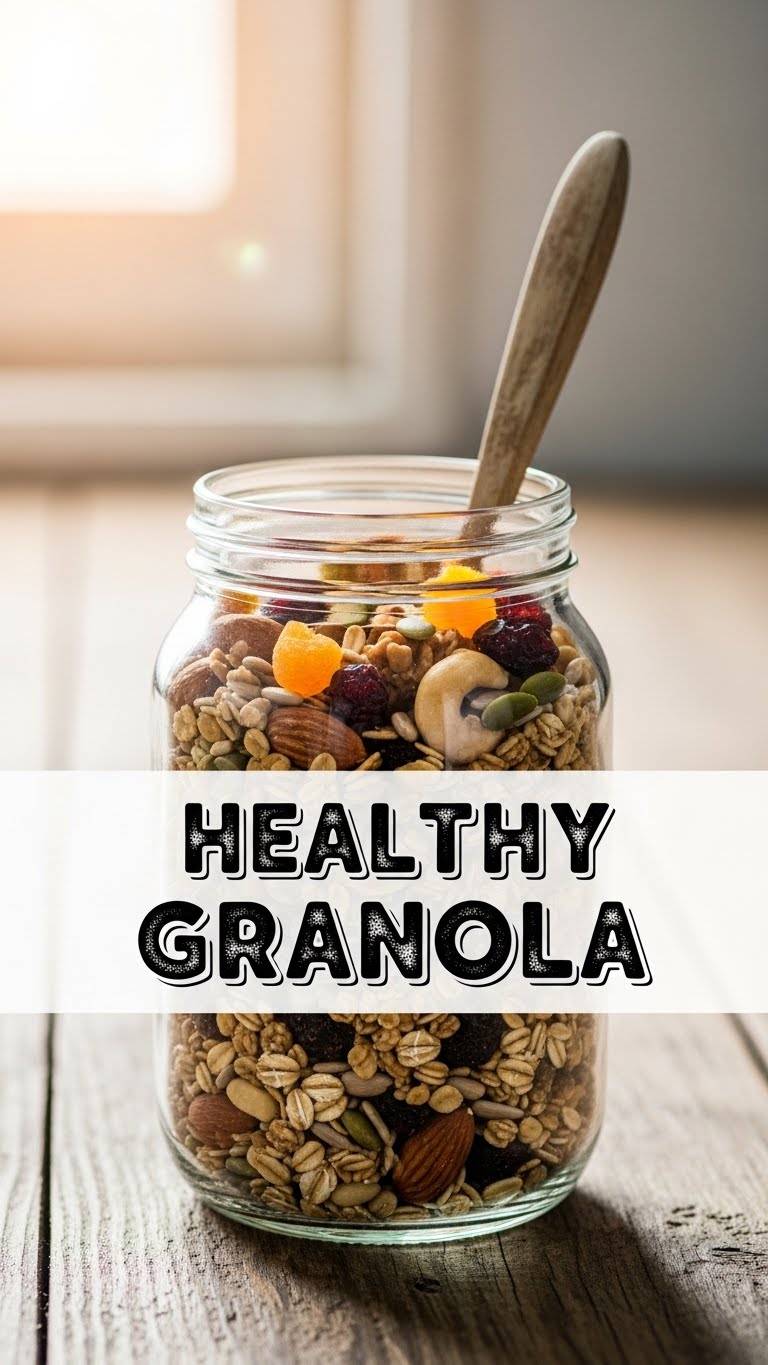
- 3 cups rolled oats: The OG granola star. Not instant, okay? We want that chew.
- 1 cup mixed nuts: Almonds, walnuts, pecans – whatever floats your nutty boat! Chop ’em roughly if they’re super big.
- ½ cup mixed seeds: Think pumpkin, sunflower, chia, flax. These are your little nutrient powerhouses.
- ½ teaspoon cinnamon: Because everything’s better with a little spice, amirite?
- ¼ teaspoon salt: Don’t skip this! It enhances all the flavors and balances the sweetness. Trust me.
- ⅓ cup maple syrup: The good stuff, pure maple syrup. Not the pancake syrup imposter. Honey works too if you’re out.
- ¼ cup coconut oil: Melted. You can use olive oil or another neutral-flavored oil if coconut isn’t your jam.
- 1 teaspoon vanilla extract: A splash of magic for that bakery vibe.
- ½ cup dried fruit (optional, add after baking): Cranberries, raisins, chopped apricots. Your call!
Step-by-Step Instructions
- Preheat & Prep: Set your oven to 300°F (150°C). Line a large baking sheet with parchment paper. This is key for easy cleanup and preventing stickage. You’ll thank me later.
- Dry Mix Party: In a big bowl, toss together the oats, nuts, seeds, cinnamon, and salt. Give it a good stir so everything’s evenly distributed.
- Wet Mix Whisk: In a separate, smaller bowl, whisk together the maple syrup, melted coconut oil, and vanilla extract. This ensures all the sticky goodness is ready to coat your dry ingredients perfectly.
- Combine Forces: Pour the wet mixture over the dry ingredients. Stir, stir, stir! Make sure every single oat flake and nut is glistening and coated. This is where the magic happens, giving you that delightful crunch.
- Spread ‘Em Out: Spread the granola mixture evenly in a single layer on your prepared baking sheet. Don’t crowd the pan, otherwise, it won’t get crispy. If you have too much, use two sheets.
- Bake It ‘Til Golden: Pop it in the oven for about 25-35 minutes. **Here’s the important part:** Stir it every 10-15 minutes to ensure even toasting. You’re looking for a beautiful golden-brown color.
- Cool Down, Buttercup: Once it’s golden and smells amazing, take it out of the oven. Let it cool COMPLETELY on the baking sheet. This is crucial for getting those irresistible clusters. Don’t touch it until it’s fully cooled!
- Add Extras & Store: Once cool, stir in any dried fruit you want. Break up the granola into chunks, and store it in an airtight container at room temperature.
Common Mistakes to Avoid
Listen, we all make mistakes. But with a little heads-up, you can dodge these common granola blunders:
- Forgetting to Stir: Seriously, don’t just put it in and walk away. Stirring every 10-15 minutes is how you get uniformly toasted, crunchy deliciousness instead of burnt edges and soggy middles.
- Not Lining Your Pan: You think you’re saving time? You’re actually signing up for a sticky, scrubby mess. Parchment paper is your friend.
- Overcrowding the Baking Sheet: If your granola is piled high, it’s going to steam instead of toast. Give those oats some breathing room!
- Adding Dried Fruit Before Baking: Rookie mistake! The high heat will make your dried fruit hard and chewy (not in a good way) or even burn. Add it *after* the granola cools.
- Not Letting It Cool Completely: Patience, my dear chef! That granola might feel soft when it’s warm, but it crisps up as it cools. Resist the urge to dive in too soon.
Alternatives & Substitutions
This recipe is super flexible, so feel free to play around and make it truly yours!
- Nutty Swaps: Not a fan of almonds? Use cashews, pistachios, or even shelled peanuts. Allergic to nuts? Use extra seeds!
- Sweetener Shenanigans: Instead of maple syrup, you can use honey, agave nectar, or brown rice syrup. The texture might vary slightly, but it’ll still be delish.
- Oil Options: Coconut oil gives a nice subtle flavor, but olive oil (light flavor, please!), avocado oil, or even melted butter can work. Just pick something neutral.
- Spice it Up: A pinch of nutmeg, cardamom, or even a tiny bit of ginger can add a fun twist. Try an “apple pie spice” blend!
- Flavor Boosters (Post-Bake!): Besides dried fruit, try adding dark chocolate chips (after cooling, remember?), shredded coconut, or even a sprinkle of orange zest.
FAQ (Frequently Asked Questions)
Got questions? I’ve got (casual) answers!
- “How long does homemade granola last?” If stored in an airtight container at room temp, usually about 2-3 weeks. If it lasts that long, you’re doing better than me!
- “Can I make this gluten-free?” Absolutely! Just ensure you’re using certified gluten-free rolled oats. Many brands are, but always double-check the label.
- “What if I want bigger clumps?” The trick is to not stir as much once you spread it on the baking sheet, and really let it cool undisturbed. Press it down slightly with a spatula after spreading.
- “Can I reduce the sugar?” Yep! You can decrease the maple syrup by a tablespoon or two if you prefer a less sweet granola. Just know it might not get *quite* as clumpy.
- “Can I add protein powder?” You can, but add it *after* baking and cooling, along with any dried fruit. Baking it can change the texture and flavor of the powder.
- “My granola isn’t crispy, what did I do wrong?” Ah, common issue! Likely culprits: oven not hot enough, not baked long enough, too much moisture (maybe too much oil/syrup), or not cooled completely. Try baking for a bit longer next time, or lower temp for longer.
Final Thoughts
So there you have it! Your ticket to crunchy, healthy, homemade granola bliss. This recipe is your new best friend for breakfasts, snacks, or even a cheeky dessert. Go ahead, make a batch (or three!), impress yourself, and bask in the glory of your culinary prowess. You’ve earned it!


