So, you’ve just whipped up a vibrant green smoothie that tastes like sunshine and rainbows, or maybe a gorgeous salad bowl bursting with all the colours of the rainbow. But then you snap a pic, and poof! It looks less like a culinary masterpiece and more like… well, something you scraped off the bottom of your shoe. Been there, my friend, been there.
You’re not alone in the struggle of making healthy food look as good as it tastes. We’re about to dive into the “recipe” for making your wholesome creations Instagram-worthy, without needing a fancy studio or a professional photographer on speed dial. Think of it as seasoning your photos with a dash of magic!
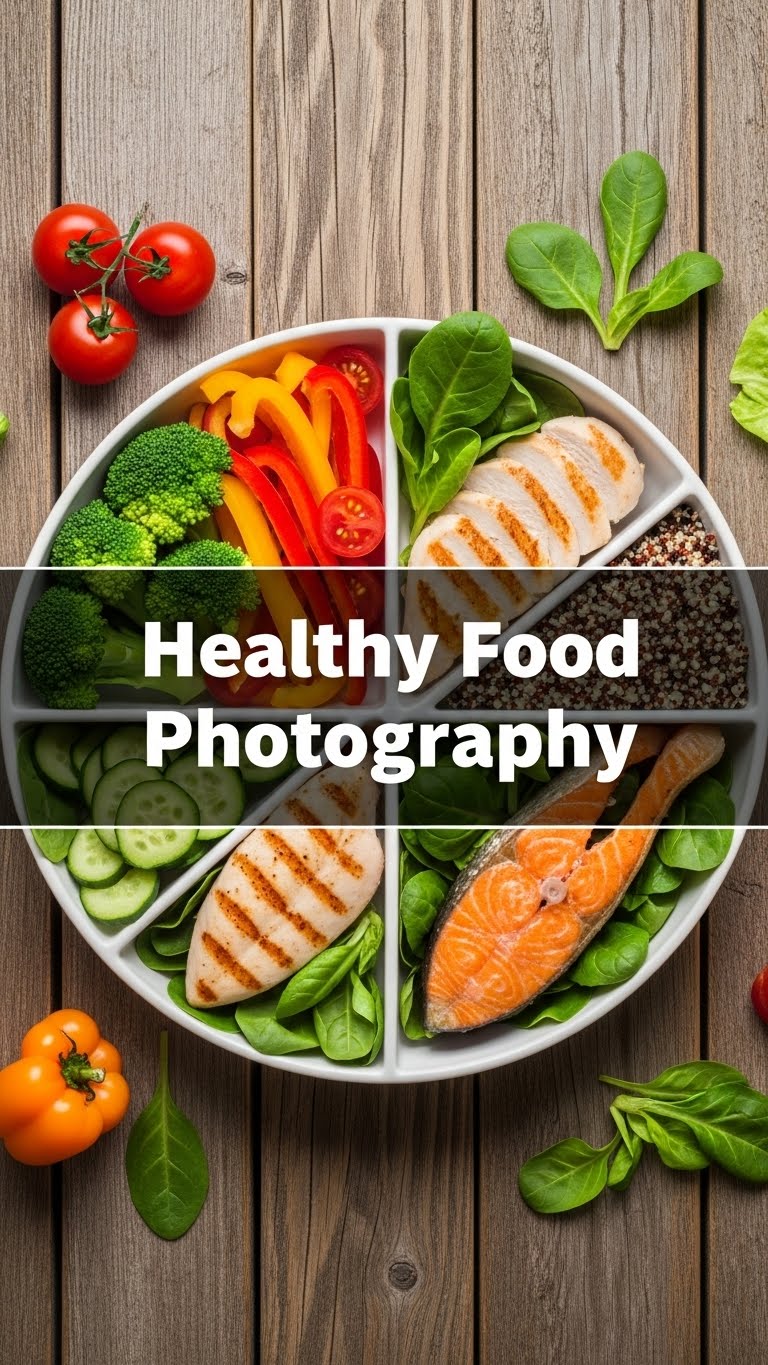
Why This Recipe is Awesome
Because frankly, your delicious, healthy efforts deserve to shine! This isn’t just about getting likes (though you’ll probably get more, just sayin’). It’s about celebrating your hard work, inspiring others to eat well, and making *you* feel super proud of what you’ve created. This “recipe” for great food photography is practically idiot-proof. Seriously, if I can make my kale look appealing, you can too. It’s all about a few clever tricks that are **easier than making toast** (unless you burn toast, then maybe equally easy).
Ingredients You’ll Need
Don’t worry, no obscure spices or weird gadgets here. Just a few essentials to make your healthy grub pop!
- Your Food: Duh. Make sure it actually looks appealing before you start snapping. A sad, wilted leaf is still a sad, wilted leaf, no matter how good the photo.
- Your Phone: Or a fancy camera if you’re feeling extra. But honestly, your smartphone is a super powerful tool these days.
- Natural Light: Your absolute secret weapon! Think big windows, not that harsh overhead kitchen light that makes everything look jaundiced.
- A Simple Background: A clean kitchen counter, a wooden cutting board, a plain tablecloth, or even a white poster board. We want the food to be the star, not your pile of laundry.
- A Clean Lens: **Seriously, wipe your phone’s camera lens.** It’s probably covered in fingerprints and crumbs from that mid-afternoon snack. Do it. Now.
- Optional Props (handle with care!): A pretty napkin, a cool fork, a small plant, a sprinkle of fresh herbs. Less is more, folks. This isn’t a prop warehouse.
Step-by-Step Instructions
Ready to turn your healthy eats into visual feasts? Let’s do this!
- Find Your Light: This is probably the most important step, IMO. Place your dish near a window. **Side light (light coming from the side) or back light (light coming from behind your food) are your best friends.** Avoid direct, harsh sunlight unless you’re going for a dramatic shadow effect. We want soft, even light.
- Declutter Your Background: Before you even think about hitting that shutter button, take a quick scan of your surroundings. Is there a rogue coffee cup? An errant receipt? Clear it out! A clean, simple background makes your food pop. A plain wall or a wooden table works wonders.
- Plate Like a Pro (ish): Even healthy food deserves a little styling. Arrange your ingredients neatly. Garnish! A sprinkle of chia seeds, a fresh herb sprig, a lemon wedge, or a drizzle of olive oil can elevate a dish from “meh” to “marvelous.” **Think colour and texture.**
-
Choose Your Angle: Don’t just take one shot. Experiment!
- **Overhead (Flat Lay):** Great for bowls, salads, and anything with lots of colourful ingredients. Point your camera straight down.
- **45-Degree Angle:** A classic for most dishes, especially plates. It gives depth and shows off the sides.
- **Eye-Level:** Perfect for stacked items like pancakes or burgers, or anything with height.
- Get Up Close & Personal: Don’t be shy! Fill the frame with your deliciousness. Show off those amazing textures – the crunch of granola, the smooth creaminess of avocado, the vibrant berries.
- Edit (Lightly!): Most phones have great built-in editing tools. A little bump in brightness, contrast, and perhaps a touch of saturation can make a huge difference. **The goal is to enhance, not to reinvent.** Keep it natural-looking.
Common Mistakes to Avoid
We’ve all made these, so no judgment, but let’s learn from our past photographic blunders!
- Using Your Flash: Just… don’t. It will make your food look flat, harsh, and often like it belongs in a crime scene photo.
- Cluttered Backgrounds: Your healthy smoothie shouldn’t be competing with your unopened mail or last night’s takeout containers.
- Over-editing: Making your avocado toast look radioactive green is not a good look. We want real food, not alien food.
- Taking Photos Under Yellow Kitchen Lights: This makes everything look dull and unappetizing. Move your plate, my friend!
- Ignoring the Lens: Seriously, a dirty lens is the number one cause of blurry, hazy photos. **Wipe it!**
Alternatives & Substitutions
No fancy gear? No problem! This “recipe” is super flexible.
- No Posh Backdrops? Grab a plain white sheet, a simple placemat, or even a large piece of cardboard. Be resourceful! A piece of parchment paper can even make a cool textured background.
- No Natural Light? (Gasp!) If it’s truly impossible, a bright desk lamp with a white t-shirt or parchment paper taped over it (to diffuse the light) can work in a pinch. But honestly, just move your plate to a well-lit room if you can.
- No Cute Props? Sometimes, less is more! Let the food truly speak for itself. You can even use your hands holding the dish as an organic, simple prop.
FAQ (Frequently Asked Questions)
- Do I need an expensive camera for good food photos?
Nope! Your phone is powerful enough for stunning shots. The key is understanding light and composition, not spending a fortune on gear.
- What’s a ‘flat lay’ everyone keeps talking about?
It’s simply an overhead shot, where you shoot directly down onto your food. Think breakfast bowls, neatly arranged charcuterie boards, or vibrant salads. Super popular and often easy to nail!
- Should I use filters?
Light edits (brightness, contrast, saturation, sharpness) are your friends. Heavy filters that dramatically change the color of your food? Probably not, unless you’re going for a very specific artistic vibe. We want appetizing, not alarming!
- My healthy food just looks… brown. How do I fix that?
Garnish, garnish, garnish! Add a pop of color with fresh herbs, a sprinkle of colourful seeds, a bright lemon slice, or some fresh berries. Contrast is your buddy here. Plus, a drizzle of a colourful sauce (like a beet hummus swirl) can do wonders.
- Can I take a picture of my half-eaten meal?
Well, technically yes, you *can*. But will it look appetizing? Probably not, unless it’s artfully deconstructed or you’re specifically going for an “after” shot. For pure beauty, snap it before digging in!
- What if my kitchen doesn’t have good light? Do I have to starve in the dark?
Absolutely not! Grab that plate and move it! Head to your living room, a bright hallway, or even a bedroom with a good window. Your food doesn’t care where it’s being photographed, as long as the light is right.
Final Thoughts
See? You’re practically a food photographer already! Making your healthy food look amazing isn’t about complex settings or fancy equipment, it’s about being smart with light, composition, and a little bit of playful presentation. Don’t overthink it; just have fun experimenting!
Now go forth and snap those glorious, nutritious creations. You’ve earned it! Your friends (and your Instagram followers) are about to be seriously impressed. Happy snapping!


