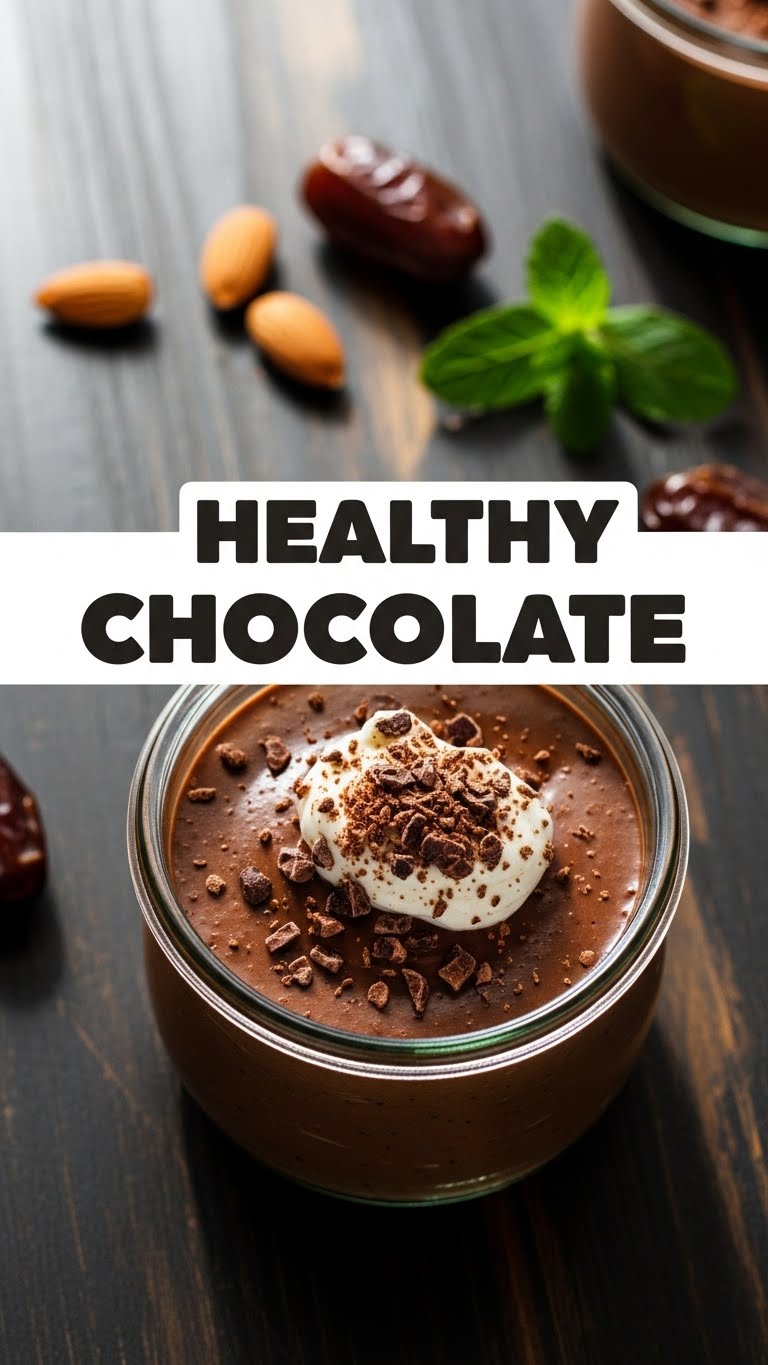
So you’re craving something rich, delicious, and, let’s be real, chocolatey, but the thought of a sugar crash or an hour in the kitchen just makes you want to lie down? My friend, I feel you. Deeply. But what if I told you there’s a way to satisfy that chocolate monster without the guilt, the fuss, or even turning on your oven? Yes, you heard right. We’re talking **Healthy Chocolate** that’s so easy, it practically makes itself. Get ready to have your mind (and taste buds) blown.
Why This Recipe is Awesome
Okay, let’s break it down. Why is this specific healthy chocolate recipe about to become your new best friend? First off, it’s **no-bake**. That’s right, no oven-watching anxiety, no burnt edges, just pure, unadulterated fridge magic. Secondly, it’s genuinely simple. Like, “I can do this with one eye closed while watching Netflix” simple. Seriously, it’s almost idiot-proof; even I haven’t messed it up, and that’s saying something.
Beyond the ease, this chocolate is actually *good* for you (in moderation, because, c’mon, it’s still chocolate!). We’re talking wholesome ingredients that ditch the processed stuff without sacrificing any of that glorious, deep chocolate flavor. It’s perfect for those moments when you need a little treat but want to feel a smidge responsible. Plus, it’s super customizable. Wanna get fancy? Go for it! Wanna keep it basic? You’re covered.
Ingredients You’ll Need
Gather ’round, my future chocolate alchemists! Here’s what you’ll need to whip up this gloriousness. Think simple, think pantry staples, think “I probably already have most of this.”
- 1/2 cup Unsweetened Cocoa Powder: The MVP of our chocolate team. Don’t cheap out on this, a good quality one makes all the difference. We want rich, deep, chocolatey goodness, not muddy brown sadness.
- 1/2 cup Coconut Oil (melted): This is our binding agent and healthy fat hero. It gives it that delightful snap and melt-in-your-mouth texture. Make sure it’s melted, unless you enjoy chunky chocolate. (Spoiler: you don’t for this recipe.)
- 1/4 cup Maple Syrup (or honey/agave): Your sweetener of choice. Maple syrup gives it a lovely subtle flavor, but honey or agave works great too. Adjust to your sweet tooth’s preference.
- 1 teaspoon Vanilla Extract: The secret weapon that elevates chocolate from “good” to “OMG, what is this magic?” Don’t skip it!
- Pinch of Sea Salt: This is non-negotiable, folks. It brings out all the flavors and balances the sweetness. Trust me on this one.
- Optional Mix-ins (get wild!): Think chopped nuts (almonds, pecans), shredded coconut, a sprinkle of chili powder for a kick, dried fruit bits, or even a dash of cinnamon. Your chocolate, your rules!
Step-by-Step Instructions
Alright, apron on (or not, let’s be real), let’s make some magic happen. These steps are so easy, you might think you missed something. You didn’t!
- Prep Your Pan: Grab a small dish or loaf pan (about 8×4 inches works great). Line it with parchment paper, leaving an overhang on the sides. This makes it super easy to lift out your glorious chocolate later.
- Melt the Oil: Gently melt your coconut oil. You can do this in a microwave in 30-second bursts or over a double boiler. You want it liquid, not scorching hot.
- Whisk It Up: In a medium bowl, whisk together the melted coconut oil, maple syrup, vanilla extract, and that crucial pinch of sea salt. Get it nice and smooth.
- Add the Cocoa: Gradually sift in the unsweetened cocoa powder, whisking continuously to avoid lumps. Keep whisking until the mixture is beautifully smooth and glossy. No powdery bits allowed!
- Fold in Fun (Optional): If you’re adding any nuts, seeds, or other mix-ins, gently fold them into your chocolate mixture now. Distribute them evenly so every bite is a party.
- Pour and Chill: Pour your luscious chocolate mixture into your prepared pan. Use a spatula to spread it evenly. Now, pop it into the fridge for at least 1-2 hours, or until it’s completely firm and set. Patience is a virtue, especially when chocolate is involved.
- Break and Devour: Once firm, lift the parchment paper to remove the chocolate slab from the pan. Break it into irregular, deliciously chunky pieces. Store any leftovers in an airtight container in the fridge (if there are any, let’s be honest).
Common Mistakes to Avoid
Look, we all make mistakes. It’s part of the human condition. But in the pursuit of perfect healthy chocolate, let’s try to avoid these rookie errors:
- Not melting the coconut oil thoroughly: You’ll end up with a grainy, weirdly textured chocolate. We want silky smooth, people!
- Not whisking enough: Lumps of cocoa powder are nobody’s friend. Whisk like you’re trying to win a culinary Olympics!
- Skipping the salt: I know, it sounds counter-intuitive for chocolate, but it’s a flavor amplifier. Don’t be a hero, add the salt.
- Impatience is a sin: Trying to break it before it’s fully set in the fridge? You’ll just have a messy puddle. **Give it time to chill!**
- Thinking you can leave it out on the counter forever: Because of the coconut oil, this chocolate will melt at room temperature, especially on a warm day. Keep it chilled, or you’ll have chocolate soup.
Alternatives & Substitutions
This recipe is super flexible, so feel free to experiment and make it truly yours. Think of these as suggestions, not commandments!
- Sweeteners: Don’t have maple syrup? Honey, agave nectar, or even a good quality sugar-free syrup will work just fine. You can even try a blend if you’re feeling adventurous.
- Fats: While coconut oil is my go-to for its health benefits and setting properties, you could theoretically use cocoa butter for an even more luxurious, traditional chocolate feel. Just make sure it’s melted!
- Flavor Boosts: A tiny bit of espresso powder really deepens the chocolate flavor. A dash of almond extract instead of vanilla can be amazing. Or, for a minty kick, add a drop or two of food-grade peppermint extract.
- Add-ins Galore: Beyond nuts and dried fruit, try seeds (chia, pumpkin, sunflower), a sprinkle of flaky sea salt on top before chilling, or even crushed freeze-dried raspberries for a pop of color and tartness. IMO, the more texture, the better!
FAQ (Frequently Asked Questions)
Got questions? I’ve got (casual, humorous) answers!
Q: Is this *really* healthy chocolate, or are you just saying that?
A: Well, it’s certainly *healthier* than a highly processed candy bar packed with refined sugar and questionable ingredients! We’re using whole food ingredients and natural sweeteners. So, yeah, I’d say it qualifies. It’s all about making better choices, right?
Q: Can I use butter instead of coconut oil?
A: You *could*, but it won’t give you the same firm snap or health benefits. Coconut oil is key for that no-bake set and unique texture. Plus, it’s vegan if that’s your jam. Why mess with a good thing?
Q: How long does this healthy chocolate last?
A: In an airtight container in the fridge, it’ll last about 1-2 weeks. But honestly, it rarely makes it past a few days in my house. It has a magical disappearing act, FYI.
Q: Can I microwave the chocolate mixture if it gets too thick or solidifies while I’m adding mix-ins?
A: Absolutely! Just zap it in short bursts (15-20 seconds) and stir until it’s smooth again. We’re all about easy fixes here.
Q: What if I don’t like coconut flavor? Will this taste like coconut?
A: Good question! Unrefined coconut oil can have a subtle coconut taste, but it’s usually masked by the strong cocoa and vanilla. If you’re super sensitive, use refined coconut oil – it’s virtually flavorless.
Q: Can I make this with white chocolate?
A: This specific recipe is for dark/milk chocolate. Making a *healthy* white chocolate from scratch is a whole other beast involving cocoa butter and careful blending. But hey, if you conquer that, let me know your secrets!
Q: Can I freeze this?
A: You betcha! It freezes beautifully. Just store it in an airtight container for up to a month. Thaw in the fridge for a few minutes before enjoying. Perfect for stashing away for future cravings!
Final Thoughts
There you have it, folks! Your new favorite healthy chocolate recipe that’s ridiculously easy, endlessly customizable, and genuinely delicious. No more craving-induced guilt trips or hours slaving away in the kitchen. You’ve officially unlocked the secret to quick, satisfying, and (mostly) guilt-free indulgence.
Now go impress someone—or yourself—with your new culinary skills. You’ve earned it! Grab a piece, kick back, and enjoy your chocolatey triumph. You’re a rockstar!


