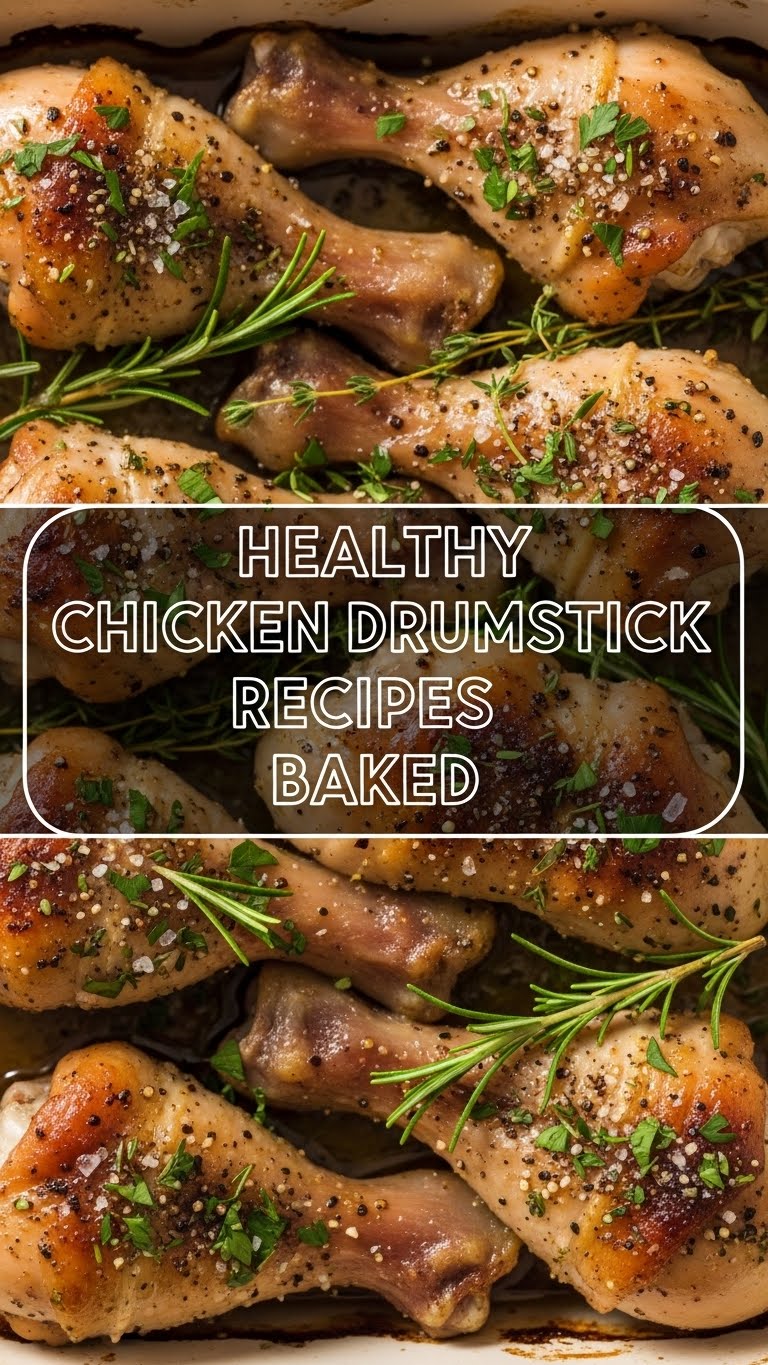
So you’re craving something tasty but too lazy to spend forever in the kitchen, huh? Same, friend, same. We’ve all been there, staring into the abyss of the fridge, wondering if a cheese stick counts as dinner. But what if I told you there’s a ridiculously easy, super satisfying, and genuinely healthy meal that basically cooks itself? Enter the humble (but mighty!) chicken drumstick. Baked to crispy, juicy perfection, these guys are about to become your new weeknight heroes. Let’s get cooking without, you know, actually *cooking* too much.
Why This Recipe is Awesome
Look, I’m not going to lie and say this recipe will win you a Michelin star. But it *will* win you the admiration of anyone who eats it, and more importantly, it’ll make your tastebuds sing. Why is it so awesome? First, it’s practically **idiot-proof**. Even I, someone who once mistook baking soda for baking powder (don’t ask), can nail this. Second, it’s healthy! We’re baking, not frying, so you can feel good about indulging. Third, and perhaps most importantly for us lazy chefs, the cleanup is minimal. One pan, people! One pan! It’s flavorful, it’s juicy, and it’s the kind of comfort food that won’t leave you feeling guilty. What’s not to love?
Ingredients You’ll Need
Gather ’round, pantry explorers! Here’s what you’ll need for your drumstick adventure. Nothing fancy, I promise.
- 6-8 Chicken Drumsticks: The stars of our show. Look for ones that are plump and happy.
- 1-2 Tablespoons Olive Oil (or Avocado Oil): Just a drizzle to get things crispy and flavorful.
- 1 Teaspoon Salt: Don’t skimp. Salt is flavor’s best friend.
- ½ Teaspoon Black Pepper: Freshly ground if you’re feeling fancy.
- 1 Teaspoon Garlic Powder: Because everything is better with garlic.
- ½ Teaspoon Onion Powder: Garlic’s trusty sidekick.
- 1 Teaspoon Smoked Paprika: This is key! It adds color and a beautiful smoky depth.
- ¼ Teaspoon Cayenne Pepper (Optional): For a little kick. If you’re a spice wimp, totally skip it.
- ½ Teaspoon Baking Powder: YES, baking powder! This is our secret weapon for **super crispy skin**. Don’t worry, you won’t taste it.
- Lemon Wedges (Optional, for serving): A little squeeze at the end brightens everything up.
Step-by-Step Instructions
Alright, apron on (or not, whatever), let’s make some magic happen. These steps are so simple, you could probably do them in your sleep. (Please don’t. Raw chicken, people.)
- Preheat & Prep: Preheat your oven to a glorious 400°F (200°C). Line a baking sheet with parchment paper or foil for easy cleanup. If you’re using a wire rack on top of the baking sheet, even better for crispiness!
- Pat ‘Em Dry: This is crucial! **Pat the drumsticks thoroughly dry** with paper towels. Excess moisture is the enemy of crispy skin.
- Seasoning Symphony: In a small bowl, mix together the salt, pepper, garlic powder, onion powder, smoked paprika, cayenne pepper (if using), and that secret weapon, the baking powder.
- Massage Time: Drizzle the olive oil over the dried drumsticks in a large bowl. Toss to coat them evenly. Then, sprinkle your spice mix all over the drumsticks, rubbing it in gently to ensure every nook and cranny is seasoned. Don’t be shy!
- Arrange & Bake: Arrange the seasoned drumsticks in a single layer on your prepared baking sheet (or wire rack), making sure they’re not touching. This allows air to circulate for maximum crispiness. Pop them into the preheated oven.
- Flip & Finish: Bake for 20 minutes, then flip them over. Continue baking for another 20-25 minutes, or until the internal temperature reaches 165°F (74°C) at the thickest part. The skin should be beautifully golden brown and crispy.
- Rest & Serve: Once cooked, remove the drumsticks from the oven and let them rest on the baking sheet for 5-10 minutes. This allows the juices to redistribute, ensuring super moist chicken. Serve with a squeeze of fresh lemon, if desired.
Common Mistakes to Avoid
We’ve all been there, making rookie errors. Learn from my past culinary misadventures:
- Not Preheating the Oven: Thinking you can just throw them in and let the oven catch up? Rookie mistake. **Preheating is essential** for even cooking and a good sear.
- Overcrowding the Pan: This is a biggie! If your drumsticks are cuddling too closely, they’ll steam instead of roast, leading to sad, soggy skin. Give ’em some space, personal boundaries are important.
- Skipping the “Pat Dry” Step: Seriously, don’t. Moisture is the enemy of crispy skin. You want that satisfying crunch, right?
- Eyeballing Doneness: “It looks done!” is often followed by “Oh, it’s still pink inside.” Invest in a meat thermometer. It’s your BFF for food safety and perfect results.
- Forgetting to Rest: Ripping into that juicy chicken immediately? You’re letting all the good juices escape! Patience, young grasshopper. A little rest makes a huge difference.
Alternatives & Substitutions
Feeling creative? Or just missing an ingredient? No worries, we’ve got options:
- Chicken Cuts: Not a drumstick fan? This recipe works beautifully with chicken thighs (bone-in, skin-on) too, though cooking time might vary slightly. Wings are also a great choice for a snackier version!
- Spice Blends: Don’t have all the individual spices? A good quality poultry seasoning, taco seasoning (for a different vibe!), or even just salt, pepper, and garlic powder will still give you a delicious result. Personally, I think **smoked paprika is non-negotiable** for that amazing color and flavor, but hey, you do you.
- Oil: Any neutral high-heat oil will work here – canola, vegetable, grapeseed. Olive oil just adds a nice flavor.
- Add Some Veggies: Want a complete meal on one pan? Toss some chopped potatoes, carrots, bell peppers, or onions with a little oil and the same seasoning mix, and roast them alongside the chicken. Just make sure they have enough room on the pan!
FAQ (Frequently Asked Questions)
Got questions? I’ve got (casual) answers!
- Can I use frozen drumsticks? Well, technically yes, but please, for the love of even cooking, **thaw them completely first**! Otherwise, you’ll end up with rubbery outsides and potentially raw insides. Nobody wants that.
- How do I know if they’re cooked through? A meat thermometer, my friend, is your best bud! Insert it into the thickest part of the drumstick (without touching the bone). It should read 165°F (74°C). No thermometer? The juices should run clear when you poke it with a knife.
- Can I marinate the drumsticks? Absolutely! For extra flavor, you can marinate them in a blend of olive oil, lemon juice, herbs (like rosemary or thyme), and some of the dry spices for a few hours or even overnight. Just pat them dry again before baking!
- What if I don’t have baking powder? Is it really that important? It’s not the end of the world, but it really does help with crispy skin. If you skip it, your drumsticks will still be delicious, just maybe a tiny bit less crunchy.
- My oven runs hot/cold, how do I adjust? Ovens are notoriously quirky! If you know your oven’s personality, adjust accordingly. If it runs hot, maybe drop the temp by 25 degrees. If cold, add 5-10 minutes to the cooking time, or raise the temp slightly. Again, **meat thermometer is key** here.
- Can I store leftovers? Yep! Store any leftover drumsticks in an airtight container in the fridge for up to 3-4 days. Reheat gently in the oven or microwave.
- Is the skin healthy? Should I remove it? IMO, the skin is where all the good flavor and crispiness live! While it does add some fat, a little bit of deliciousness never hurt anyone. If you’re super health-conscious, you can remove it, but you’ll miss out on a lot of fun.
Final Thoughts
And there you have it! A ridiculously easy, unbelievably tasty, and surprisingly healthy baked chicken drumstick recipe that’ll make you feel like a culinary rockstar without breaking a sweat. So go ahead, treat yourself (and maybe your loved ones!) to this simple delight. You’ve conquered the drumstick, my friend! Now go impress someone—or yourself—with your new culinary skills. You’ve earned it!

