So you’re craving something tasty but too lazy to spend forever in the kitchen, huh? Same, friend, same. We’ve all been there: staring into the abyss of an empty snack drawer, dreaming of something *actually* good for you, but the thought of a full-blown baking marathon just sends shivers down your spine. Well, put on your comfiest PJs, because today we’re making **Healthy Bars** that are so easy, they practically make themselves. Seriously, no oven required! Your future self (and your snack cravings) will thank you.
Why This Recipe is Awesome
Let’s be real, most “healthy” snacks taste like cardboard that went to a health retreat. But these? These are different. This recipe is awesome because it’s:
- **Stupidly Simple:** We’re talking mix, press, chill. That’s it. If you can stir, you can make these.
- **No-Bake Nirvana:** Forget preheating, waiting, and potentially burning things. Your oven can stay gloriously cold.
- **Customizable AF:** Feeling fancy? Add this. Feeling lazy? Stick to the basics. It’s your world, these are just your bars.
- **Actually Delicious:** No sacrificing flavor for health here. These taste like a treat, not a chore.
- **Idiot-Proof:** Honestly, I’ve managed to mess up instant noodles before, and even I didn’t screw these up. So, you’re golden.
Ingredients You’ll Need
Gather your troops, folks! Here’s what you’ll need for your culinary adventure. Don’t worry, nothing too exotic here.
- **1 ½ cups Rolled Oats:** The OG healthy hero. Not instant oats, unless you like your bars mushy. Don’t do that.
- **½ cup Creamy Nut Butter:** Peanut, almond, cashew… whatever floats your nutty boat. Make sure it’s the drippy, natural kind, not the one with a gazillion added sugars.
- **⅓ cup Honey or Maple Syrup:** Your sticky binder and sweet tooth satisfier. Use what you prefer, both are great!
- **¼ cup Chia Seeds or Flax Seeds (ground):** Sneaky little fiber and omega-3 powerhouses. You won’t even taste them, promise!
- **¼ cup Protein Powder (optional):** Vanilla or unflavored works best if you want an extra boost. If not, totally fine to skip!
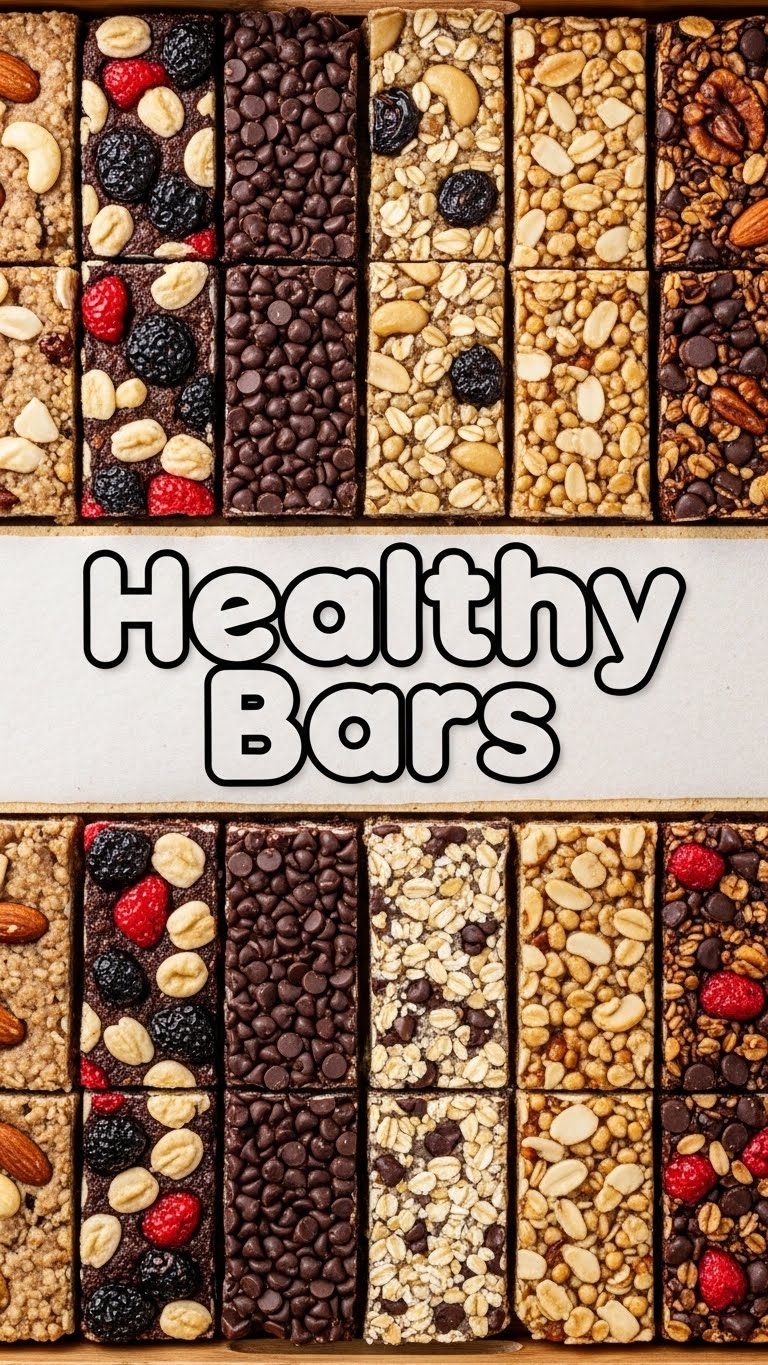
- **½ cup Mix-ins:** This is where the fun begins! Think chocolate chips (dark is best!), dried cranberries, chopped nuts, shredded coconut, or a combo. Get creative!
- **1 tsp Vanilla Extract:** Because everything is better with a splash of vanilla, IMO.
- **Pinch of Salt:** Just to wake up all those beautiful flavors.
Step-by-Step Instructions
Alright, apron on (or not, you do you), let’s get down to business. These steps are so easy, you could probably do them in your sleep.
- **Prep Your Pan:** Grab an 8×8 inch baking dish. Line it with parchment paper, leaving an overhang on the sides. This makes bar removal a breeze, trust me.
- **Melt & Mix Wet Stuff:** In a microwave-safe bowl (or a small saucepan over low heat), combine your nut butter, honey/maple syrup, and vanilla extract. Microwave for 30-60 seconds, or heat until it’s nice and melty and easy to stir. You want it smooth and pourable. Add that pinch of salt here too.
- **Combine Dry Goodies:** In a separate, larger bowl, dump your rolled oats, chia/flax seeds, and protein powder (if using). Give it a good whisk to make sure everything is evenly distributed.
- **Get Messy (But Not Really):** Pour the warm, gooey wet mixture into the dry oat mixture. Stir like your life depends on it! Make sure every single oat flake gets coated in that sticky goodness. Once it’s mostly combined, add your chosen mix-ins and stir again until they’re evenly distributed.
- **Press & Chill:** Transfer the mixture into your prepared 8×8 pan. Now, this is important: **press it down firmly and evenly.** Use the back of a spoon, your hands (slightly damp to prevent sticking), or even another piece of parchment paper to really compact it. The firmer you press, the less crumbly your bars will be.
- **Patience, Grasshopper:** Pop the pan into the fridge for at least 1-2 hours, or until the bars are firm. Overnight is even better if you can wait that long!
- **Slice & Devour:** Once firm, lift the parchment paper out of the pan and place your giant bar onto a cutting board. Use a sharp knife to cut them into 10-12 bars. Store them in an airtight container in the fridge for up to a week.
Common Mistakes to Avoid
Even though this recipe is practically foolproof, there are a few rookie errors that can turn your healthy bar dreams into a crumbly nightmare. Learn from my past blunders, folks!
- **Skipping the Firm Press:** This is probably the biggest one. If you don’t press the mixture down *really* hard, your bars will fall apart faster than my New Year’s resolutions. Seriously, get in there and squish it!
- **Using Instant Oats:** They’re too finely processed and will give you a gummy, not chewy, bar. Stick to the rolled kind.
- **Not Chilling Long Enough:** Patience, my friend! Pulling them out too early means they won’t be set and will be a sticky, messy blob. Give them their full beauty sleep in the fridge.
- **Too Much Liquid Binder:** Resist the urge to add more honey or nut butter if the mixture seems dry. Sometimes it just needs a bit more mixing and pressing. Extra liquid can make them too soft.
- **Forgetting the Parchment Paper:** Unless you enjoy chiseling your bars out of the pan, don’t skip this. It’s a lifesaver!
Alternatives & Substitutions
Feel free to get wild and personalize these! Here are some ideas to spark your culinary genius:
- **Nut Butter Swap:** Not a peanut fan? Try almond butter, cashew butter, or even sunflower seed butter for a nut-free option. Just make sure it’s smooth and drippy.
- **Sweetener Switch:** Out of honey? Maple syrup works perfectly. Agave nectar can also be used, but adjust to taste as it’s often sweeter.
- **Oat Alternatives:** If you’re gluten-free, make sure to use certified gluten-free rolled oats.
- **Seed Power-Up:** Instead of chia or flax, hemp seeds are another great option for a nutty flavor and added protein.
- **Mix-in Madness:** The world is your oyster!
- **Dried Fruits:** Apricots, figs, chopped dates, raisins.
- **Nuts:** Almonds, walnuts, pecans, pistachios (chopped).
- **Chocolate:** Milk, white, or dark chips; cacao nibs for a less sweet crunch.
- **Coconut:** Shredded, desiccated, or flakes.
- **Spices:** A dash of cinnamon, nutmeg, or pumpkin pie spice can elevate the flavor.
- **Vegan Option:** Simply ensure your nut butter doesn’t contain dairy (most don’t) and use maple syrup instead of honey. Easy peasy!
FAQ (Frequently Asked Questions)
Got questions? I’ve got answers. Probably. Let’s tackle some common thoughts.
**Q: Are these *really* healthy?**
A: Well, they’re packed with oats, seeds, and healthy fats, and have way less refined sugar than store-bought bars. So yes, comparatively, they’re a superstar! But also, everything in moderation, right?
**Q: Can I bake them instead?**
A: You *could*, but why bother when no-bake is so much easier? Baking might dry them out, so I’d stick to the no-bake method for optimal chewyness. But hey, you’re the chef!
**Q: How do I store these magical creations?**
A: Keep ’em in an airtight container in the fridge for up to a week. They get a little softer at room temp, so chilling is key for bar integrity.
**Q: Can I freeze these?**
A: Absolutely! Wrap individual bars in plastic wrap and then store them in a freezer-safe bag for up to 2-3 months. Thaw at room temperature or pop one in the fridge a few hours before you want to eat it.
**Q: My mixture seems too dry/too wet, what gives?**
A: **Too dry?** Your nut butter might be extra thick. Add a tiny splash (like, ½ tsp at a time) of water or a bit more melted honey/syrup until it comes together. **Too wet?** Your nut butter might be super oily, or you added too much liquid. Try adding another tablespoon or two of oats or ground seeds to absorb some moisture. Adjust slowly, don’t go wild!
**Q: I don’t have parchment paper. Can I just grease the pan?**
A: You *can*, but be prepared for a sticky situation. Parchment paper is truly your best friend here for easy removal. If you must skip it, grease *very* thoroughly and be extra patient when lifting them out.
Final Thoughts
So there you have it! Delicious, healthy, and ridiculously easy bars that will make you feel like a domestic goddess (or god, or whatever you identify as!). These are perfect for busy mornings, afternoon slumps, or just when you need a little something-something that won’t make you feel guilty. Now go impress someone—or yourself—with your new culinary skills. You’ve earned it! Happy snacking!


