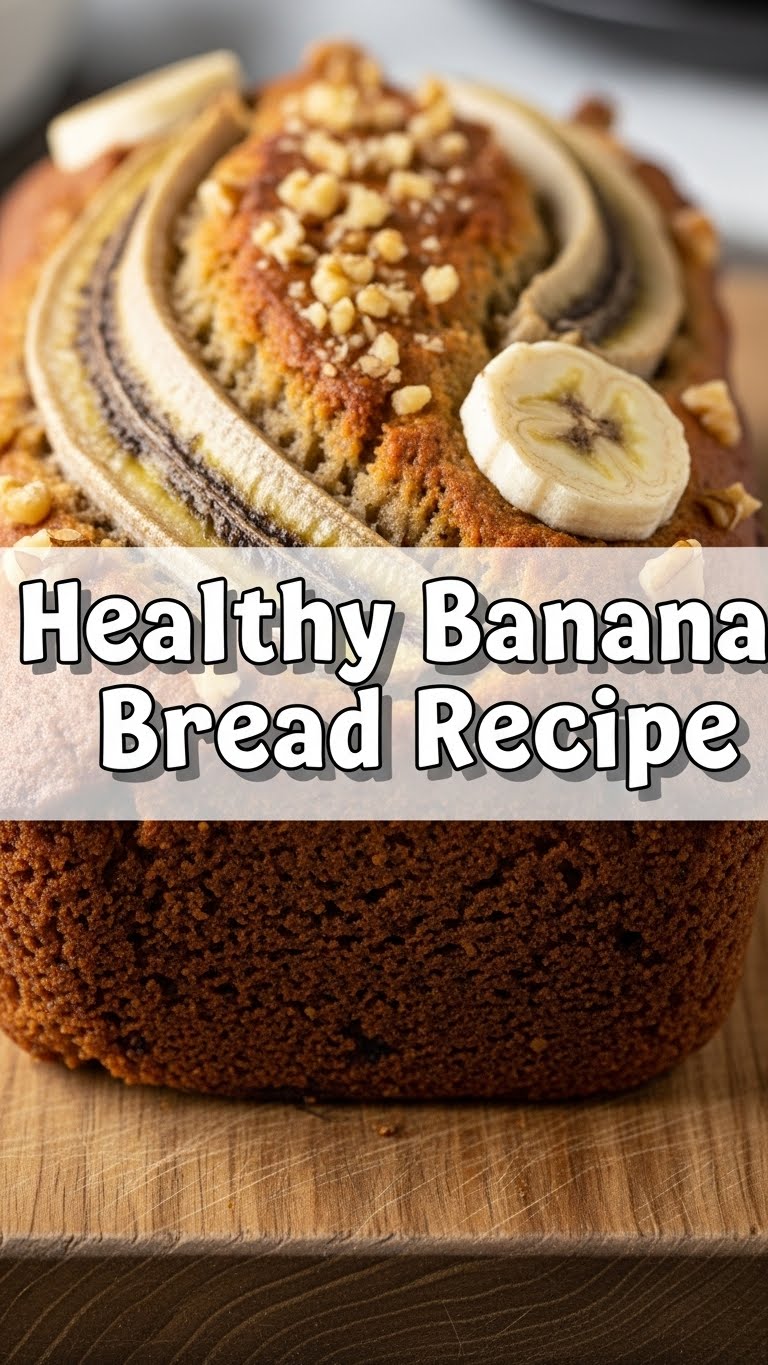
So you’re craving something tasty but too lazy to spend forever in the kitchen, huh? Same. And you’ve got those sad, spotty bananas silently judging you from the counter? Don’t worry, friend, we’re turning that banana guilt into pure, healthy-ish gold with zero fuss and maximum flavor. Get ready to bake!
Why This Recipe is Awesome
Okay, so why this particular banana bread recipe? Because it’s literally healthy-ish, which in my book means “you can eat it for breakfast and not feel like a complete sugar fiend.” Plus, it’s ridiculously easy. I mean, if *I* can make it without setting off the smoke detector (a common occurrence, FYI), you totally got this. It’s basically a hug in loaf form, but a hug that won’t widen your waistband too much. Win-win!
Ingredients You’ll Need
- Ripe Bananas: 3 medium. The spottier, the better! We’re talking banana-mafia-boss-level ripeness. No green allowed if you want maximum sweetness and easy mashing.
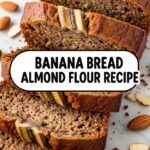
- Whole Wheat Flour: 1 ½ cups. For that “I’m being healthy” vibe. Or, if you’re feeling wild, plain old all-purpose flour works too!
- Maple Syrup or Honey: ½ cup. Nature’s candy! No refined sugar here, woohoo! Adjust a bit if your bananas are mega-sweet.
- Eggs: 2 large. Binders, baby! Two happy little chickens’ contributions to our deliciousness.
- Greek Yogurt (plain): ¼ cup. Our secret weapon for moisture without all the extra oil. Plus, probiotics? We’re basically health gurus now.
- Melted Coconut Oil (or unsalted butter): ¼ cup. Just a touch for richness. Don’t be shy, but don’t overdo it.
- Baking Soda: 1 teaspoon. For lift! No flat bread here, thank you very much.
- Vanilla Extract: 1 teaspoon. Because everything tastes better with vanilla, right?
- Pinch of Salt: ½ teaspoon. Balances everything out. It’s like the quiet hero of baking.
- Optional Add-ins: ½ cup chocolate chips (because life’s too short!), chopped walnuts, pecans, or a sprinkle of cinnamon. Go wild!
Step-by-Step Instructions
Preheat & Prep: First things first, crank that oven to 350°F (175°C). Then, grab a standard loaf pan (about 9×5 inches) and either grease it or line it with parchment paper. Don’t skip the lining, trust me, it makes cleanup a breeze!
Mash Those Bananas: In a large mixing bowl, get those ripe bananas and mash ’em up good. A fork works perfectly. Lumps are totally okay, even encouraged – they add a nice texture to the finished bread.
Wet Ingredients Unite: To your mashed bananas, add the maple syrup (or honey), eggs, Greek yogurt, melted coconut oil (or butter), and vanilla extract. Stir it all together until just combined. We’re not making cement, just a lovely wet mixture.
Dry Mix Magic: In a separate, smaller bowl, whisk together the whole wheat flour, baking soda, and salt. This step prevents weird pockets of unmixed powder in your final bread. Nobody wants a salty surprise!
Combine Gently: Now, add the dry ingredients to the wet ingredients. Mix *just* until no dry flour streaks remain. A few lumps are fine, actually, totally encouraged! Overmixing is the ultimate enemy of tender banana bread, so be gentle.
Add-ins (Optional Fun): If you’re feeling fancy (or indulgent, which is also fine!), fold in your chocolate chips, walnuts, or whatever delightful additions you chose. Distribute them evenly throughout the batter.
Bake to Perfection: Pour your glorious batter into the prepared loaf pan. Pop it into your preheated oven and bake for about 50-60 minutes. You’ll know it’s done when a toothpick inserted into the center comes out clean (or with just a few moist crumbs, but no wet batter).
Cool Down, Buttercup: Let your beautiful banana bread cool in the pan for 10-15 minutes. This helps it firm up. Then, carefully transfer it to a wire rack to cool completely. Patience, grasshopper, it’s worth the wait!
Common Mistakes to Avoid
- Under-ripe Bananas: Seriously, green bananas are just going to give you sad, bland bread. They won’t mash well and lack that sweet, intense banana flavor. Save those for, well, waiting to ripen.
- Overmixing the Batter: I know, I said it before, but it’s crucial! Overmixing develops the gluten in the flour too much, leading to tough, dense bread. Nobody wants a rubbery loaf. Stop mixing when the flour just disappears.
- Not Preheating the Oven: Rookie mistake! Your bread needs that immediate burst of heat to rise properly and get that lovely texture. Give your oven time to get cozy before the batter goes in.
- Cutting It Too Soon: I get it, the smell is intoxicating. But cutting into hot banana bread is a recipe for a crumbly mess. It needs to set up a bit as it cools. Wait for it, I promise.
Alternatives & Substitutions
Life happens, ingredients run out, or sometimes you just want to shake things up! Here are some easy swaps:
- Flour Power: Want to go gluten-free? A 1:1 gluten-free baking blend works wonders. Or, if whole wheat sounds too “healthy” for your current mood, just use regular all-purpose flour! It’ll be a bit lighter in texture.
- Sweet Swaps: No maple syrup? Brown sugar can totally replace it, though you’ll lose a tiny bit of that “healthy” cred. Or use honey! Just adjust to your personal sweetness preference.
- Fat Options: Melted butter instead of coconut oil? Absolutely! Use whatever you have on hand, or whatever makes your taste buds sing. Just ensure it’s melted before adding.
- Yogurt Alternatives: No Greek yogurt? Applesauce (unsweetened) is a fantastic substitute for moisture and adds a subtle fruitiness. You could also use sour cream if you’re feeling fancy and not strictly “healthy.”
- Making it Vegan: You can totally do it! Use flax eggs (1 tbsp ground flax + 3 tbsp water per egg, let sit 5 mins) instead of chicken eggs, and opt for plant-based yogurt (like almond or soy). You might need to adjust baking time slightly.
FAQ (Frequently Asked Questions)
- My bananas aren’t ripe enough! Help!
Don’t panic! Pop them on a baking sheet and bake at 300°F (150°C) for 15-20 minutes, or until their skins are black and shiny. Instant ripeness hack! You’re welcome.
- Can I use margarine instead of butter/oil?
Well, technically yes, but why hurt your soul like that? Butter or coconut oil will give you superior flavor and texture, IMO. Margarine just… isn’t the same. But in a pinch, do what you gotta do!
- How long does this glorious banana bread keep?
On the counter, tightly wrapped, about 3-4 days. In the fridge, it’ll last up to a week. And for longer storage, slice it, wrap individual slices, and freeze for up to 3 months. Perfect for a quick, grab-and-go breakfast!
- Can I add chocolate chips and nuts?
Is the sky blue? Go wild! This is your banana bread adventure. Just maybe don’t go overboard, or you’ll have more add-ins than bread, and it might struggle to hold together.
- My bread is dry, what happened?
Likely culprits: overbaked or overmixed. Next time, keep a close eye on your oven and pull it out when a toothpick just comes out clean. And remember, be gentle with that batter! Moisture is key!
- Is this *really* healthy? Like, truly?
Compared to a sugar-laden bakery version? Absolutely! It’s got whole grains, less refined sugar, and good fats. It’s ‘healthy-ish,’ remember? Enjoy in moderation, obvs, but don’t feel guilty about this one.
Final Thoughts
So there you have it, your new go-to healthy-ish banana bread recipe. You’ve conquered those sad bananas, created something delicious, and probably made your kitchen smell absolutely amazing in the process. Now go impress someone—or yourself—with your new culinary skills. You’ve earned it! Seriously, go make a cup of tea (or coffee, no judgment), grab a slice (or two!), and pat yourself on the back. You’re basically a kitchen wizard now. Happy baking, friend!

