So you’re staring at those chicken thighs in your fridge, wondering if they’re destined for another sad, bland fate, huh? Not today, friend! We’re about to turn those humble thighs into a juicy, flavor-packed masterpiece that practically cooks itself. Because, let’s be real, who has time for complicated when delicious is just a few steps away? We’re talking healthy, easy, and so good you’ll wonder why you ever settled for less.
Why This Recipe is Awesome
First off, it’s baked. Meaning minimal mess, maximum chill-out time. Your oven does all the heavy lifting while you… well, you do whatever you want. Binge-watch something? Scroll TikTok? Meditate? The world is your oyster!
Secondly, chicken thighs are the MVP of poultry – forgiving, flavorful, and seriously hard to mess up. Even if you usually burn water, I promise you, this recipe will make you feel like a culinary genius. It’s pretty much **idiot-proof**, even I didn’t mess it up!
And the best part? It’s genuinely healthy. No deep-frying shenanigans here. Just good, honest ingredients coming together for a meal that tastes indulgent but secretly loves your arteries. Win-win!
Ingredients You’ll Need
- 6-8 boneless, skinless chicken thighs: Or bone-in, skin-on if you’re feeling a bit wild and want extra crispiness.
- 2 tbsp olive oil: The good stuff, or whatever healthy oil you have on hand.
- 1 tbsp smoked paprika: Don’t skip this! It’s like a warm, smoky hug for your taste buds.
- 1 tsp garlic powder: Because garlic makes everything better. It’s science.
- 1 tsp onion powder: Garlic’s best friend, ensuring peak flavor town.
- 1/2 tsp dried oregano: A little herb magic never hurt anyone.
- Salt and freshly ground black pepper: To taste, duh. Don’t be shy!
- Optional fun stuff: A squeeze of lemon juice at the end, a sprinkle of fresh parsley, or a dash of red pepper flakes if you like a kick.
Step-by-Step Instructions
- **Preheat & Prep:** Crank your oven to a cozy 400°F (200°C). Line a baking sheet with parchment paper for ridiculously easy cleanup. Trust me on this, your future self will thank you.
- **Pat ‘Em Dry:** Grab those chicken thighs and pat them **super dry** with paper towels. This is crucial for getting that lovely, slightly crispy exterior and helping the seasoning stick. Do not skip this step!
- **Season Generously:** In a medium bowl, toss the chicken thighs with olive oil, smoked paprika, garlic powder, onion powder, oregano, salt, and pepper. Use your hands! Get in there and make sure every inch of that chicken is coated in glorious seasoning.
- **Bake It Up:** Arrange the seasoned thighs on your prepared baking sheet in a single layer. Make sure they’re not overcrowding each other; they need their personal space to cook evenly.
- **Cook to Perfection:** Pop them into the preheated oven and bake for 20-25 minutes, or until the internal temperature reaches a safe 165°F (74°C). The cooking time might vary depending on thickness, so a meat thermometer is your BFF here.
- **Rest & Serve:** Once cooked, take them out of the oven and let them **rest for 5 minutes** before slicing or serving. This lets the juices redistribute, keeping them unbelievably moist. Squeeze some fresh lemon over them if you’re feeling fancy, and sprinkle with parsley for a fresh finish.
Common Mistakes to Avoid
- **Not Patting Dry:** Seriously, I mentioned it twice for a reason. Soggy chicken skin is a sad chicken skin. It inhibits that beautiful sear!
- **Overcrowding the Pan:** Giving your chicken personal space isn’t just polite, it’s necessary for even cooking and a nice crust. Otherwise, they’ll steam instead of bake. Ew.
- **Eyeballing Doneness:** Unless you’re a chicken whisperer, get a meat thermometer. Undercooked chicken is a no-go, and overcooked chicken is a crime against flavor. Safety first, taste always!
- **Skipping the Rest:** Patience, young padawan! That 5-minute rest makes all the difference between good and “OMG, this is amazing!” chicken. **Don’t rush it.**
Alternatives & Substitutions
Spice it Up: Not a fan of paprika? Try chili powder, cumin, or a pre-made taco seasoning for a different vibe. **IMO**, smoked paprika is king, but you do you!
Herb Your Enthusiasm: No oregano? Thyme, rosemary, or even an Italian seasoning blend works beautifully. Fresh herbs tossed in during the last 5 minutes of baking are also a game-changer.
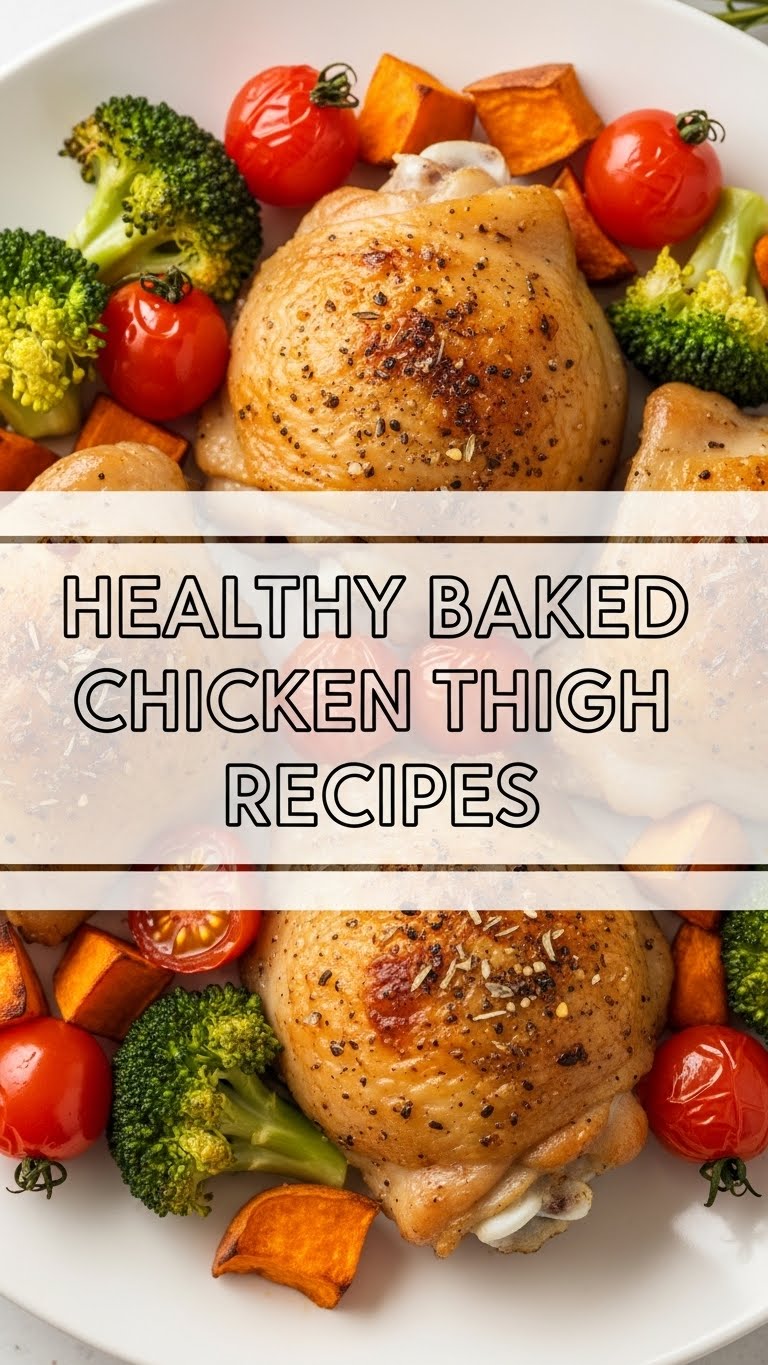
Veggie Power: Want a one-pan wonder? Toss some chopped veggies (like bell peppers, onions, zucchini, or broccoli florets) with a little olive oil and the same seasoning, and bake them alongside the chicken. Just make sure to cut them small enough to cook in roughly the same time.
Marinade Madness: If you have extra time, a quick marinade (like a dash of soy sauce, ginger, and garlic for an Asian twist) before baking can elevate things even further. Just be sure to pat them dry again after marinating!
FAQ (Frequently Asked Questions)
- **Can I use frozen chicken thighs?** Technically yes, but you MUST thaw them completely first. Trying to bake them frozen will lead to uneven cooking and probably a very sad dinner. Don’t do it, your taste buds deserve better!
- **My chicken isn’t getting crispy, what gives?** Did you pat it dry? Did you overcrowd the pan? Is your oven actually at the right temperature? Those are the usual culprits. Also, for maximum crispiness, consider bone-in, skin-on thighs!
- **How long can I store leftovers?** Cooked chicken thighs are good in an airtight container in the fridge for 3-4 days. Perfect for meal prep lunches or a quick snack!
- **Can I add sauce?** Absolutely! Drizzle with a little BBQ sauce, teriyaki glaze, or even a simple lemon-herb sauce during the last 5-10 minutes of baking. Just be mindful of added sugars if you’re aiming for “super healthy.”
- **Is bone-in or boneless better?** Bone-in often yields more flavor and juiciness due to the bone, but boneless cooks faster and is easier to eat. Pick your poison! **FYI**, bone-in takes a bit longer to cook, so adjust your timing accordingly.
Final Thoughts
See? That wasn’t so scary, was it? You just whipped up a genuinely delicious, healthy, and ridiculously easy meal. Now go impress someone—or yourself—with your new culinary skills. You’ve earned it! Pat yourself on the back, pour yourself a glass of something nice, and enjoy your triumph. Happy cooking, chef!


