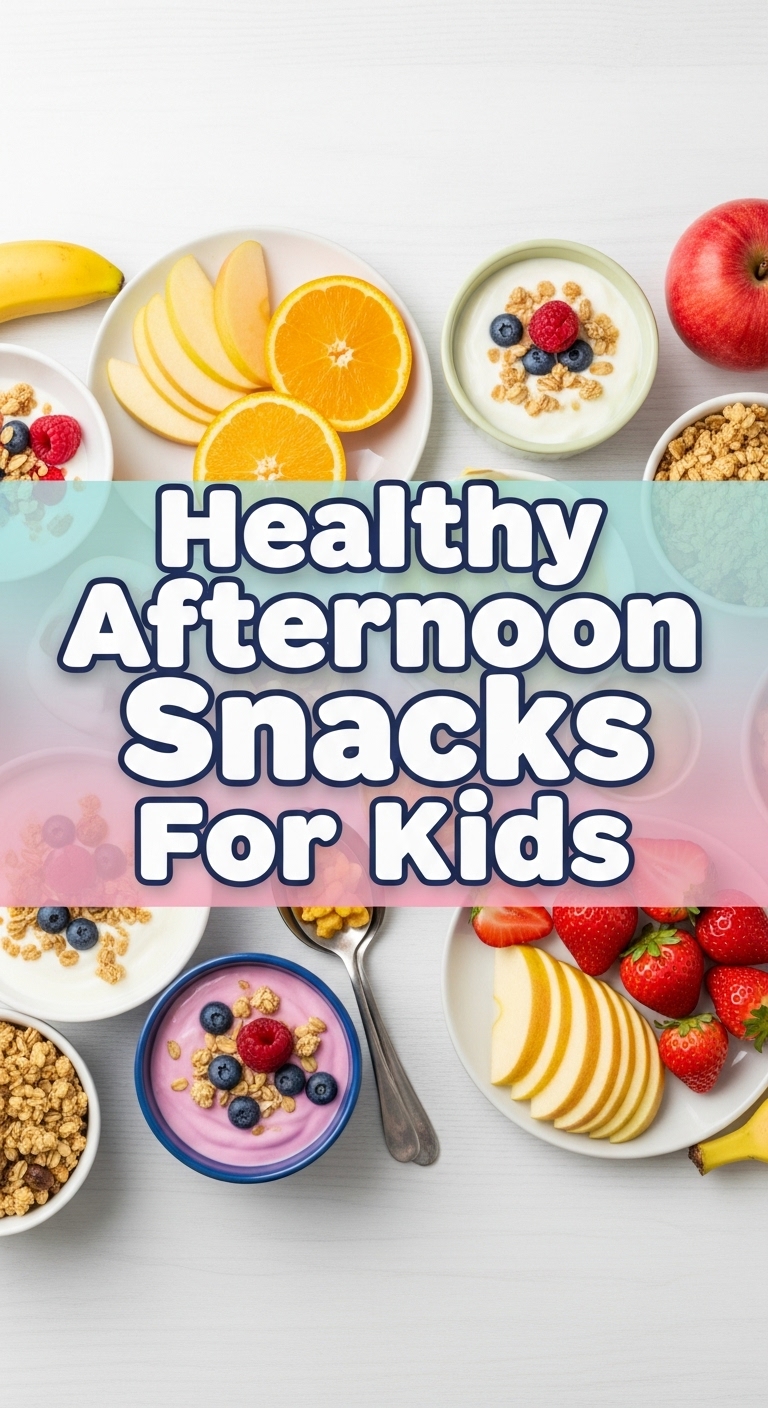
Ever feel like your kids have a built-in snack alarm that goes off precisely 2.7 seconds after they get home from school? Yeah, me too. And then they raid the pantry like tiny, ravenous Vikings, demanding sustenance immediately. But who has the energy to whip up a gourmet meal right after you’ve finally sat down for two seconds? Not me, friend. Not me. That’s why we’re making these glorious, ridiculously easy, and secretly healthy No-Bake Energy Bites! Your sanity and your kids’ tummies will thank you.
Why This Recipe is Awesome
Okay, buckle up, because this recipe is basically a superhero in disguise. First off, it’s no-bake. Let me repeat: NO. BAKE. This means no oven-watching, no preheating anxiety, and definitely no scorching anything to a crisp. Even I, a person who once nearly set off the smoke detector making toast, can nail this one. Seriously, it’s idiot-proof.
Secondly, these bites are packed with good-for-you ingredients, so you can feel like a domestic goddess (or god) while your kids happily munch away, completely oblivious to the fact they’re eating something healthy. It’s a win-win, IMO. Plus, they’re super customizable, which means you can sneak in whatever healthy bits you have lying around. Your kids will think they’re getting a treat, and you’ll know they’re getting actual fuel. Sneaky? Maybe. Effective? Absolutely!
Ingredients You’ll Need
Get ready for a super short shopping list! These are staples, so you probably have most of them already.
- 1 ½ cups rolled oats: The humble hero of our story. Not instant oats, unless you want a sad, mushy mess. Go for the old-fashioned kind.
- ½ cup creamy peanut butter: The glorious glue that holds it all together. Natural is great, but honestly, whatever creamy PB your family devours will work.
- ⅓ cup honey or maple syrup: For that touch of sweetness. Pick your poison – both work wonderfully.
- ¼ cup mini chocolate chips (optional, but highly recommended): Because we’re making snacks, not sermons. A little chocolate makes everything better.
- 1 tsp vanilla extract: A tiny splash for a big flavor hug.
- Pinch of salt: Balances everything out like a culinary tightrope walker.
- Optional add-ins: Chia seeds, flax seeds, finely shredded coconut – for an extra nutritional boost!
Step-by-Step Instructions
- Grab a Big Bowl: Find your biggest mixing bowl. We want room for all the magic to happen without ingredients spilling over the sides. Nobody likes extra cleanup!
- Combine Dry Ingredients: Toss in your rolled oats, chocolate chips (if using), and your pinch of salt. If you’re adding chia seeds or flax seeds, throw them in now too. Give it a quick stir to combine everything evenly.
- Add Wet Ingredients: Now, spoon in your peanut butter, honey (or maple syrup), and vanilla extract into the same bowl.
- Mix it Up: Get in there with a sturdy spatula or, honestly, your clean hands. Mix everything until it’s thoroughly combined and starts to look like a sticky, delicious dough. You want to make sure there are no dry spots left!
- Roll ‘Em Up: Take small spoonfuls of the mixture (about 1-inch size) and roll them into neat little balls between your palms. If it’s too sticky, wet your hands slightly.
- Chill Out: Place the rolled bites on a plate or baking sheet lined with parchment paper. Pop them into the fridge for at least 30 minutes. This helps them firm up and keeps them from turning into a melty mess when handled.
- Enjoy! Once firm, store them in an airtight container in the fridge for up to a week. They make perfect grab-and-go snacks!
Common Mistakes to Avoid
- Using instant oats: Rookie mistake! Instant oats absorb liquid too quickly and will give you a gluey, less appealing texture. Stick to old-fashioned rolled oats for that perfect chew.
- Not chilling them: Trying to eat them straight out of the bowl? You’ll just have sticky chaos on your hands, not firm, delightful bites. The chilling step is crucial!
- Skipping the salt: That tiny pinch of salt isn’t just for show. It really helps to balance the sweetness and brings out all the other flavors. Don’t underestimate its power!
- Overmixing: While you want everything combined, don’t go overboard. Once it’s just mixed, you’re good. Excessive mixing can make the peanut butter release too much oil, making them greasy.
Alternatives & Substitutions
This recipe is like a choose-your-own-adventure book for your taste buds. Don’t have something? No problem!
- Nut Butter Swaps: Not a peanut butter fan or have allergies? Almond butter, cashew butter, or even sunflower seed butter (for nut-free zones!) work beautifully. Just make sure it’s a creamy variety.
- Sweetener Swaps: Agave nectar is another great alternative to honey or maple syrup if you prefer.
- Boost the Nutrition: Want to really power them up? Add a tablespoon or two of ground flaxseed, chia seeds, or hemp hearts. They’re tiny but mighty!
- Flavor Variations: Swap out mini chocolate chips for dried cranberries, chopped dried apricots, a sprinkle of cinnamon, or even some finely shredded coconut. Get creative!
- Make it Vegan: If you use maple syrup instead of honey, this recipe is already vegan-friendly. Easy peasy!
FAQ (Frequently Asked Questions)
Got questions? I’ve got casual, slightly sarcastic answers!
- Can I use crunchy peanut butter? Well, technically yes, but why would you want to complicate things? Creamy makes for a smoother, easier roll. If you do, expect some extra texture and possibly a bit more effort to hold them together.
- How long do these last? In an airtight container in the fridge, they’re good for about a week. If they last that long, you’re doing better than me!
- Can I freeze them? Absolutely! Pop them into a freezer-safe bag or container, and they’ll last for about a month. Just thaw them in the fridge for a bit before munching.
- My mixture is too dry/too sticky! What do I do? If it’s too dry, add another tiny drizzle of honey or a spoonful of peanut butter. Too sticky? Add a tablespoon more oats or chill the mixture for 10-15 minutes before rolling. It’s a forgiving recipe, so don’t fret!
- Are these actually healthy? My kids love them! Yes, they are! They’re packed with fiber from oats, healthy fats from peanut butter, and natural sweetness. Of course, moderation is key, but these are definitely a healthier choice than a lot of store-bought snacks. You’re winning!
Final Thoughts
So there you have it, my friend! A ridiculously simple, incredibly tasty, and surprisingly healthy snack that will keep those afternoon munchies at bay. You’ve just unlocked a new level of parental snack mastery, and frankly, you deserve a medal (or at least a quiet five minutes). Now go impress someone—or yourself—with your new culinary skills. You’ve earned it!


