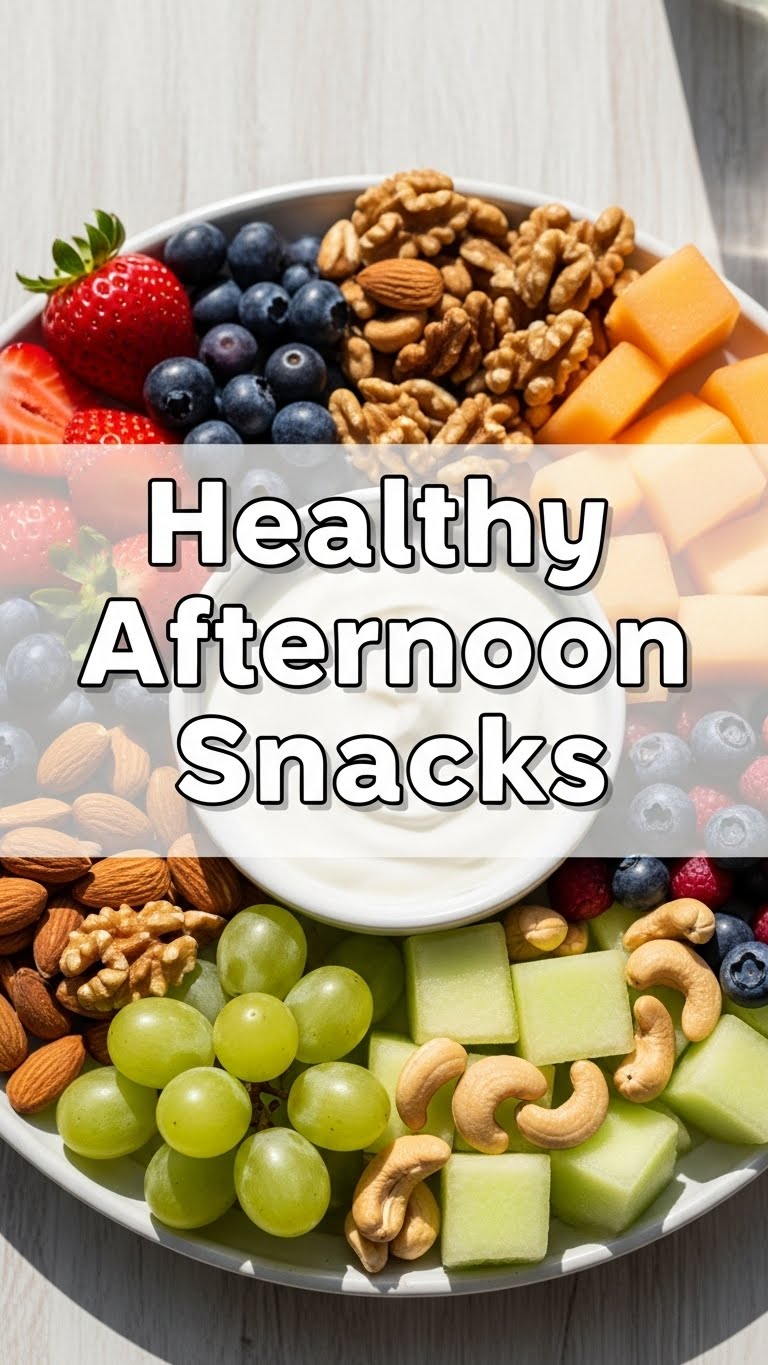
So you’re craving something tasty, kinda healthy, but too lazy to spend forever in the kitchen, huh? Same, friend, *same*. The afternoon slump hits, the stomach grumbles, and suddenly that bag of chips is looking mighty tempting. But what if I told you we could whip up something ridiculously good, packed with actual goodness, and so easy your cat could probably do it (if it had opposable thumbs, that is)? Get ready for your new favorite go-to: **No-Bake Power Bites!**
Why This Recipe is Awesome
Let’s be real. Most “healthy” snacks taste like cardboard’s sadder, distant cousin. Not these bad boys! These No-Bake Power Bites are basically tiny, delicious explosions of energy that taste like a treat but fuel you up without the sugar crash. They’re practically idiot-proof – even I, a seasoned kitchen chaotician, manage not to mess them up. Plus, no oven required! That means less heat in your kitchen and more time for, well, literally anything else. Think of them as your personal afternoon superhero, swooping in to save you from regrettable snacking choices. And bonus points: you can totally customize them to whatever random bits you have in your pantry. Fanciness level: zero. Deliciousness level: off the charts.
Ingredients You’ll Need
Gather your troops! Here’s what you’ll need for about 12-15 bites:
- 1 cup Rolled Oats: The good stuff! Old-fashioned, not instant. We’re building structure here, not a soggy mess.
- ½ cup Peanut Butter: Creamy, crunchy, whatever floats your boat. The natural kind without a ton of added sugar is usually best, but hey, you do you. This is the glue that holds our dreams together.
- ⅓ cup Honey or Maple Syrup: Your choice of sticky sweetness. Maple syrup makes it vegan-friendly, FYI.
- ¼ cup Chia Seeds: Tiny powerhouses! They’ll help bind everything and give you a nice omega-3 boost. Don’t worry, you won’t taste them much.
- ¼ cup Mini Chocolate Chips: (Optional, but highly encouraged) Because life’s too short for snacks without a little chocolate. Dark chocolate chips make it feel extra fancy and less guilty.
- 1 tsp Vanilla Extract: Optional, but adds a lovely warmth.
- A tiny pinch of Salt: Just to balance the sweetness and make everything pop. Don’t skip it!
Step-by-Step Instructions
- Grab a Bowl: In a medium-sized mixing bowl, combine the rolled oats, chia seeds, and the pinch of salt. Give them a quick stir to say hello to each other.
- Melt the Goodness: In a microwave-safe bowl (or a small saucepan on the stove), gently warm the peanut butter and honey/maple syrup together for about 30 seconds. You want it warm enough to be runny and easily mixed, but not boiling. Stir until smooth.
- Combine & Conquer: Pour the warm peanut butter mixture over your dry ingredients. If using, add the vanilla extract now. Stir, stir, stir until everything is thoroughly combined and looks like a delicious, sticky dough. If adding chocolate chips, fold them in gently now.
- Chill Out: Cover the bowl with plastic wrap and pop it in the fridge for at least 30 minutes. This step is crucial! It helps the mixture firm up, making it easier to roll and preventing sticky hands syndrome.
- Roll ‘Em Up: Once chilled, grab a small spoon or a mini ice cream scoop. Roll the mixture into bite-sized balls (about 1-inch in diameter). Place them on a plate or a baking sheet lined with parchment paper.
- Enjoy! Dig in immediately or store them for later. They’re perfect for that 3 PM brain fog.
Common Mistakes to Avoid
- Skipping the Chill Time: Seriously, don’t. You’ll end up with a sticky mess on your hands and a sad pile of un-rolled ingredients. Patience, grasshopper.
- Over-Warming the Peanut Butter Mix: While you want it warm, don’t let it get super hot. It can make the mixture too oily and hard to work with later. Gentle heat is your friend.
- Eyeballing Everything: I get it, you’re a rebel. But with no-bake recipes, proportions matter a bit more for that perfect consistency. Use those measuring cups, my friend.
- Eating All the “Dough” Before Rolling: I mean, I can’t *really* stop you, but you might run out before you have actual bites. Exercise some restraint, if you can!
Alternatives & Substitutions
This recipe is super flexible, which is part of its charm! Here are some ideas to mix things up:
- Nut Butters: Not a peanut butter fan? Almond butter, cashew butter, or even sunflower seed butter (for a nut-free option!) work wonderfully. The flavor profile will change, obviously, but still delicious.
- Sweeteners: Don’t have honey or maple syrup? Agave nectar is another great option. If you’re feeling wild, you can even use a small amount of date paste.
- Mix-ins Galore: This is where the fun really begins!
- Seeds: Flax seeds, hemp hearts, sunflower seeds, pumpkin seeds for extra nutrition and crunch.
- Nuts: Chopped almonds, walnuts, pecans.
- Dried Fruit: Diced apricots, cranberries, raisins, or even chopped dates. Just be mindful of added sugar in some dried fruits.
- Coconut: Shredded coconut (toasted or untoasted) adds a lovely tropical vibe.
- Protein Powder: Want an extra protein punch? Add a scoop of your favorite vanilla or unflavored protein powder. You might need a tiny splash more liquid to compensate.
- Make it Vegan: Just ensure you’re using maple syrup (not honey) and vegan chocolate chips. Easy peasy!
FAQ (Frequently Asked Questions)
- How long do these last?
Good question! Stored in an airtight container in the fridge, they’re usually good for up to a week. If they last that long, that is. Mine typically vanish in about two days, tops.
- Can I freeze them?
Absolutely! Pop them in a freezer-safe bag or container, and they’ll be happy for about a month. Just pull one out when a craving strikes, let it thaw for a few minutes, and boom—instant snack.
- What if my mixture is too dry/crumbly?
Uh oh! Add a tiny splash more of your liquid sweetener or a dollop more peanut butter, one teaspoon at a time, until it comes together. Don’t overdo it, though!
- What if it’s too sticky?
Rookie mistake, maybe? Try adding a tablespoon or two more oats or even some desiccated coconut to absorb some of that moisture. And **definitely** chill it longer. That’s usually the culprit.
- Can I make these nut-free?
You betcha! Swap the peanut butter for sunflower seed butter (like SunButter) and ensure your other mix-ins are nut-free. Perfect for school lunches or folks with allergies.
- Are these good for kids?
Oh yeah! My niece devours them. They’re a great way to sneak in some fiber and healthy fats. Just be mindful of any choking hazards if adding whole nuts for very young children.
Final Thoughts
So there you have it, your new secret weapon against the afternoon munchies! These No-Bake Power Bites are proof that healthy doesn’t have to mean boring, and easy doesn’t mean sacrificing flavor. They’re quick, customizable, and seriously satisfying. Now go impress someone—or yourself, because let’s be honest, that’s who truly matters—with your new culinary skills. You’ve earned it!

