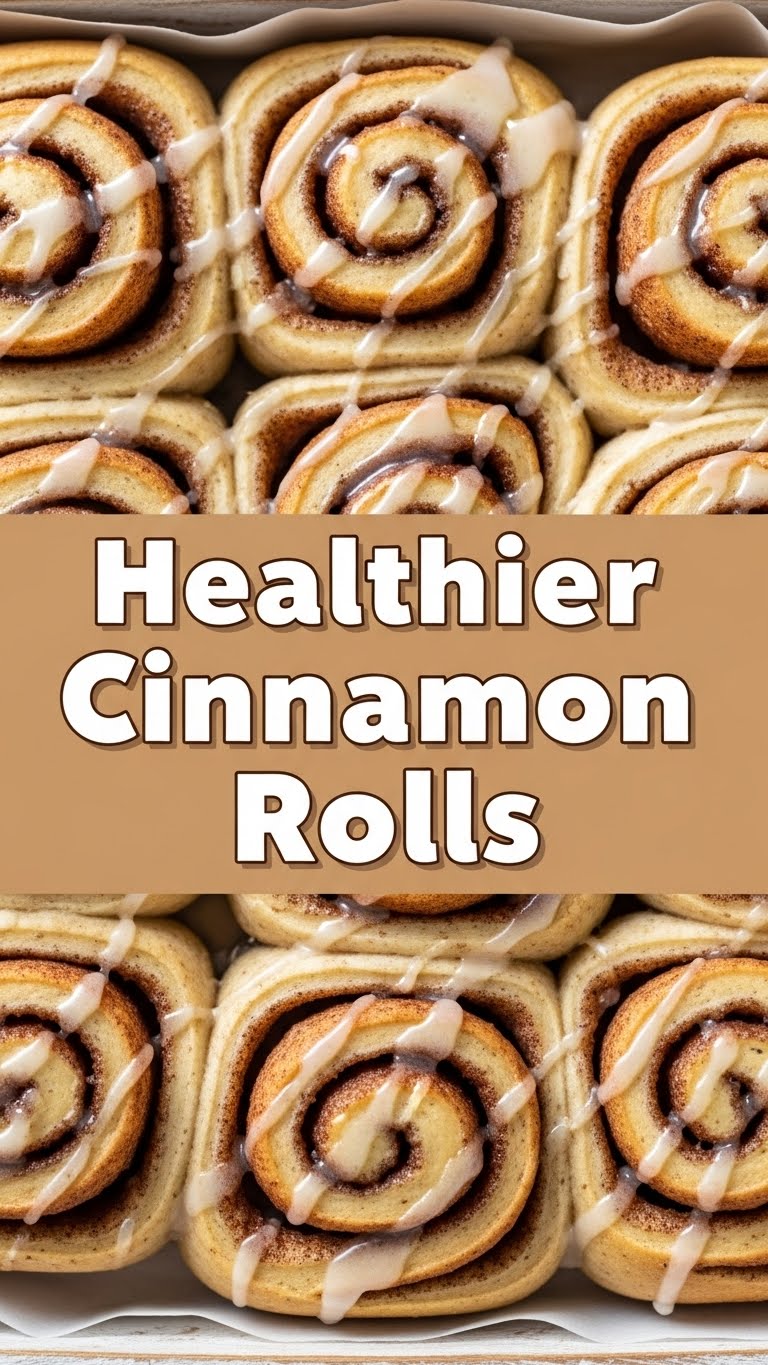
So, you’re dreaming of those warm, gooey cinnamon rolls but also kinda dreading the sugar coma and the hour-long gym session afterwards, huh? Been there, done that, bought the t-shirt. What if I told you we could have our cinnamon roll and eat it too, without feeling like we just chugged a gallon of syrup? Yeah, I know, mind blown. Get ready to meet your new obsession: Healthier Cinnamon Rolls that actually taste like a hug, not a compromise.
Why This Recipe is Awesome
Okay, so why bother with my version when there are a million cinnamon roll recipes out there? Because, my friend, this one is the unicorn of cinnamon rolls. It’s delicious without the guilt trip, shockingly easy (we’re talking ‘can-do-it-before-your-coffee-kicks-in’ easy), and won’t leave you feeling like you just ate a brick of pure sugar. Plus, it’s pretty much idiot-proof. Seriously, I once burned water, and even I pulled this off. It’s a miracle, I tell ya.
Ingredients You’ll Need
Alright, gather your troops! Here’s what you’ll need for this culinary masterpiece. Don’t worry, nothing too fancy, just the essentials to make magic happen:
- For the Dough (the squishy, lovely part):
- 1 cup warm milk (any kind, but unsweetened almond or oat milk is a secret weapon here – shhh!).
- 2 ¼ teaspoons active dry yeast (one packet, for the non-bakers. It’s what makes them fluffy!).
- ¼ cup granulated sugar (just enough to make the yeast happy, not you hyper).
- ¼ cup melted unsalted butter (or coconut oil if you’re feeling extra virtuous. But let’s be real, butter is life).
- 1 large egg (room temp, because eggs are divas and perform better when comfy).
- ½ teaspoon salt (balances the sweet, like your witty sarcasm).
- 3-3 ½ cups all-purpose flour (or use half whole wheat flour for a secret fiber boost! No one will know, promise.).
- For the Filling (the gooey, cinnamon-y heart):
- ¼ cup melted unsalted butter (again, butter. Don’t fight it.).
- ½ cup light brown sugar, packed (the secret to that caramel-y goodness, but less of it!).
- 1 tablespoon ground cinnamon (the star of the show! Don’t skimp.).
- For the Cream Cheese Glaze (the crown jewel):
- 2 ounces reduced-fat cream cheese, softened (let’s pretend it’s practically salad).
- ¼ cup powdered sugar (or a sugar-free alternative – your call, rebel!).
- 1-2 tablespoons milk (just enough to make it drizzle-worthy).
- ½ teaspoon vanilla extract (makes everything taste fancy).
Step-by-Step Instructions
Alright, apron on, game face on (or just your comfy pajamas, no judgment here!). Let’s bake some happiness!
- Activate the Yeast: In a large bowl, whisk together the warm milk, yeast, and granulated sugar. Let it sit for 5-10 minutes until it looks foamy. This means your yeast is alive and ready to party! If it’s not foamy, your yeast is probably dead. Start over.
- Mix the Wet Stuff: Add the melted butter, egg, and salt to the yeast mixture. Give it a good whisk until everything is combined.
- Add the Flour: Gradually add the flour, one cup at a time, mixing with a wooden spoon or a stand mixer with a dough hook. Once it’s shaggy, turn it out onto a lightly floured surface.
- Knead That Dough: Knead the dough for about 5-7 minutes until it’s smooth and elastic. It should spring back when poked. This is your arm workout for the day, enjoy!
- First Rise (the Nap Time): Lightly grease the bowl, place the dough in it, and turn to coat. Cover with plastic wrap or a damp towel and let it rise in a warm place for 1-1.5 hours, or until doubled in size. This is crucial, so be patient!
- Prep the Filling: While the dough is rising, mix the light brown sugar and cinnamon in a small bowl. Easy peasy.
- Roll it Out: Once the dough has risen, punch it down gently (it did great!). Roll it out on a lightly floured surface into a large rectangle, about 12×18 inches.
- Butter & Sprinkle: Brush the melted butter over the entire surface of the dough, leaving about a ½-inch border. Then, sprinkle your cinnamon sugar mixture evenly over the butter.
- Roll ’em Up: Starting from one of the long sides, carefully roll the dough tightly into a log. Pinch the seam closed to seal.
- Slice & Dice: Use a sharp knife or, even better, unflavored dental floss, to cut the log into 12 equal slices (about 1.5 inches thick). This floss trick is a game-changer for clean cuts!
- Second Rise (more Nap Time): Arrange the rolls in a lightly greased 9×13 inch baking dish. Cover again and let them rise for another 30-45 minutes, or until they look puffy and almost touching.
- Bake Away! Preheat your oven to 375°F (190°C). Bake for 18-22 minutes, or until golden brown and cooked through. Don’t overbake them unless you like hockey pucks!
- Glaze Glory: While the rolls are cooling slightly (but still warm!), whisk together the softened cream cheese, powdered sugar, milk, and vanilla extract until smooth. Drizzle generously over the warm rolls.
- Devour: Try not to eat the entire pan in one sitting. I dare you.
Common Mistakes to Avoid
Even rockstar bakers (like you, now!) can stumble. Here are a few traps to gracefully sidestep:
- Ignoring the Yeast: If your yeast doesn’t foam, it’s dead. Don’t just “hope for the best.” You’ll end up with dense bricks instead of fluffy clouds. Always proof your yeast!
- Over-flouring the Dough: Adding too much flour makes your rolls tough and dry. Start with the minimum and only add more if the dough is super sticky and unmanageable. Less is more, just like with bad puns.
- Not Letting Them Rise Enough: Patience, young padawan! These rolls need their beauty sleep. Skimp on rising time, and you’ll miss out on that glorious, airy texture.
- Overbaking: This is a cardinal sin. Nobody wants a dry cinnamon roll. Keep an eye on them! They should be golden brown, not burnt offerings to the oven gods.
- Skipping the Glaze: I mean, why even live? The glaze is essential. Do not skip the glaze. It’s the whole point, IMO.
Alternatives & Substitutions
Feeling a little wild? Or maybe just out of an ingredient? No stress, we can totally improvise!
- Flour Power: Want even more fiber? Try using 100% whole wheat pastry flour for a softer texture than regular whole wheat. Or, if you’re feeling adventurous, a gluten-free all-purpose blend can work (though results might vary, just FYI).
- Milk Options: Any milk works, but unsweetened almond or oat milk really keeps things on the lighter side without sacrificing moisture. Full-fat milk will make them richer, if that’s your jam.
- Sweetener Swaps: You can totally use a granulated sugar substitute for the dough and a powdered sugar substitute for the glaze if you’re really watching your sugar intake. Just check the conversion rates!
- Butter Me Up: Coconut oil is a fantastic dairy-free alternative for both the dough and the filling. Tastes great, too!
- Add-ins: Feeling fancy? Toss a handful of chopped walnuts or pecans into the filling. A little orange zest in the dough or glaze can also add a bright, zesty kick!
FAQ (Frequently Asked Questions)
Got questions? I probably do too, but here are some common ones that might save you a frantic Google search:
- Can I make these ahead of time? Absolutely! You can assemble the rolls, cover them tightly, and refrigerate overnight after the second rise. Take them out about an hour before baking to come to room temp. Or, bake them and freeze the unglazed rolls for later!
- What if my dough isn’t rising? Uh oh. First, check your yeast expiry date. Second, is your milk too hot (kills the yeast) or too cold (puts it to sleep)? Ideal temp is bathwater warm (105-115°F). Warmth is key!
- Can I use margarine instead of butter? Well, technically yes, but why hurt your soul like that? Butter just tastes better, and in a “healthier” recipe, a little real butter is totally fine. Live a little!
- My rolls look dry! What happened? Probably overbaked, my friend. Next time, pull them out when they’re golden brown and just barely set in the middle. Remember, they’ll continue to cook slightly from residual heat.
- How long do these healthier cinnamon rolls last? In my house? About an hour. Realistically, store them in an airtight container at room temperature for 2-3 days, or in the fridge for up to a week. They’re best warm, though!
- Can I make them gluten-free? You can try a 1:1 gluten-free flour blend, but yeast doughs can be tricky with GF flours. Expect a slightly different texture, but still delicious!
Final Thoughts
There you have it, folks! Your new go-to recipe for when you want a little indulgence without completely derailing your wellness goals. These healthier cinnamon rolls are proof that you can have it all – deliciousness, ease, and a sprinkle of smug satisfaction knowing you made them yourself (and they’re secretly a little bit good for you). Now go impress someone – or just yourself, because let’s be real, you deserve it – with your new culinary skills. You’ve earned it! Happy baking!

