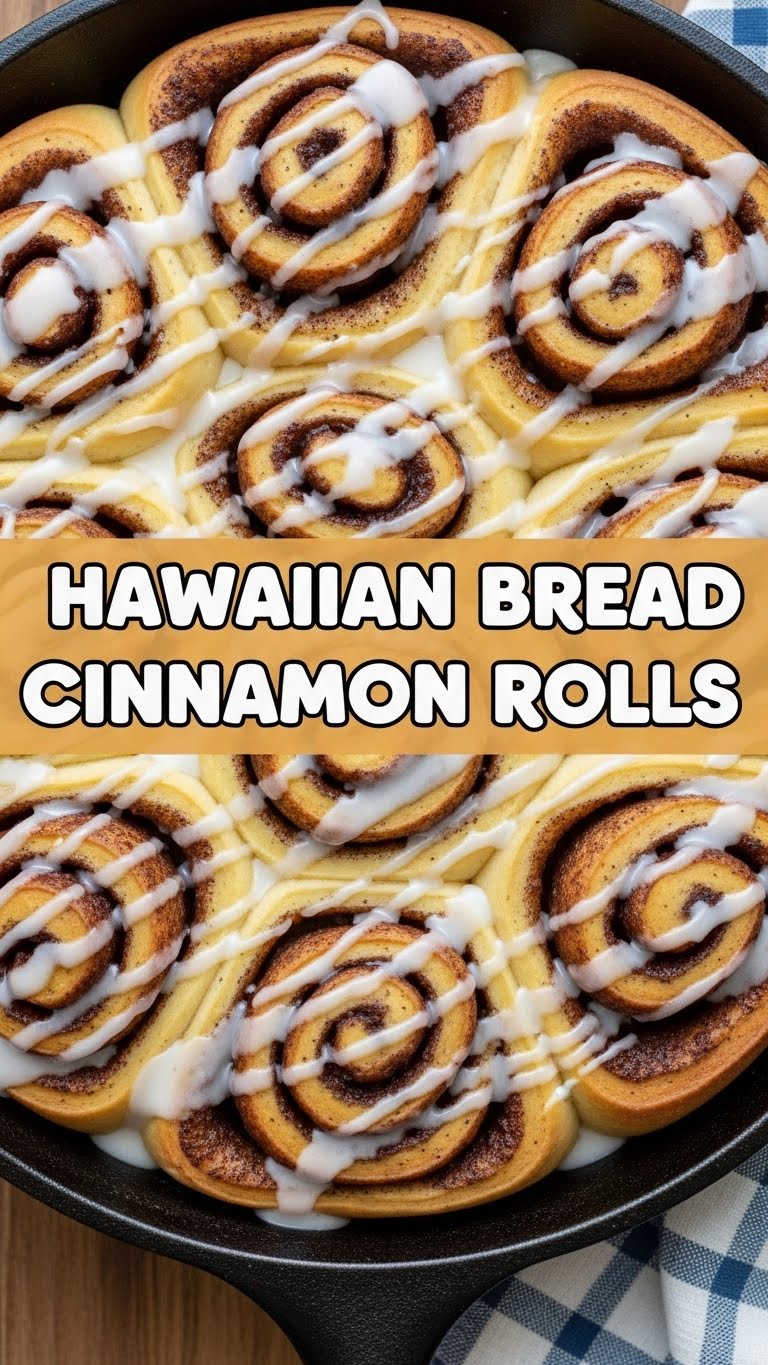
So you’re craving something tasty but too lazy to spend forever in the kitchen, huh? Same, friend, *same*. We’ve all been there: that deep, soul-crushing desire for something warm, sweet, and utterly indulgent, but the thought of wrestling with yeast and dough makes you want to curl up in a ball and cry. Well, buckle up, buttercup, because I’m about to drop a culinary bombshell that’ll make you feel like a five-star chef with minimal effort: Hawaiian Bread Cinnamon Rolls!
Why This Recipe is Awesome
Let’s be real, traditional cinnamon rolls are a labor of love, and sometimes, love needs a shortcut. This recipe? It’s the ultimate cheat code. We’re talking idiot-proof levels of easy – I didn’t even mess it up, and that’s saying something. The secret weapon? Those glorious, fluffy, slightly sweet Hawaiian rolls. They do all the heavy lifting for you! Seriously, you’re just slicing, slathering, rolling, baking, and glazing. It’s so quick, you’ll have these warm, gooey, cinnamony delights ready before your caffeine really kicks in. Plus, the Hawaiian bread brings a subtle sweetness and incredible texture that elevates these beyond your average roll. Get ready for compliments, because people will think you slaved all day. LOL!
Ingredients You’ll Need
Gather your weapons, future culinary superstar! Here’s what you’ll need for this delicious escapade:
- 1 package King’s Hawaiian Sweet Rolls (12-count): The MVP of this dish. Don’t cheap out here; the authentic stuff makes all the difference.
- 1/2 cup unsalted butter: Room temperature, please. We’re not savages using cold butter.
- 1/2 cup packed light brown sugar: The darker the better for that deep molasses flavor.
- 2 tablespoons ground cinnamon: Because what’s a cinnamon roll without a generous dose of, well, cinnamon?
- For the Glaze:
- 1 cup powdered sugar (confectioners’ sugar): Sifted, if you’re feeling fancy and want to avoid lumps.
- 2-3 tablespoons milk (or cream): Start with 2 and add more if needed. Whole milk works best for richness.
- 1/2 teaspoon vanilla extract: A splash of magic.
Step-by-Step Instructions
Ready to roll? (Pun absolutely intended.) Follow these ridiculously simple steps:
- Prep Your Rolls: Take your Hawaiian rolls and slice the entire block horizontally through the middle, like you’re making a giant sandwich. Don’t separate the individual rolls! You want two big slabs of bread.
- Whip Up the Filling: In a small bowl, combine your softened butter, brown sugar, and cinnamon. Mash it all together with a fork until it’s a glorious, uniform paste. This is where the magic happens, people.
- Spread the Love: Take one half of your sliced Hawaiian rolls (the bottom half works best as a base) and generously spread the cinnamon-sugar mixture all over it. Get into every nook and cranny.
- Top it Off: Place the other half of the Hawaiian rolls (the top slab) directly on top of the filling, gently pressing down.
- Roll ‘Em Up: Carefully, from one short end, start rolling the entire slab into a tight log. Think giant sushi roll, but with way more deliciousness. Once rolled, wrap it tightly in plastic wrap and pop it in the freezer for about 15-20 minutes. This helps it firm up for easier slicing. Don’t skip this step!
- Preheat and Slice: While your roll is chilling, preheat your oven to 375°F (190°C) and line a baking sheet with parchment paper. Once chilled, unwrap the log and slice it into 1-inch thick rounds. You should get about 12 rolls.
- Bake to Perfection: Arrange your sliced rolls cut-side up on the prepared baking sheet. Bake for 12-15 minutes, or until they’re golden brown and the filling is bubbly. Keep an eye on them!
- Whip the Glaze: While the rolls are baking, whisk together the powdered sugar, milk, and vanilla extract in a small bowl until smooth. If it’s too thick, add a tiny bit more milk; too thin, add a bit more powdered sugar.
- Drizzle and Devour: As soon as the rolls come out of the oven, let them cool for just a minute or two, then drizzle that glorious glaze all over them. Serve warm and watch them disappear!
Common Mistakes to Avoid
Even though this recipe is practically foolproof, there are a few minor mishaps that can happen to the best of us (read: me, before I perfected this). Here’s how to sidestep them:
- Not Chilling the Log: Thinking you can skip the freezer step? Rookie mistake! That chill time makes slicing infinitely easier and prevents your beautiful log from collapsing into a cinnamony mess.
- Overfilling: While generosity is a virtue, too much filling can cause it to ooze out and make a sticky situation. Stick to the specified amount, IMO.
- Under- or Over-Baking: Keep an eye on those rolls! Under-baked means doughy centers, and over-baked means dry, sad rolls. You want golden edges and a bubbly center.
- Ignoring the Parchment Paper: Unless you love scraping caramelized sugar off your baking sheet, use parchment paper. Trust me on this.
- Using Cold Butter for the Filling: It’ll be a lumpy nightmare. Softened butter is key for a smooth, spreadable filling.
Alternatives & Substitutions
Feeling adventurous? Want to customize? Here are a few ideas to shake things up:
- Spice it Up: Add a pinch of nutmeg or cardamom to your cinnamon filling for an extra layer of warmth. Ground ginger could be fun too!
- Nutty Crunch: Sprinkle some finely chopped pecans or walnuts onto the cinnamon filling before placing the top layer of bread. Hello, texture!
- Cream Cheese Glaze: Instead of a simple milk glaze, whip up a quick cream cheese frosting! Just soften 2 oz cream cheese, 1/4 cup butter, 1 cup powdered sugar, and a splash of vanilla. Beat until smooth. So good!
- Boozy Glaze: A tiny splash of rum or bourbon in the glaze? Don’t mind if I do! (For adult eyes only, of course.)
- Different Rolls: While Hawaiian rolls are the star here, you *could* try brioche rolls if you absolutely can’t find them. But honestly, why deny yourself the tropical sweetness?
FAQ (Frequently Asked Questions)
- Can I use margarine instead of butter? Well, technically yes, but why hurt your soul like that? Butter just tastes better, period. For the best flavor, stick with the real deal.
- Can I make these ahead of time? Absolutely! You can assemble the log (before slicing) and keep it wrapped in the fridge overnight. In the morning, just slice and bake. Freshly baked rolls with minimal morning effort? Yes, please!
- How do I store leftovers? If there are any, which is a big “if,” store them in an airtight container at room temperature for up to 2-3 days. Pop them in the microwave for a few seconds to warm them up.
- My rolls didn’t brown, what gives? Your oven might be running a little cool, or they just need a minute or two longer. Also, make sure they’re not packed too tightly on the baking sheet, as that can hinder browning.
- Can I add fruit to the filling? You could try some very finely diced apples or dried cranberries, but be careful not to add too much moisture, or your rolls might get soggy.
- Is sifting the powdered sugar really necessary for the glaze? For a super smooth, lump-free glaze, yes. If you don’t mind a few tiny lumps, you can skip it. But FYI, sifting takes like 10 seconds.
Final Thoughts
See? I told you it was easy! You’ve just unlocked a new level of breakfast (or dessert, or midnight snack, no judgment here!) game. These Hawaiian Bread Cinnamon Rolls are ridiculously delicious, ridiculously simple, and guaranteed to put a smile on anyone’s face. Now go impress someone—or yourself—with your new culinary skills. You’ve earned it! Go forth and conquer, my sweet-toothed friend!


