Ever stare into your fridge, sigh, and think, ‘Why isn’t there a cookie fairy living here?’ Same, friend, same. Sometimes you just need a treat that feels a little fancy without actually *being* fancy. You know, something that screams “I tried!” but actually whispers “I whipped this up in my PJs.”
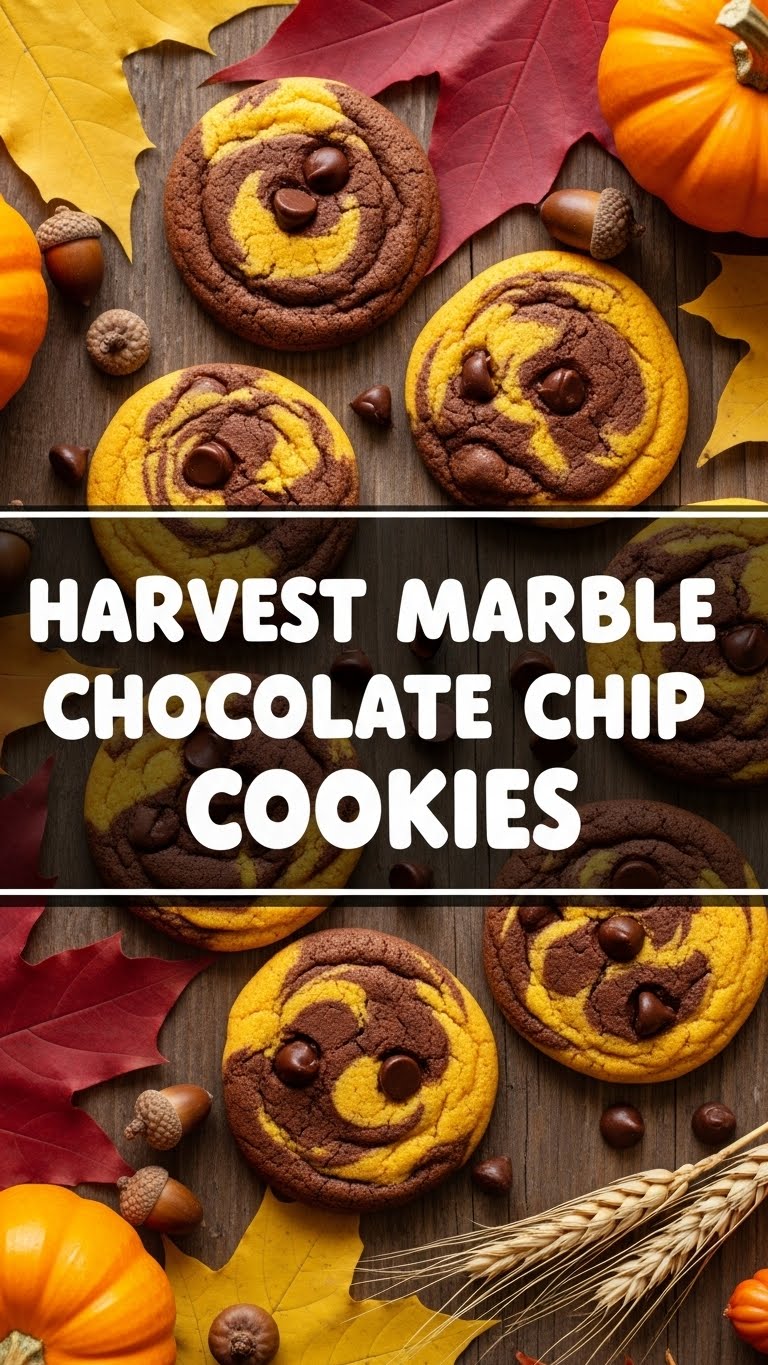
Well, buckle up buttercup, because today we’re making **Harvest Marble Chocolate Chip Cookies**! These beauties are like the chic older sister to your regular chocolate chip cookie: two-toned, swirly, and absolutely packed with flavor. Plus, they look super impressive for minimal effort. Win-win!
Why This Recipe is Awesome
Let’s be real, life’s too short for boring cookies or complicated recipes. This one? It’s the best of both worlds. Imagine a classic chocolate chip cookie, then imagine a rich, dark chocolate chip cookie… now imagine them doing a little dance together in one glorious bite! That’s what we’re talking about.
It’s also pretty much **idiot-proof**. Seriously, even if your culinary skills peak at toast, you got this. The marble effect looks super professional but is shockingly easy to achieve. No special tools, no crazy techniques. Just good old-fashioned deliciousness with a touch of visual flair. Plus, who doesn’t love a two-for-one flavor deal?
Ingredients You’ll Need
Gather your troops, because we’re about to make some magic! (Don’t worry, it’s kitchen magic, not actual magic where things explode.)
- **1 cup (2 sticks) Unsalted Butter, softened:** And I mean *softened*. Don’t even *think* about using cold butter unless you enjoy a good arm workout and possibly breaking your mixer.
- **¾ cup Granulated Sugar:** The classic sweetness.
- **¾ cup Packed Light Brown Sugar:** For that lovely chew and hint of caramel. The dynamic duo!
- **2 Large Eggs, room temperature:** Adds richness and helps bind everything.
- **2 tsp Vanilla Extract:** The MVP of cookie flavor. Do NOT skimp!
- **2 ¼ cups All-Purpose Flour:** The backbone of our cookie empire.
- **1 tsp Baking Soda:** Our leavening agent. Gives them that perfect lift.
- **½ tsp Salt:** Balances the sweetness and enhances flavor. Don’t skip it!
- **1 cup Chocolate Chips (your favorite!):** Semisweet, milk, dark – live your best life.
- **¼ cup Unsweetened Cocoa Powder:** This is for our dark chocolate marble swirl. Get ready for some deep chocolate goodness.
Step-by-Step Instructions
Alright, apron on (or not, I’m not judging), let’s get baking! These steps are so easy, you’ll wonder why you ever bought store-bought.
- **Cream it Up:** In a large bowl (or your stand mixer), beat the softened butter, granulated sugar, and brown sugar together until it’s light and fluffy. This usually takes about 2-3 minutes. It’s like a tiny cloud party in your mixer!
- **Egg-cellent Additions:** Beat in the eggs, one at a time, mixing well after each addition. Then stir in the vanilla extract. Don’t rush this part; you want everything nicely incorporated.
- **Dry Run:** In a separate bowl, whisk together the flour, baking soda, and salt. Gradually add the dry ingredients to the wet ingredients, mixing on low speed until *just* combined. **Don’t overmix!** Nobody wants tough cookies.
- **Divide and Conquer:** Now, divide your cookie dough evenly into two separate bowls.
- **Flavor Time!** To the first bowl, stir in ½ cup of chocolate chips. To the second bowl, stir in the cocoa powder until fully combined, then add the remaining ½ cup of chocolate chips. Now you have a classic dough and a dark chocolate dough!
- **Marbling Magic:** Line a baking sheet with parchment paper. Take alternating spoonfuls of the classic dough and the dark chocolate dough and dollop them onto the baking sheet, leaving about 2 inches between cookies.
- **Swirl Away:** Gently take a skewer, toothpick, or butter knife and swirl the two doughs together on top of each cookie. **Go easy!** You want nice swirls, not a muddy brown mess. Less is more here.
- **Bake ‘Em!** Preheat your oven to 375°F (190°C). Bake for 9-11 minutes, or until the edges are lightly golden and the centers still look slightly soft. **Don’t overbake!**
- **Cool Down:** Let the cookies cool on the baking sheet for 5 minutes before transferring them to a wire rack to cool completely. This helps them set up and prevents breakage. Patience, grasshopper!
Common Mistakes to Avoid
We all make mistakes, especially when deliciousness is on the line. But here are a few rookie errors to steer clear of:
- **Using Cold Butter:** I already warned you! Your mixer (and your arms) will thank you for using softened butter. It creams better and gives a better texture.
- **Overmixing the Dough:** Once you add the flour, mix *just* until combined. Overmixing develops the gluten too much, leading to tough, chewy (and not in a good way) cookies.
- **Not Preheating the Oven:** Baking is all about consistent heat from the start. Pop those babies into a preheated oven for the best results. Rookie mistake otherwise!
- **Overbaking:** This is the most common culprit for dry, sad cookies. Pull them out when the edges are set and the centers still look a tiny bit underdone. They’ll continue to bake on the hot sheet.
- **Aggressive Marbling:** Remember, gentle swirls! You’re going for a subtle marble effect, not a completely mixed uniform color.
Alternatives & Substitutions
Feeling adventurous? Or just realized you’re missing an ingredient? Here are some simple swaps:
- **Chocolate Chips:** You can totally swap out the semisweet for milk chocolate, dark chocolate, white chocolate, or even peanut butter chips! Or a mix! Live your cookie dream.
- **Cocoa Powder:** If you don’t have unsweetened cocoa, you could technically make all of the dough a classic chocolate chip. But then it wouldn’t be marble, would it? Just sayin’.
- **Butter:** While butter is king for flavor and texture, **FYI**, you *could* use margarine in a pinch. But don’t expect the same rich taste or delightful chewiness. Your taste buds might send you an angry email.
- **Gluten-Free Flour:** I haven’t tested it myself, but a 1:1 gluten-free all-purpose flour blend *might* work. If you try it, let me know your results!
FAQ (Frequently Asked Questions)
Got questions? I’ve got (casual) answers!
- **Can I chill the dough?** Absolutely! Chilling the dough for at least 30 minutes (or even overnight!) can deepen the flavor and reduce spreading. Plus, cold dough is easier to handle.
- **Why are my cookies flat?** Could be a few things! Your butter might have been too warm, your baking soda could be old, or you might have overmixed the dough. Make sure your oven is properly preheated too!
- **How long do these cookies last?** Stored in an airtight container at room temperature, they’re good for about 3-5 days. If they last that long, that is!
- **Can I freeze the dough?** Yes, please! Roll the marbled dough into balls, freeze them solid on a baking sheet, then transfer to a freezer bag. Bake from frozen, adding an extra minute or two to the baking time. Future you will thank past you.
- **My marble swirl looks messy, what gives?** Practice makes perfect! Or, just call it “rustic” and enjoy the deliciousness. The taste is what truly matters, **IMO**.
- **Can I use less sugar?** You can, but sugar contributes to more than just sweetness; it also affects the cookie’s texture and spread. Reducing it significantly might change the outcome.
- **What’s ‘Harvest’ about these cookies?** Honestly? The warm, cozy, two-tone vibe kinda reminds me of fall flavors and colors, like a harvest festival. Plus, it sounds fancier than “Two-Color Chocolate Chip Cookies,” right?
Final Thoughts
Boom! You just made beautiful, delicious Harvest Marble Chocolate Chip Cookies. See? I told you you could do it! Now go forth and share your culinary masterpiece (or hoard them all for yourself, I won’t judge). You’re officially a baking rockstar.
Now go impress someone—or yourself—with your new culinary skills. You’ve earned it!


