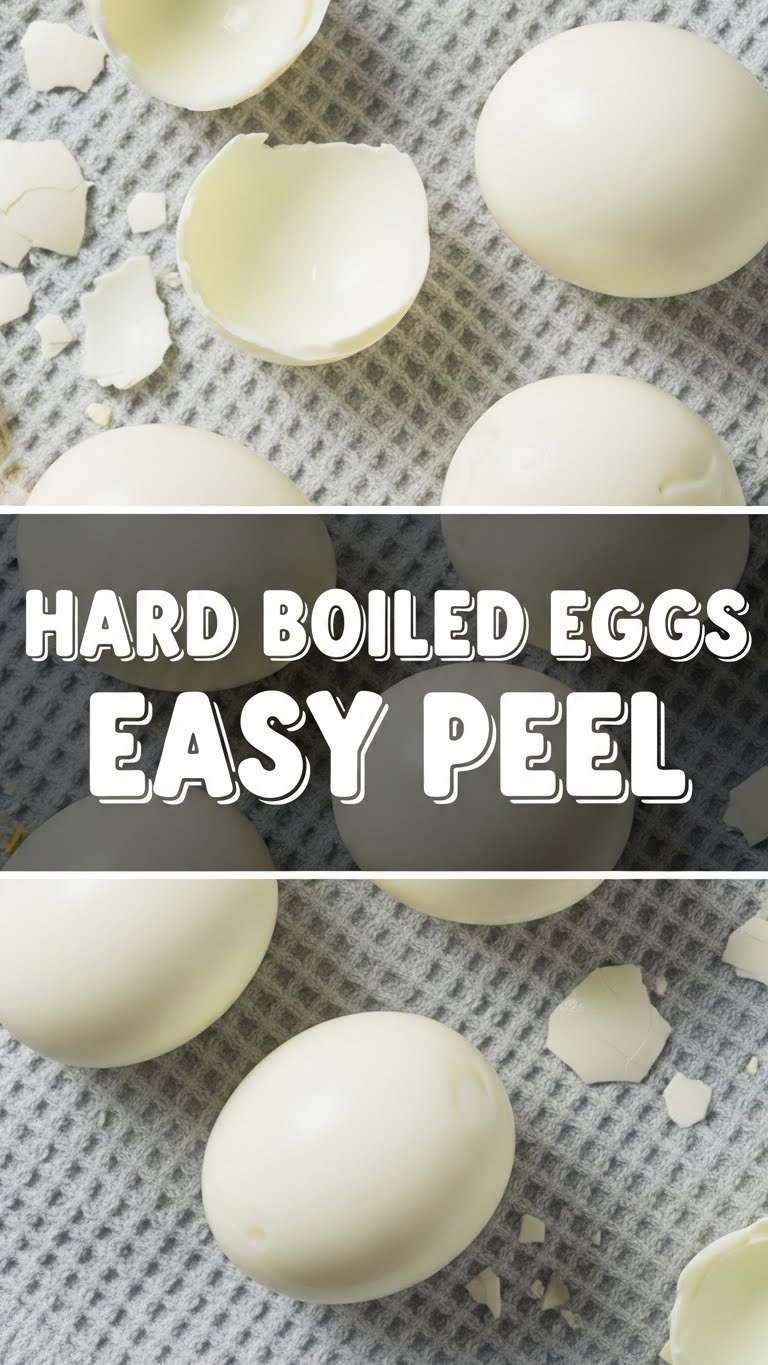
So, you’re craving something tasty, versatile, and packed with protein, but the thought of battling a stubborn eggshell makes you want to crawl back under the covers? Been there, friend. We’ve all been there. That moment when you peel a hard-boiled egg and half the white rips off with the shell, leaving a pockmarked, sad-looking excuse for a snack. It’s a tragedy, really. But fear not, because today we’re tackling the Everest of breakfast foods: the **easy-peel hard-boiled egg**. Get ready for smooth sailing and perfectly naked eggs!
Why This Recipe is Awesome
Because nobody has time for egg-shell shrapnel in their life, that’s why! This method is practically foolproof. Seriously, it’s so easy, your pet hamster could probably do it (if it had opposable thumbs and access to a stove). You’ll say goodbye to those frustrating peel-of-death moments and hello to perfectly smooth, beautiful hard-boiled eggs every single time. Plus, it gives you that satisfying “aha!” feeling when the shell just… slides right off. Trust me, it’s addicting.
Ingredients You’ll Need
- **Eggs, any kind:** Brown, white, medium, large, extra-large. The fresher they are, the harder they tend to peel, FYI. So if you’ve got some slightly older eggs chilling in your fridge, those are your VIPs for this mission.
- **A Pot:** Big enough to hold all your eggs in a single layer without them feeling like they’re in a sardine can.
- **Cold Water:** Enough to cover your eggs by about an inch or two. Tap water is perfectly fine, no need for fancy spring water here.
- **Ice:** And lots of it! This is arguably the most crucial player in our easy-peel saga. Don’t skimp on the ice!
Step-by-Step Instructions
- **Nestle Your Eggs:** Gently place your eggs in a single layer at the bottom of your pot. Treat them like delicate treasures – no dropping them in like you’re playing Plinko.
- **Cover ‘Em Up:** Pour cold tap water over the eggs until they’re covered by about 1 to 1.5 inches. This ensures even cooking.
- **Heat It Up (Slowly):** Put the pot on the stove over high heat. Bring the water to a **rolling boil**. You’ll see big, active bubbles.
- **The Magic Time-Out:** As soon as the water hits a rolling boil, immediately turn off the heat. Don’t take the pot off the burner yet! Cover the pot tightly with a lid.
- **Let ‘Em Chill (Cook):** Let the eggs sit in the hot water, covered, for exactly:
- **6-8 minutes** for slightly jammy yolks (my personal fave!).
- **9-12 minutes** for perfectly set, but still vibrant yellow yolks.
- **13-15 minutes** for firm, fully cooked yolks that are pale yellow.
**Timing is key here!** Use a timer!
- **Ice Bath Extravaganza:** While your eggs are chilling in the hot water, fill a large bowl with cold water and plenty of ice. We’re talking an actual ice bath, not just a few cubes.
- **Shock and Peel:** Once your timer goes off, carefully transfer the eggs from the hot pot directly into the ice bath. Let them sit there for at least 5-10 minutes. This cold shock is what makes the membrane contract and separate from the shell, making peeling a breeze.
- **Peel Like a Pro:** When they’re cool enough to handle, gently tap and roll each egg on a hard surface to crack the shell all over. Start peeling from the wider end – that’s usually where the air pocket is, making it easier to get under the membrane. The shell should practically glide off! You can even peel them under a stream of cold running water if you like, which helps wash away any tiny shell bits.
Common Mistakes to Avoid
- **Using Super Fresh Eggs:** While delicious, super fresh eggs are notorious for bonding with their shells like long-lost siblings. They’ll make peeling a nightmare. **Slightly older eggs are your best bet!**
- **Skipping the Ice Bath (or not using enough ice):** This isn’t optional, people! The rapid cooling is critical for easy peeling. Without it, the shell will cling on for dear life.
- **Overcooking:** Boiling them too vigorously for too long leads to rubbery whites and that unappealing greenish-gray ring around the yolk. Yuck! Stick to the timings.
- **Overcrowding the Pot:** Too many eggs means uneven cooking and a higher chance of cracking as they jostle around. Give your eggs some breathing room.
Alternatives & Substitutions
Honestly, when it comes to hard-boiled eggs, there aren’t a ton of “substitutions” for the eggs themselves (unless you’re thinking plant-based, which is a whole other recipe!). But you can totally play with the doneness:
- **For softer, jammy yolks:** Just shorten the covered cooking time to 6-8 minutes. You’ll get that delightful creamy, almost runny center that’s perfect for toast.
- **No ice on hand?** While the ice bath is superior, you can run your eggs under cold tap water for several minutes after cooking. It won’t be quite as effective, but it’s better than nothing.
- **Instant Pot Magic:** If you have an Instant Pot, there’s an even lazier (and some say, even better) way! Look up the “5-5-5 method” for Instant Pot hard-boiled eggs. It’s truly game-changing for peeling!
FAQ (Frequently Asked Questions)
**Why start with cold water?** Doesn’t hot water cook faster? Ah, a great question! Starting with cold water ensures the eggs heat up gradually. This helps prevent the shells from cracking due to sudden temperature changes, and it also promotes more even cooking. Nobody wants an exploded egg party!
**How long can I store hard-boiled eggs?** Unpeeled hard-boiled eggs can hang out in your fridge for up to a week. Peeled ones should be eaten within 2-3 days for best quality, but are generally safe for up to 5 days, stored in an airtight container.
**My yolks have a green ring. What did I do wrong?** You, my friend, overcooked ’em! That green-gray ring is sulfur and iron reacting. They’re still totally edible, but next time, shorten your cooking time by a minute or two. IMO, a vibrant yellow yolk is much more appealing!
**My eggs are still sometimes hard to peel, even with the ice bath. Help!** Two main culprits: You might be using super-duper fresh eggs (remember, older eggs are easier!). Or, your ice bath wasn’t cold enough or long enough. Make sure there’s plenty of ice and they cool down completely.
**Can I use a steamer basket instead?** Absolutely! Steaming eggs is another fantastic way to get easy-peel results. Just steam them for about 12-15 minutes (depending on size and desired doneness), then plunge them into an ice bath.
Final Thoughts
And there you have it! The secret to easy-peel hard-boiled eggs, unlocked. No more egg-sistential dread before breakfast. You’re now equipped with the knowledge to conquer those shells and enjoy perfectly cooked eggs whenever you please. Go forth and impress your brunch guests (or just yourself!) with your newfound culinary superpower. You’ve earned it!


