So, Halloween’s creeping up, and you’re thinking, “Must impress everyone with a spooky treat!” but also, “Must not spend my entire day in the kitchen!” My friend, you’ve come to the right place. Let’s make a Halloween Chocolate Cake that screams “I’m amazing!” without actually making *you* scream in frustration. This isn’t just any chocolate cake; it’s the kind that makes you wonder if you secretly became a baking wizard overnight. Spoiler: you didn’t, this recipe is just that good.
Why This Recipe is Awesome
First off, it’s chocolate. Enough said? No? Okay, fine. This isn’t just *any* chocolate cake; it’s a *Halloween* chocolate cake. It’s so moist, so rich, it practically casts a spell on your taste buds. Plus, it’s basically idiot-proof. Even if your culinary skills usually involve calling for takeout, you got this. Seriously, I made it, and my kitchen is usually where good ingredients go to die. So, if I can do it, you definitely can. No complicated steps, no obscure ingredients, just pure, unadulterated chocolatey joy. Trust me, your inner ghoul will thank you.
Ingredients You’ll Need
Gather your potion ingredients! (AKA, stuff from your pantry)
- Flour: 2 cups all-purpose. None of that fancy stuff unless you’re feeling extra.
- Sugar: 2 cups granulated. The sweet stuff, duh.
- Cocoa Powder: ¾ cup unsweetened. Because we’re adding *our own* sugar, thank you very much.
- Baking Soda: 2 teaspoons. For lift, because flat cakes are sad cakes.
- Salt: 1 teaspoon. Just a pinch, balances the sweetness, makes everything pop.
- Eggs: 2 large, room temp. Happy eggs make happy cakes.
- Milk: 1 cup. Full-fat or whatever you have, don’t overthink it.
- Vegetable Oil: ½ cup. Or canola. Don’t use olive unless you want a savory cake, weirdo.
- Vanilla Extract: 2 teaspoons. The good stuff, makes it smell heavenly.
- Hot Water or Coffee: 1 cup. Makes the chocolate flavor super intense! Secret weapon alert!
- For Frosting: Your favorite chocolate buttercream recipe (or store-bought, I won’t judge, it’s Halloween!). Think powdered sugar, butter, more cocoa, milk/cream, vanilla.
Step-by-Step Instructions
- Preheat your oven to 350°F (175°C). Grease and flour two 9-inch round cake pans. Or, you know, line them with parchment. Don’t skip this, unless you want cake glued to the pan.
- In a big bowl, whisk together the flour, sugar, cocoa powder, baking soda, and salt. Make sure there are no lumps—lumps are the enemy.
- In another bowl, whisk the eggs, milk, oil, and vanilla until combined. Don’t beat it like it owes you money, just combine.
- Pour the wet ingredients into the dry ingredients. Mix on low speed with an electric mixer (or by hand) until just combined. Don’t overmix! Overmixing makes tough cakes. And nobody wants a tough cake.
- Carefully stir in the hot water or coffee. The batter will be thin, and that’s okay. Don’t panic, it’s supposed to be like that.
- Divide the batter evenly between your prepared pans. Eyeball it or use a kitchen scale if you’re feeling precise.
- Bake for 30-35 minutes, or until a toothpick inserted into the center comes out clean.
- Let the cakes cool in the pans for about 10 minutes before flipping them onto a wire rack to cool completely. Patience is a virtue here. Don’t rush it, or you’ll have crumbly, sad cake.
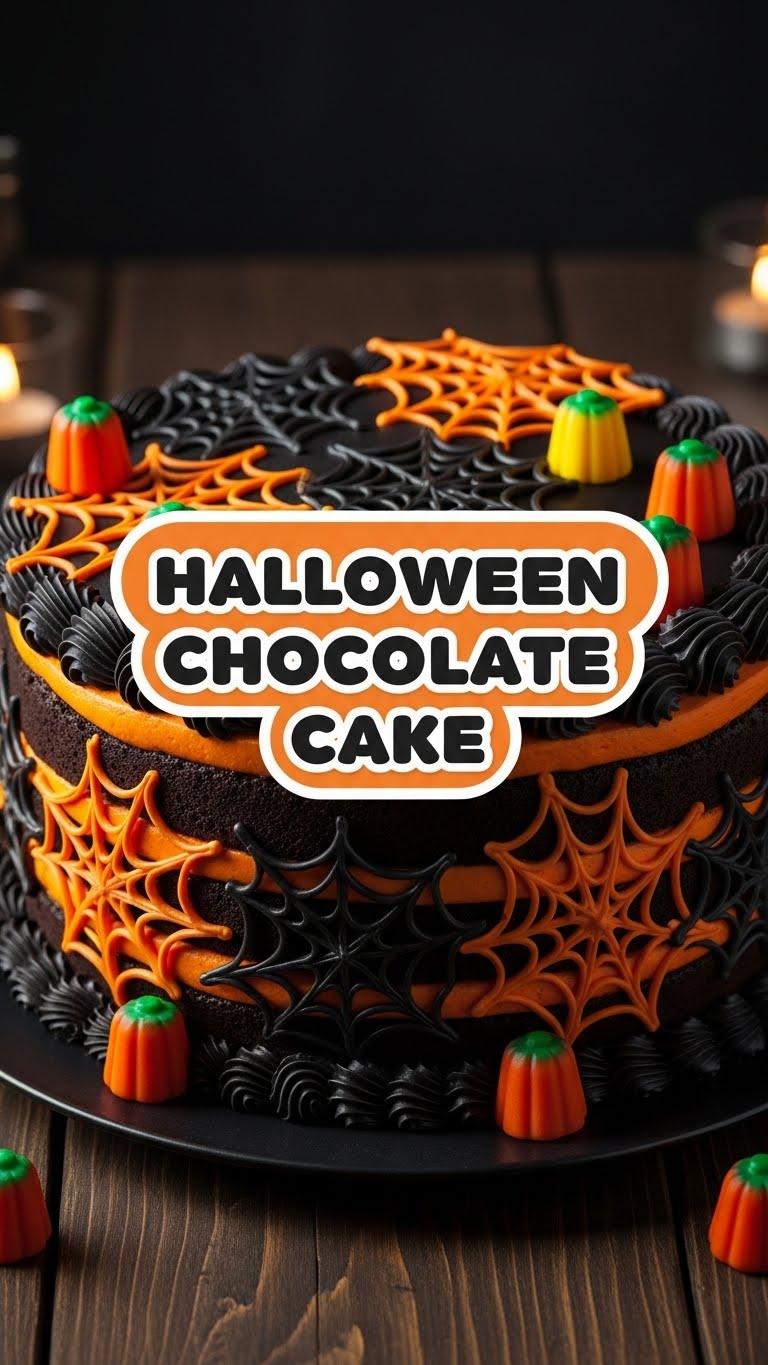
- Once completely cool, frost with your favorite chocolate buttercream. Go wild, it’s Halloween! Add some spooky sprinkles, gummy worms, or even cobweb designs if you dare.
Common Mistakes to Avoid
Save yourself the heartache (and the wasted chocolate!) by sidestepping these rookie errors:
- Not preheating your oven: Your oven needs to be hot *before* the cake goes in. It’s not a suggestion, it’s a command.
- Overmixing the batter: I warned you! Tough cakes are no fun. Mix until *just* combined, then stop.
- Opening the oven door constantly: Resist the urge! You’ll drop the temperature and make your cake collapse faster than a vampire exposed to sunlight.
- Not letting cakes cool completely: Frosting warm cake is a recipe for a sliding, melty mess. Trust me, I’ve been there. It’s not pretty.
- Skipping the hot water/coffee: You lose out on that deep, intense chocolate flavor. Why would you do that to yourself?
Alternatives & Substitutions
Feeling a little rebellious? Here are some tweaks you can make:
- Dairy-free? Use your favorite non-dairy milk (almond, soy, oat). It works wonderfully. For frosting, use vegan butter.
- No eggs? A flax egg (1 tbsp ground flaxseed + 3 tbsp water, let sit 5 mins) can sometimes work in chocolate cakes, but for best results, stick to the real deal if you can, IMO.
- Want it spookier? Add a drop of black food coloring to your frosting for an extra dark, mysterious look. Or go with vibrant orange or slime green frosting!
- Coffee hater? Use hot water. The coffee just enhances the chocolate, it won’t taste like coffee, promise. It’s like a secret flavor agent.
FAQ (Frequently Asked Questions)
- Can I use margarine instead of butter for the frosting? Well, technically yes, but why hurt your soul like that? Butter is king for a reason, my friend.
- My cake sank in the middle! What happened? Probably opened the oven door too early, or your baking soda/powder is old. Check those dates, baking leaveners have an expiration, FYI!
- Can I make this as cupcakes? Absolutely! Bake for less time, usually 18-22 minutes. Keep an eye on them, as ovens vary.
- How long does this cake last? Covered at room temp, about 3-4 days. In the fridge, maybe a week. But honestly, it’ll be gone before then.
- Do I *have* to use hot water/coffee? Yes! Okay, not *have* to, but it seriously blooms the cocoa and makes the chocolate flavor sing. Don’t skip the magic!
- What about decoration ideas? Think spiders made of licorice, ghost meringues, candy corn borders, or just a simple dusting of powdered sugar over a stencil of a bat! Get creative!
Final Thoughts
So there you have it! A Halloween Chocolate Cake that’s spooky good, ridiculously easy, and guaranteed to make you the hero of any ghoulish gathering (or just your couch). It’s the perfect treat to ward off those sugar cravings and impress anyone who crosses your threshold. Now go impress someone—or yourself—with your new culinary skills. You’ve earned it! And don’t forget to send me a slice… or at least a picture!


