So you’re staring into the fridge, dreaming of something epic but also… not having to spend half your life cooking it, huh? Same, friend, same. My culinary compass often points to “delicious” but my energy levels frequently scream “minimum effort!” And that, my dear reader, is where grilled chicken struts onto the stage like the rockstar it is.
Why This Recipe is Awesome
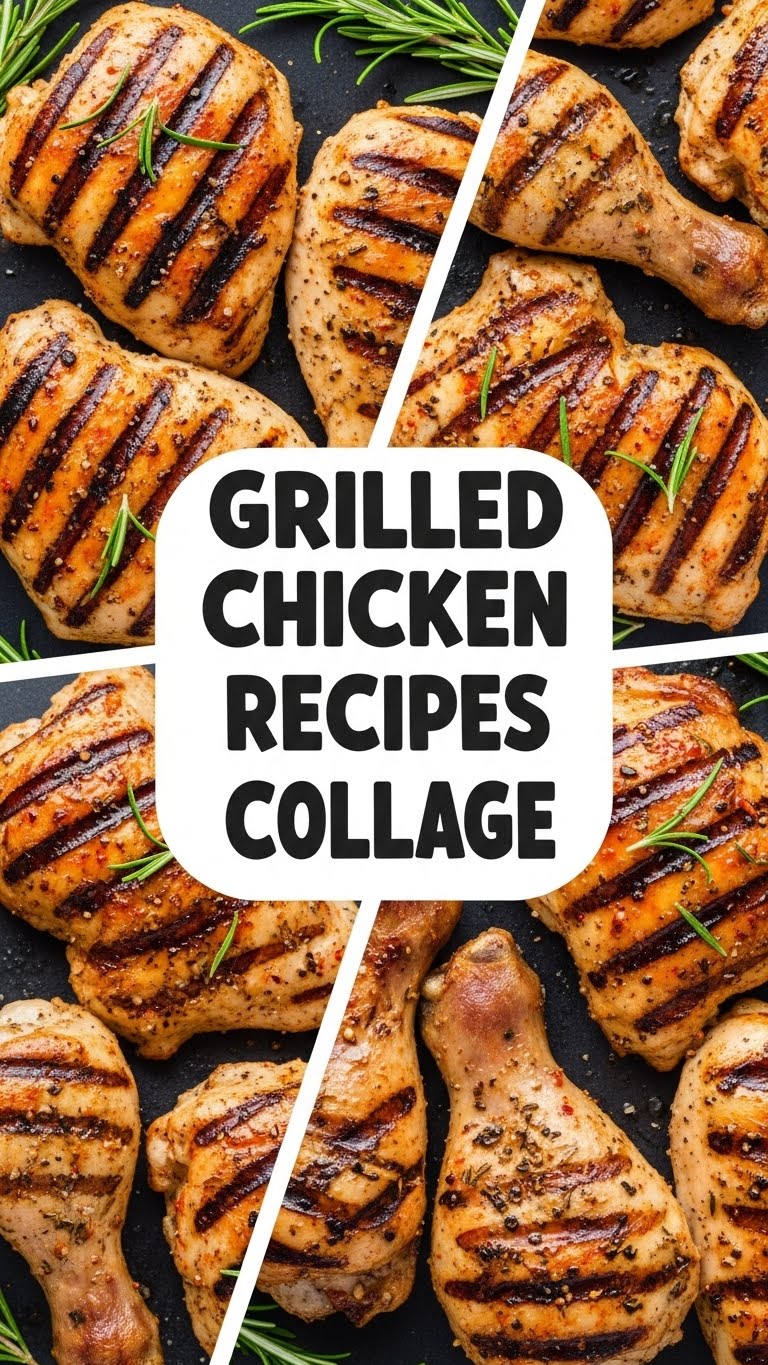
Let’s be real: grilled chicken isn’t just a recipe; it’s a lifestyle. It’s the culinary equivalent of that one friend who’s good at everything, looks effortlessly cool, and always brings a solid playlist. This isn’t just one recipe, it’s a *collage* because once you master the basics, you’ve unlocked a bazillion dinner possibilities. Think of it: you get that glorious char, that smoky goodness, and the juicy interior without deep-frying anything (hello, less guilt!). Plus, it’s pretty much idiot-proof. Seriously, if I can do it without setting off the smoke detector, so can you. It’s quick, it’s versatile, and it makes you look like a grill master even if your main grilling experience involves a toaster.
Ingredients You’ll Need
Alright, let’s gather our weapons of deliciousness. No need for a fancy grocery store trip; most of this is probably lurking in your pantry right now.
- Chicken Breasts or Thighs: (2-4 pieces, depending on hunger levels and who you’re feeding). Pick your fighter! Thighs are juicier, breasts are leaner. Your call.
- Olive Oil: (2-3 tablespoons). The liquid gold that prevents sticking and adds a little shimmer.
- Salt & Black Pepper: (To taste). The OG flavor twins. Don’t skip ’em.
- Garlic Powder: (1 teaspoon). Because everything is better with garlic. Duh.
- Onion Powder: (½ teaspoon). Garlic’s trusty sidekick.
- Smoked Paprika: (1 teaspoon). For that extra oomph and color. Trust me on this.
- Optional Flavor Boosters: A squeeze of lemon juice, a dash of dried oregano or thyme, a sprinkle of cayenne pepper if you like a little kick. Go wild!
Step-by-Step Instructions
Time to get your grill on! These steps are so easy, you could probably do them blindfolded (please don’t, for the sake of your eyebrows).
- Prep Your Chicken: Pat your chicken pieces dry with paper towels. This helps with that glorious sear. If using breasts, you might want to pound them to an even thickness (about ¾ inch) so they cook evenly. No one wants one end dry and the other raw.
- Season Like a Pro: Drizzle the chicken with olive oil. Then, sprinkle generously with salt, black pepper, garlic powder, onion powder, and smoked paprika. If you’re using any other herbs or spices, throw them in now! Rub that seasoning into every nook and cranny.
- Preheat the Grill: Fire up your grill to medium-high heat (about 400-450°F or 200-230°C). Let it get nice and hot for at least 10-15 minutes. A hot grill is a happy grill!
- Oil Those Grates: Once hot, clean your grates with a brush. Then, lightly oil them by dipping a folded paper towel in a little oil and carefully wiping it over the grates using tongs. This prevents sticking, a true grill-day tragedy.
- Grill ‘Em Up: Place the chicken on the hot grates. Grill for about 5-7 minutes per side, depending on thickness. You’re looking for beautiful grill marks and an internal temperature of 165°F (74°C). Use a meat thermometer—it’s your best friend here!
- Let it Rest: Once cooked, transfer the chicken to a cutting board. Cover loosely with foil and let it rest for 5-10 minutes. This is CRUCIAL for juicy chicken; it allows the juices to redistribute. Patience, young padawan!
- Serve and Devour: Slice it up or serve whole. Enjoy your perfectly grilled chicken!
Common Mistakes to Avoid
Don’t be that person. Seriously, these are easy fixes for common blunders.
- Not Preheating Enough: Rookie mistake! Throwing chicken on a cold or lukewarm grill means it’ll stick and steam instead of sear. Always preheat!
- Overcooking: This is the number one culprit for dry, rubbery chicken. Get a meat thermometer and take it off the heat at 165°F. It will continue to cook slightly while resting.
- Poking and Prodding Too Much: Leave the chicken alone! Let it cook undisturbed for those first 5-7 minutes to get a good crust and grill marks. Constant flipping equals no browning and sad chicken.
- Forgetting to Oil the Grates: Unless you love a game of “how much chicken can I scrape off the grill,” oil your grates.
- Skipping the Rest: You just worked so hard to get it juicy! Don’t let those precious juices run all over your cutting board. Let it rest!
Alternatives & Substitutions
This “collage” concept means endless possibilities! Don’t be afraid to experiment.
- Marinades Galore: Instead of a simple rub, try a quick marinade! A simple one could be soy sauce, honey, ginger, and garlic. Or go zesty with lemon juice, fresh herbs, and a touch of Dijon mustard. IMO, a good marinade takes grilled chicken from “yum” to “YAAAS!”
- Spice Rubs: Swap out the smoked paprika for chili powder, cumin, or even a pre-made BBQ rub. Chicken is a blank canvas!
- Different Cuts: Bone-in, skin-on thighs or drumsticks are fantastic on the grill. They take a bit longer to cook but are incredibly flavorful and forgiving. Just make sure to adjust cooking times.
- No Grill? No Problem! You can totally achieve similar results on a cast-iron grill pan on your stovetop or even broiler in your oven. Just make sure to vent your kitchen well!
- Serving Suggestions: This chicken is amazing sliced on a salad, tucked into tacos, piled high on sandwiches, or just served with some grilled veggies and a carb (rice, quinoa, baked potato, you name it!).
FAQ (Frequently Asked Questions)
Got questions? I’ve got answers! (Mostly.)
- How long should I marinate the chicken? For maximum flavor, 30 minutes to 4 hours is usually plenty. You can go up to 12 hours, but any longer, especially with acidic marinades, can start to “cook” the chicken and change its texture.
- Can I use frozen chicken? Well, technically yes, but always thaw it completely first! Grilling frozen chicken will result in uneven cooking and possibly a trip to disappointment-ville.
- How do I know it’s done without a thermometer? Honestly, investing in a meat thermometer is your best bet for consistent results. But if you’re in a pinch, cut into the thickest part. If the juices run clear and the meat is opaque white (not pink!), it’s likely done. But seriously, get a thermometer.
- My chicken is sticking to the grill! What gives? Either your grill wasn’t hot enough, or you didn’t oil the grates properly (or both!). Also, don’t try to flip it too early; let that crust form!
- What if my chicken is burning on the outside but still raw inside? Your grill might be too hot! Turn down the heat to medium-low or move the chicken to a cooler part of the grill to finish cooking through without charring excessively.
Final Thoughts
And there you have it, folks! Your very own Grilled Chicken Recipes Collage starter kit. You’re now equipped with the knowledge to conquer the grill (or grill pan) and whip up something seriously tasty without breaking a sweat. So go forth and grill, my friend! Now go impress someone—or yourself—with your new culinary skills. You’ve earned it!

