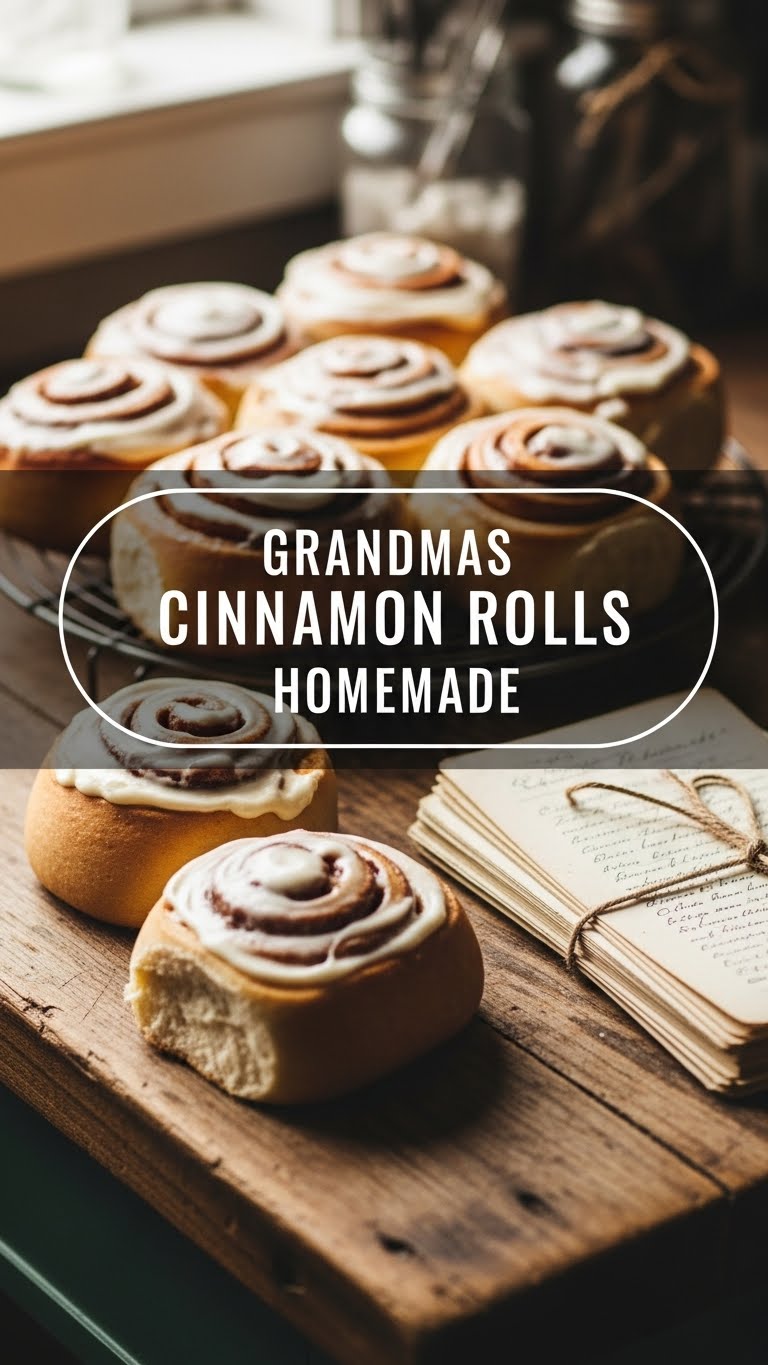
Ever woken up with that *irresistible* urge for something warm, gooey, and smelling like a hug? Yeah, me too. And today, my friend, we’re diving headfirst into the glorious world of Grandma’s Cinnamon Rolls. Forget the bland, dry stuff from the store. We’re making the real deal, the kind that makes your kitchen smell like pure happiness and instantly transports you back to your childhood. Plus, it’s way easier than you think. Promise!
Why This Recipe is Awesome
Okay, let’s be real. There are a million cinnamon roll recipes out there. So why this one? Well, for starters, it’s basically therapy you can eat. Seriously, the act of kneading dough is surprisingly zen, and the smell of them baking? Pure bliss. But beyond the aromatherapy, this recipe is:
- **Idiot-proof.** And I say that with love, because if I can make these without summoning kitchen demons, so can you.
- **Surprisingly simple.** It looks fancy, but the steps are straightforward. No culinary degree required!
- **A guaranteed crowd-pleaser.** Or a personal treat – no judgment here if you eat the whole pan yourself. (I’ve been there.)
- **Better than any store-bought version.** Hands down. Fight me on it.
Ingredients You’ll Need
Gather your troops! Here’s what you’ll need to make these beauties:
For the Dough:
- 1 cup warm milk (around 105-115°F / 40-46°C). Not too hot, not too cold – think warm bath for your yeast.
- 2 ¼ teaspoons active dry yeast (one packet). Your dough’s best friend.
- ¼ cup granulated sugar. Just a touch for sweetness and to make the yeast happy.
- ½ cup unsalted butter, melted. That liquid gold!
- 1 large egg. Gives richness and structure.
- 1 teaspoon salt. Balances everything out.
- 4-4 ½ cups all-purpose flour. The main event.
For the Filling:
- ½ cup unsalted butter, softened. Don’t skip the softening part, trust me.
- 1 cup packed light brown sugar. This is where the magic happens, that gooey caramel goodness.
- 2 tablespoons ground cinnamon. The star of the show!
For the Glaze:
- 1 ½ cups powdered sugar (confectioners’ sugar). For that cloud-like crown.
- 3-4 tablespoons milk or heavy cream. To get the perfect drizzle consistency.
- ½ teaspoon vanilla extract. A little extra somethin’ somethin’.
Step-by-Step Instructions
Ready to roll? Let’s do this!
- **Wake up the Yeast:** In a large bowl, pour your warm milk. Sprinkle in the yeast and a pinch of that granulated sugar. Give it a gentle stir and let it sit for about 5-10 minutes. It should get foamy – that’s how you know it’s alive and ready to party!
- **Mix the Wet Stuff:** To your foamy yeast mixture, add the melted butter, egg, the rest of the granulated sugar, and salt. Whisk it all together like you’re making a potion.
- **Add the Flour:** Gradually add 3 cups of flour, mixing with a wooden spoon or your stand mixer with a dough hook. Keep adding flour, a little at a time, until the dough comes together and is no longer sticky. You might not use all 4.5 cups, or you might need a tiny bit more – go by feel.
- **Knead It Out:** Turn the dough out onto a lightly floured surface and knead for 5-8 minutes until it’s smooth and elastic. If you have a stand mixer, let it do the work for about 5 minutes. Form it into a ball.
- **First Rise:** Lightly grease your mixing bowl, pop the dough ball in, and turn it once to coat. Cover with plastic wrap or a clean kitchen towel. Let it rise in a warm spot for 1-1.5 hours, or until it’s doubled in size. This is a crucial step – patience, grasshopper!
- **Make the Filling:** While your dough is rising, mix the softened butter, brown sugar, and cinnamon in a small bowl until it’s a lovely, fragrant paste.
- **Roll ’em Out:** Once the dough has risen, punch it down gently to release the air. Turn it out onto a lightly floured surface and roll it into a large rectangle, about 12×18 inches (30×45 cm).
- **Spread the Gooey Goodness:** Evenly spread your cinnamon-sugar-butter filling over the entire rectangle, leaving a small ½-inch border on one of the long edges.
- **Roll and Slice:** Tightly roll the dough up from the *opposite* long edge, forming a snug log. Now, for slicing, **use unflavored dental floss!** Slide a piece of floss under the log, cross the ends over the top, and pull to cut perfect, squish-free rolls. Aim for about 12 rolls, each about 1.5 inches thick.
- **Second Rise:** Arrange the sliced rolls in a lightly greased 9×13-inch baking pan, leaving a little space between them (they’re gonna grow!). Cover and let them rise again for another 30-45 minutes, or until they’re puffy and touching.
- **Bake Away:** Preheat your oven to 375°F (190°C). Bake for 20-25 minutes, or until the rolls are golden brown and cooked through. If they start getting too dark too fast, loosely tent some foil over them.
- **Whip up the Glaze:** While the rolls are cooling slightly (but still warm!), whisk together the powdered sugar, milk/cream, and vanilla extract until smooth. Add more liquid if needed for your desired consistency.
- **Glaze and Devour:** Drizzle (or slather, no judgment) the warm glaze generously over the warm cinnamon rolls. Serve immediately and watch them disappear!
Common Mistakes to Avoid
Nobody’s perfect, but we can avoid some common culinary blunders, right? Here are a few pitfalls to steer clear of:
- **Killing Your Yeast:** Water that’s too hot will murder your yeast. Aim for body temperature – test it on your wrist. Too cold, and it’ll just nap.
- **Over-flouring the Dough:** Adding too much flour makes your rolls tough and dry. Start with less and add slowly until the dough is just barely tacky. **IMO, slightly sticky is better than too dry.**
- **Skimping on Rise Time:** Patience is a virtue, especially with yeasted doughs. If your dough hasn’t doubled, it’s not ready. Rushing this step leads to dense, sad rolls.
- **Cutting with a Knife:** Rookie mistake! A knife squishes your beautiful rolls. **Use dental floss** for clean, perfect cuts.
- **Forgetting to Soften Butter for Filling:** If your butter for the filling isn’t soft, it’ll tear the dough when you try to spread it. Let it sit out, or zap it in the microwave for 10 seconds if you’re in a hurry.
- **Over-baking:** Dry rolls are the saddest rolls. Keep an eye on them; they should be golden, not mahogany.
Alternatives & Substitutions
Feeling adventurous? Or just missing an ingredient? No stress, here are some ideas:
- **Milk:** You can use almond milk, oat milk, or even half-and-half. The texture might vary slightly, but they’ll still be delicious.
- **Butter:** For the filling, margarine can work in a pinch, but honestly, butter just tastes better. For the dough, coconut oil could be an interesting swap for a different flavor profile.
- **Brown Sugar:** If you’re out, mix white granulated sugar with a tablespoon of molasses for a quick brown sugar substitute.
- **Glaze Upgrade:** Ditch the simple glaze and make a cream cheese frosting! Soften 4 oz cream cheese and ¼ cup butter, then beat with 2 cups powdered sugar, a splash of milk, and ½ tsp vanilla. **OMG, it’s next level.**
- **Add-ins:** Sprinkle some chopped pecans or walnuts with your cinnamon filling for a nutty crunch. Or, a little orange zest in the dough or filling can add a lovely brightness.
FAQ (Frequently Asked Questions)
Got questions? I’ve got casual, slightly sarcastic answers!
- **Can I make these ahead of time?** Absolutely! After the second rise, cover the pan tightly with plastic wrap and pop it in the fridge overnight. In the morning, pull them out an hour before baking to come to room temp, then bake as usual.
- **My dough isn’t rising, what gives?** Did you check your yeast’s expiration date? Was your milk too hot (killing the yeast) or too cold (making it sluggish)? Yeast is finicky, but usually, it’s a temperature issue or dead yeast.
- **Why do you recommend dental floss for cutting?** Because knives squish! Floss makes a clean, even cut without deforming your beautiful rolls. Plus, it’s kinda fun.
- **Can I freeze cinnamon rolls?** You bet! Freeze them unbaked (after the second rise, flash freeze, then store in an airtight bag) or baked and unglazed. Thaw and bake/reheat when the craving strikes.
- **Do I *have* to use unsalted butter?** Not strictly, no. If all you have is salted, just reduce the salt in your dough by about ¼ teaspoon. You’ll be fine.
- **I don’t have a stand mixer. Can I still do this?** Of course! Hand kneading is a fantastic workout and super satisfying. Just be prepared for a bit more elbow grease.
- **My rolls are dry. What went wrong?** Probably over-baked! Keep an eye on them, and pull them out as soon as they’re golden brown. An internal temp of around 200°F (93°C) is perfect.
Final Thoughts
See? You just made magic happen! From humble ingredients to a pan of warm, gooey, cinnamon-spiced perfection. Go on, pat yourself on the back (or just lick the glaze off your fingers – I won’t tell). Now go impress someone—or yourself—with your new culinary skills. You’ve earned it, superstar!


