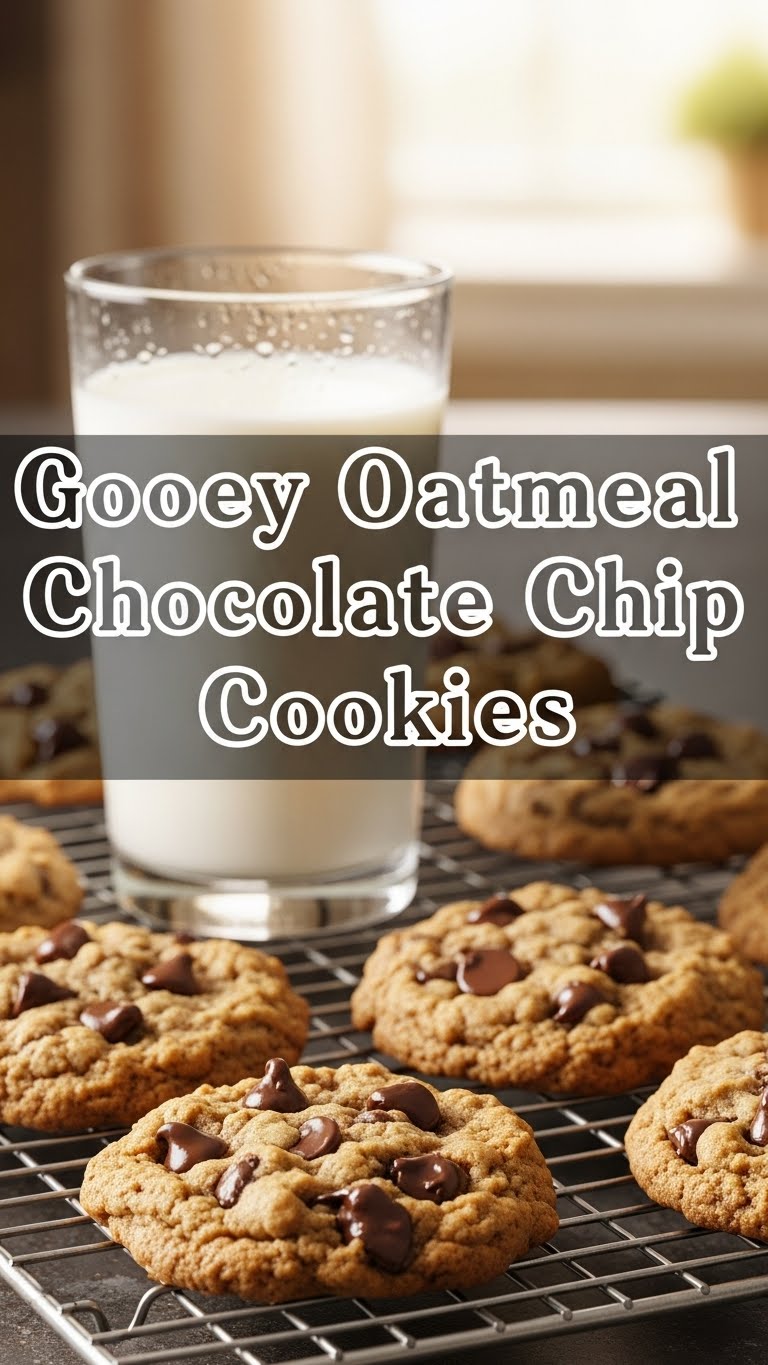
So, you’re scrolling, maybe dreaming of something warm, chewy, and utterly chocolatey but also kind of want to feel like a *domestic god/goddess* without, you know, actually putting in “domestic god/goddess” levels of effort? Yep, thought so. You and me both, pal. And that’s exactly why we’re about to dive headfirst into the glorious world of Gooey Oatmeal Chocolate Chip Cookies. Trust me, your taste buds are about to send you a thank-you card.
Why This Recipe is Awesome
Look, I’m not going to lie, some recipes out there make you feel like you need a chemistry degree and a team of sous chefs. This isn’t one of them. This recipe is practically idiot-proof. Seriously, if I can nail it after a particularly long day of pretending to be an adult, you absolutely can too. What makes these cookies truly epic? They’re not just oatmeal cookies; they’re not just chocolate chip cookies. They’re the super-hybrid love child of both, boasting that perfect chewy edge, a melt-in-your-mouth gooey center, and enough chocolate chips to make you question if you accidentally spilled half the bag in there (spoiler: you probably did, and it’s perfect). Plus, oatmeal means they’re practically health food, right? Don’t argue, just nod and eat another one.
Ingredients You’ll Need
Gather ’round, my sweet-toothed friends. Here’s what you’ll need to conjure up some serious cookie magic. No obscure ingredients, I promise:
- 1 cup (2 sticks) unsalted butter, softened: Not melted, not rock hard. We’re aiming for “butter I just forgot on the counter for a bit” vibes.
- ¾ cup packed light brown sugar: The secret to that amazing chewiness and deep flavor. Don’t skimp!
- ½ cup granulated sugar: For that extra touch of sweetness and crispness on the edges.
- 2 large eggs: Room temperature if you’re feeling fancy, straight from the fridge if you’re like me and just want cookies NOW.
- 1 teaspoon vanilla extract: The more, the merrier, IMO. Adds warmth and makes everything smell divine.
- 1½ cups all-purpose flour: The backbone of our cookie empire.
- 1 teaspoon baking soda: Our little helper for lift and spread.
- ½ teaspoon salt: Don’t skip this! It balances the sweetness and makes the chocolate pop.
- 3 cups old-fashioned rolled oats: Not instant, not steel-cut. We want those hearty, chewy oats!
- 1½ cups chocolate chips: A glorious mix of semi-sweet, milk, or even dark chocolate chips. Or go wild with chunks!
Step-by-Step Instructions
Alright, apron on (or not, who’s judging?), let’s get baking!
- Preheat & Prep: Preheat your oven to 350°F (175°C). Line a couple of baking sheets with parchment paper or silicone mats. This is a non-stick game-changer, trust me.
- Cream the Good Stuff: In a large bowl, cream together the softened butter, brown sugar, and granulated sugar until light and fluffy. This usually takes about 2-3 minutes with an electric mixer. Scrape down the sides of the bowl!
- Eggs & Vanilla Time: Beat in the eggs, one at a time, mixing well after each addition. Then stir in the vanilla extract. It should look rich and delicious.
- Dry Ingredients Unite: In a separate medium bowl, whisk together the flour, baking soda, and salt. Don’t overmix this part, just combine it.
- Combine & Conquer: Gradually add the dry ingredients to the wet ingredients, mixing on low speed until *just* combined. Stop as soon as you see no more streaks of flour.
- Oats & Chips In: Now, stir in the old-fashioned rolled oats and chocolate chips until evenly distributed. This is where the magic really starts to take shape!
- Scoop & Space: Drop rounded tablespoons (or use a cookie scoop for perfectly uniform cookies) of dough onto your prepared baking sheets, leaving about 2 inches between each cookie.
- Bake ‘Em Up: Bake for 10-12 minutes, or until the edges are golden brown but the centers still look soft and slightly underbaked. This is key for gooiness!
- Cool Down (A Little): Let the cookies cool on the baking sheets for about 5 minutes before transferring them to a wire rack to cool completely. Or, you know, eat them warm because life’s too short.
Common Mistakes to Avoid
Even the pros make mistakes, but we can minimize ours with a few friendly nudges (and a dash of sarcasm):
- Overmixing: You’re not making bread dough; you’re making cookies! Overmixing the flour activates gluten, leading to tough, not gooey, cookies. Mix until *just* combined.
- Not Using Old-Fashioned Oats: Instant oats will give you a mushy texture; steel-cut are too hard. Stick to the script for that perfect chew.
- Overbaking: The cardinal sin for gooey cookies! If they look fully set and brown all over in the oven, you’ve gone too far. Pull them when the edges are set and golden, but the middle still looks a bit soft and perhaps even a little shiny. They’ll continue to cook on the hot sheet.
- Forgetting to Preheat: Thinking you can just shove them in a cold oven and hope for the best? Rookie mistake. A hot oven ensures even baking and proper spread.
Alternatives & Substitutions
Feeling adventurous? Or maybe you just ran out of something. Here are a few tweaks:
- Chocolate Varieties: Mix it up! Try dark chocolate chunks for intense flavor, white chocolate for extra sweetness, or butterscotch chips for a different vibe. A combination is always a winner in my book.
- Add-Ins: Craving more? Stir in a handful of chopped nuts (pecans or walnuts are great), dried cranberries for a tart kick, or even shredded coconut. Just don’t go too crazy, we still want cookies, not a fruitcake.
- Gluten-Free: Swap the all-purpose flour for a 1:1 gluten-free baking blend that contains xanthan gum. Make sure your oats are certified gluten-free, too!
- Dairy-Free: Use a high-quality plant-based butter (like Miyoko’s Kitchen or Earth Balance sticks) and dairy-free chocolate chips. You’d be surprised how good they can be!
FAQ (Frequently Asked Questions)
- Can I use margarine instead of butter? Well, technically yes, but why hurt your soul like that? Butter provides superior flavor and texture. Margarine just won’t give you that rich, gooey goodness.
- My cookies spread too much! What went wrong? Could be a few things! Your butter might have been too soft (or melted), your oven temperature could be off, or you might have used too little flour/too much leavening. Next time, try chilling the dough for 20-30 minutes before baking!
- How do I store these magical cookies? In an airtight container at room temperature for up to 3-4 days. But let’s be real, they rarely last that long.
- Can I freeze the cookie dough? Absolutely! Scoop the dough onto a parchment-lined baking sheet and freeze until solid. Then transfer the frozen dough balls to a freezer-safe bag or container for up to 3 months. Bake from frozen, adding a couple of extra minutes to the baking time.
- What kind of oats are best for chewiness? Old-fashioned rolled oats are your best friend here. Quick-cooking oats will make them softer and less chewy, which isn’t our goal for *gooey*.
- Why is room temperature butter important? It creams better with sugar, creating tiny air pockets that lead to a lighter, fluffier dough and a better texture in the final cookie. Think of it as a small step for better cookies, a giant leap for your taste buds.
Final Thoughts
So there you have it, your no-fail (mostly!) guide to creating cookies that will make you the hero of any gathering, or just the very happy person sitting on the couch with a glass of milk and zero regrets. Go forth, preheat that oven, and get your bake on! Now go impress someone—or yourself—with your new culinary skills. You’ve earned it!


