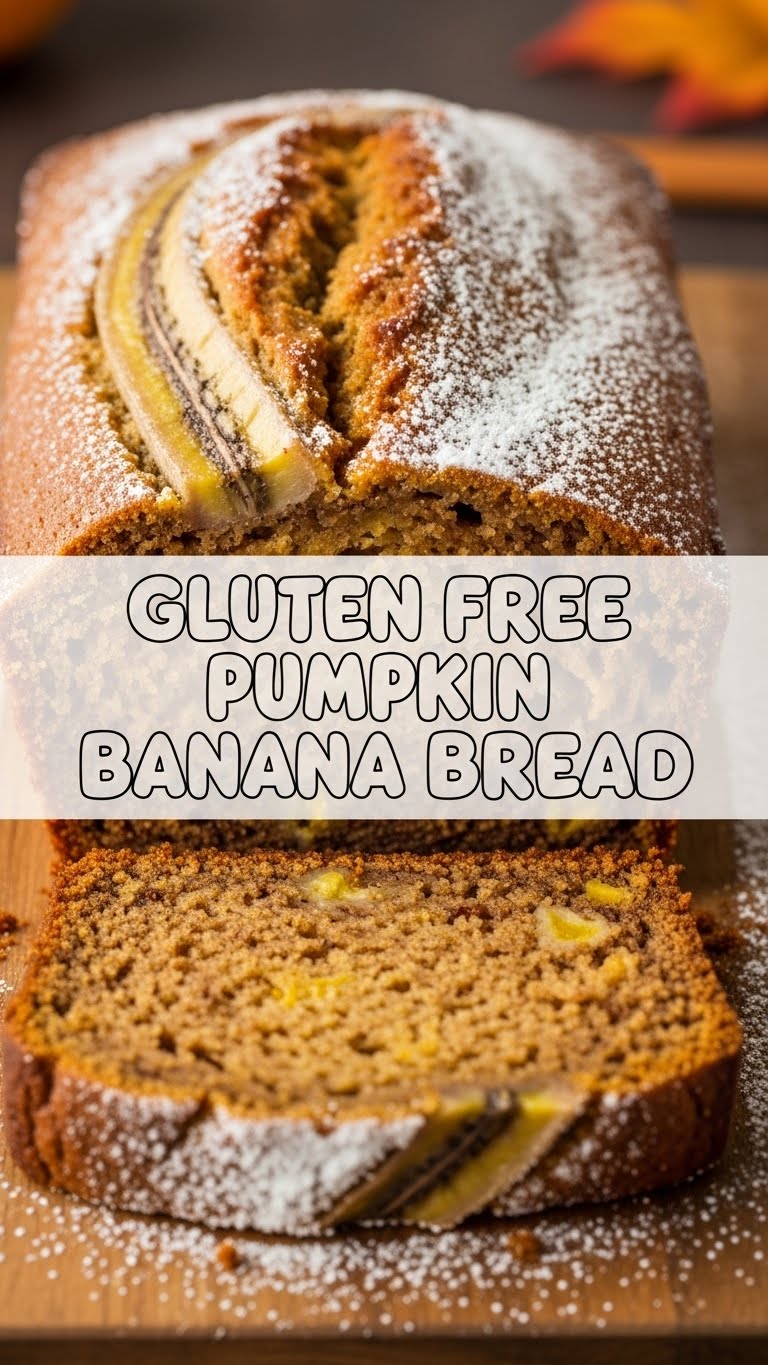
So, you’re staring at those sad, brown bananas on your counter, contemplating their destiny. And then a wild thought appears: “What if I combined them with… PUMPKIN?” And made it gluten-free, because #healthish. Well, my friend, you’ve come to the right place. Let’s bake some magic that’s so good, you’ll wonder if you secretly became a pastry chef overnight.
Why This Recipe is Awesome
First off, it’s basically a hug in bread form. Secondly, it tastes like autumn, even if you’re eating it in July. But the *best* part? It’s genuinely **idiot-proof**. I’m talking ‘can-barely-boil-water’ level proof. Seriously, I made it, and it was glorious. Plus, it’s gluten-free, so you can pretend it’s practically a health food. Win-win-win!
Ingredients You’ll Need
- **1 ½ cups gluten-free all-purpose flour blend** (the one with xanthan gum already in it? Chef’s kiss. If not, add ½ tsp extra.) – No weird chalky stuff here, promise.
- **1 teaspoon baking soda** – The lift-off engineer for our delicious mission.
- **½ teaspoon salt** – Just a pinch to make everything pop.
- **1 teaspoon ground cinnamon**
- **½ teaspoon ground nutmeg**
- **¼ teaspoon ground cloves** (or just 1.5 tsp pumpkin pie spice if you’re feeling lazy, which I often am) – Mandatory warmth.
- **¾ cup mashed ripe bananas** (about 2-3 super spotty ones) – The browner, the better. Don’t be shy.
- **½ cup pumpkin puree** (NOT pie filling, unless you like your bread pre-spiced and extra sweet by accident) – Pure pumpkin goodness.
- **2 large eggs** – Our binders, making sure things don’t fall apart like my life choices.
- **¾ cup granulated sugar** (or ½ cup granulated + ¼ cup brown sugar for extra oomph) – Sweetness, darling.
- **½ cup vegetable oil** (or melted unsalted butter if you’re feeling fancy) – For that moist, tender crumb.
- **1 teaspoon vanilla extract** – Because everything is better with vanilla.
Step-by-Step Instructions
- Preheat your oven to 350°F (175°C). Now, **grease and flour (GF flour, obvs!) a 9×5-inch loaf pan.** Or, line it with parchment paper for easy lift-out. You got this.
- In a large bowl, whisk together your GF flour, baking soda, salt, cinnamon, nutmeg, and cloves. Make sure there are **no lumpy bits hiding**. We want smooth sailing.
- In a separate, *even larger* bowl, mash those gloriously spotty bananas. Stir in the pumpkin puree, eggs, sugar, oil, and vanilla extract until everything is **just combined**. Don’t go crazy here.
- **Gently add the dry ingredients to the wet ingredients.** Mix *just* until everything is incorporated. **Overmixing is the enemy of tender bread**, remember that! A few small lumps are okay, really.
- Pour the batter into your prepared loaf pan. Give it a gentle tap on the counter to settle.
- Bake for 55-65 minutes, or until a wooden skewer inserted into the center comes out clean. If the top starts to brown too quickly, **tent it loosely with foil**.
- Let it cool in the pan for a solid 10 minutes (seriously, wait!). Then, transfer it to a wire rack to cool completely. Or, you know, eat a slice warm because you can’t resist. **No judgment here.**
Common Mistakes to Avoid
- **Ignoring ripe bananas:** Trying to use firm, yellow bananas? Don’t even think about it. You need the brown, mushy ones for maximum flavor and sweetness. **Embrace the spots!**
- **Overmixing the batter:** This isn’t a workout. Mix until *just* combined. Overdoing it can lead to tough, sad bread. And nobody wants sad bread.
- **Not preheating the oven:** Rookie mistake. Your oven needs to be hot and ready to go for proper rising. **Patience, grasshopper.**
- **Opening the oven door constantly:** Resist the urge! Every time you peek, you let out heat and risk your bread sinking. Only peek during the last 10-15 minutes, if you must.
- **Using pumpkin pie filling instead of puree:** Read the can! Pie filling has added sugar and spices. We want **100% pure pumpkin puree**. Otherwise, your bread will be a sweet, spiced surprise (not always a good one).
Alternatives & Substitutions
- **Sweeteners:** Feeling less sweet? Reduce the sugar by ¼ cup. Want a molasses-y vibe? Go all brown sugar. Maple syrup or honey can also work for a portion of the sugar, but might change the texture a smidge.
- **Fats:** Can’t do vegetable oil? Melted coconut oil works beautifully and adds a subtle tropical note. Applesauce can substitute *half* the fat for a lower-calorie option, but your bread might be a bit denser.
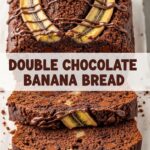
- **Add-ins:** This is where the party starts! **Chocolate chips (dark, milk, white – whatever floats your boat), chopped walnuts or pecans, dried cranberries**, or even a streusel topping. Just fold in about ½ cup of your chosen fun stuff at the very end.
- **GF Flour:** Most GF all-purpose blends with xanthan gum will work. I’m a fan of Bob’s Red Mill 1-to-1 or King Arthur’s GF Measure for Measure. Using a single GF flour (like just rice flour) will likely not work well, **FYI**.
FAQ (Frequently Asked Questions)
- **”Can I make this into muffins instead?”** Heck yes! Reduce baking time to 20-25 minutes. Fill muffin liners about two-thirds full, and keep an eye on ’em.
- **”How do I store this masterpiece?”** Tightly wrapped at room temp for up to 3 days, or in the fridge for a week. But honestly, it probably won’t last that long.
- **”Can I freeze it for later cravings?”** Absolutely! Wrap slices or the whole loaf (cooled completely!) in plastic wrap, then foil. It’ll last up to 3 months. Thaw at room temp when the craving strikes.
- **”Why gluten-free? Does it taste different?”** It’s GF for those of us who need it or prefer it! When done right (like this recipe, wink wink), it tastes just as delicious as regular bread. Sometimes even moister, IMO!
- **”My bread sunk in the middle! What happened?”** Oh no! Could be overmixing, underbaking, or opening the oven door too soon. Or maybe your baking soda is old? Check that expiration date – it loses its oomph over time!
- **”What if I don’t have pumpkin pie spice?”** No problem! Just use the individual spices listed in the ingredients: cinnamon, nutmeg, and cloves. You’re basically a spice alchemist.
Final Thoughts
And there you have it! A truly magnificent, ridiculously easy, gluten-free pumpkin banana bread that’s practically begging to be devoured. You’ve officially conquered the kitchen without breaking a sweat (or a gluten barrier). Now go impress someone—or yourself—with your new culinary skills. You’ve earned that warm, spicy, banana-y slice of pure bliss!

