So you’re craving something tasty but too lazy to spend forever in the kitchen, huh? Same. And maybe you’re also avoiding gluten because, well, your tummy says ‘no thanks’ to the wheat party? Or perhaps you just like saying ‘gluten-free’ because it sounds fancy? Either way, you’ve landed in the right spot for some serious cookie magic without the fuss or the gluten-belly ache. Get ready for cookies that taste like a warm hug from a very adorable, slightly crumbly unicorn.
Why This Recipe is Awesome
Okay, so why bother with this recipe when the internet is literally swimming in cookie ideas? Simple: It’s practically foolproof. No joke, even I, the queen of kitchen chaos, haven’t messed these up. That’s saying something.
Secondly, it hits all the right notes: chewy, peanut buttery, oat-y, and chocolatey. It’s like the Avengers of comfort food, but in cookie form.
Plus, it’s naturally gluten-free thanks to oats and peanut butter, so you can tell your gluten-sensitive friends (or your own sensitive self) that you’ve got their back. No weird specialty flours needed. How cool is that?
Ingredients You’ll Need
- Peanut Butter: About 1 cup of the creamy, dreamy stuff. Not the natural, oil-separating kind unless you like a workout and a totally different texture. Go for Jif or Skippy, IMO.
- Sugar: 1/2 cup granulated, 1/2 cup brown (packed!). The combo gives that perfect chew. Don’t skimp, this is a cookie, not a health food smoothie.
- Egg: One large. It’s the glue that holds our delicious dreams together.
- Vanilla Extract: 1 teaspoon. Don’t skip it; it’s like the secret weapon of flavor.
- Baking Soda: 1 teaspoon. Helps ’em puff up and get all soft.
- Salt: 1/2 teaspoon. Balances the sweet and makes everything taste better. Seriously.
- Gluten-Free Rolled Oats: 1 1/2 cups. The chewy champions! Make sure they’re certified GF if you’re super sensitive.
- Chocolate Chips: 1 cup. Semi-sweet, milk, dark – pick your poison! More is always better, right?
Step-by-Step Instructions
- Preheat & Prep: First things first, get that oven nice and toasty to 350°F (175°C). Line a baking sheet with parchment paper. Trust me, it makes cleanup a breeze and prevents sticking.
- Wet Mix Wonders: In a large bowl, dump the peanut butter, both sugars, egg, and vanilla. Grab a mixer (or a strong arm!) and beat until it’s light and fluffy. Takes about 2 minutes. You’re basically making a delicious, sweet paste.
- Dry Mix Intro: Stir in the baking soda and salt. Mix ’em in real good.
- Oats & Chips Time: Now for the fun part: fold in the oats and chocolate chips. Use a spatula for this so you don’t overmix. You want just until combined. Don’t mash it; treat it gently.
- Scoop ‘Em Out: Roll the dough into 1-inch balls. They’ll be a bit sticky, so don’t be shy. Place them about 2 inches apart on your prepped baking sheet.
- Squish ‘Em Flat: These cookies don’t spread much on their own, so use a fork to gently press them down into a crisscross pattern. This also makes them look super fancy!
- Bake Away! Pop ’em in the oven for 10-12 minutes. You’re looking for golden edges and a slightly soft center. Don’t overbake, or they’ll be hard rocks instead of chewy dreams.
- Cool Down: Let them chill on the baking sheet for 5 minutes before transferring them to a wire rack to cool completely. This helps them firm up without breaking. Try not to eat them all immediately. Good luck with that.
Common Mistakes to Avoid
- Not preheating your oven: Rookie mistake, seriously. Your cookies won’t bake evenly, and you’ll end up with raw centers and burnt edges. Nobody wants that.
- Using natural, oily peanut butter: While great for smoothies, it changes the texture of these cookies dramatically. Stick to the processed stuff for this recipe for the best results. You can thank me later.
- Overmixing the dough: Once the dry ingredients (especially the oats) are in, just mix until combined. Overmixing can lead to tough cookies, and we want tender, chewy ones.
- Not pressing them down: As mentioned, these don’t spread a ton. If you skip the fork press, you’ll get little dough balls instead of classic cookies. Still edible, but not quite what we’re aiming for.
- Eating all the raw dough: Look, I get it. It’s tempting. But save some for the actual cookies, okay? Self-control, my friend.
Alternatives & Substitutions
- Nut Butter Swap: Not a peanut butter fan (gasp!) or have an allergy? Almond butter, cashew butter, or even sunflower seed butter (for nut-free folks) can work! Just make sure it’s a creamy, non-oily variety. The flavor will change, obviously, but still delicious.
- Oat-free? Kinda: You could try replacing the oats with a gluten-free flour blend, but honestly, the oats are what make these so chewy and hearty. Without them, it’s a different cookie. Proceed with caution and perhaps a prayer.
- Chocolate Chip Alternatives: White chocolate chips? Butterscotch chips? M&Ms? Chopped nuts? Go wild! This is where you can really personalize your batch. Personally, I’m a dark chocolate chip fiend, but you do you.
- Vegan Version: Swap the egg for a “flax egg” (1 tbsp ground flaxseed + 3 tbsp water, let sit for 5 mins). Make sure your chocolate chips are dairy-free too. Bam! Vegan-friendly.
FAQ (Frequently Asked Questions)
- Do I have to use gluten-free oats? If you have Celiac disease or are very sensitive to gluten, then yes, absolutely! Regular oats can be cross-contaminated with wheat. If you’re just avoiding gluten for other reasons, regular rolled oats are probably fine. Don’t play fast and loose with your gut!
- My cookies turned out too dry! What happened? You probably overbaked them, my friend. Next time, pull them out when the edges are golden, and the centers still look just a little soft. They’ll firm up as they cool. Practice makes perfect (and less dry cookies).
- Can I chill the dough? You totally can! If your dough feels too sticky or you want to bake them later, wrap it in plastic and chill it for 30 minutes to an hour. It can actually make them slightly thicker. Plus, instant gratification later!
- Are these healthy? Define “healthy.” They have oats and peanut butter, so *technically* yes? But also sugar and chocolate chips. Let’s just say they’re “soul healthy” and leave it at that, m’kay? It’s a treat!
- What’s the best way to store them? In an airtight container at room temp for up to 5 days. Or, if you’re feeling fancy, you can freeze them for up to 3 months. Just thaw at room temp, or pop ’em in the microwave for a few seconds for that fresh-baked feel.
- Can I double the recipe? Heck yeah! This recipe scales beautifully. Just make sure you have a big enough bowl for all that deliciousness. Go forth and multiply your cookies!
Final Thoughts
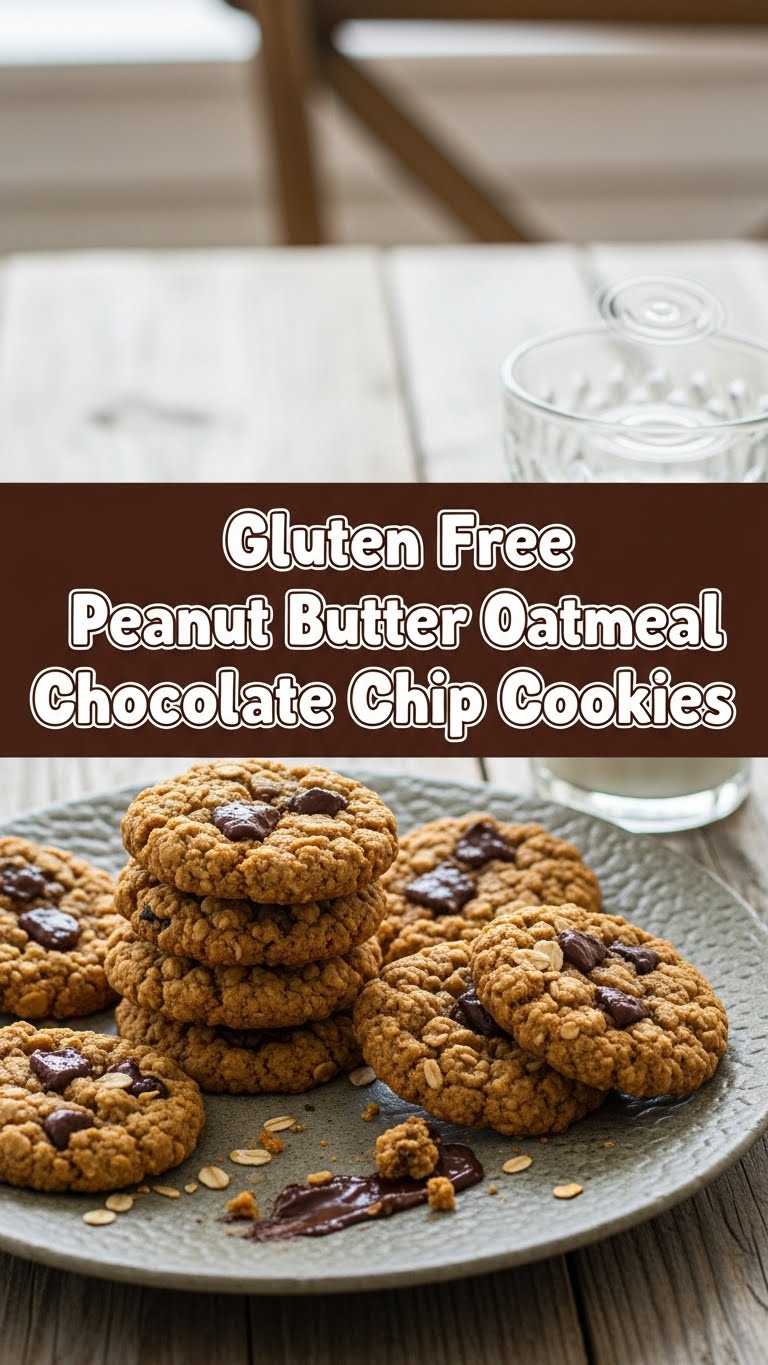
So there you have it, your new go-to recipe for Gluten-Free Peanut Butter Oatmeal Chocolate Chip Cookies. Easy-peasy, unbelievably tasty, and surprisingly forgiving. Now go impress someone—or yourself—with your new culinary skills. You’ve earned it! Seriously, you just made cookies. That’s a win in my book.
Now, if you’ll excuse me, I hear a fresh batch calling my name… Happy baking!


