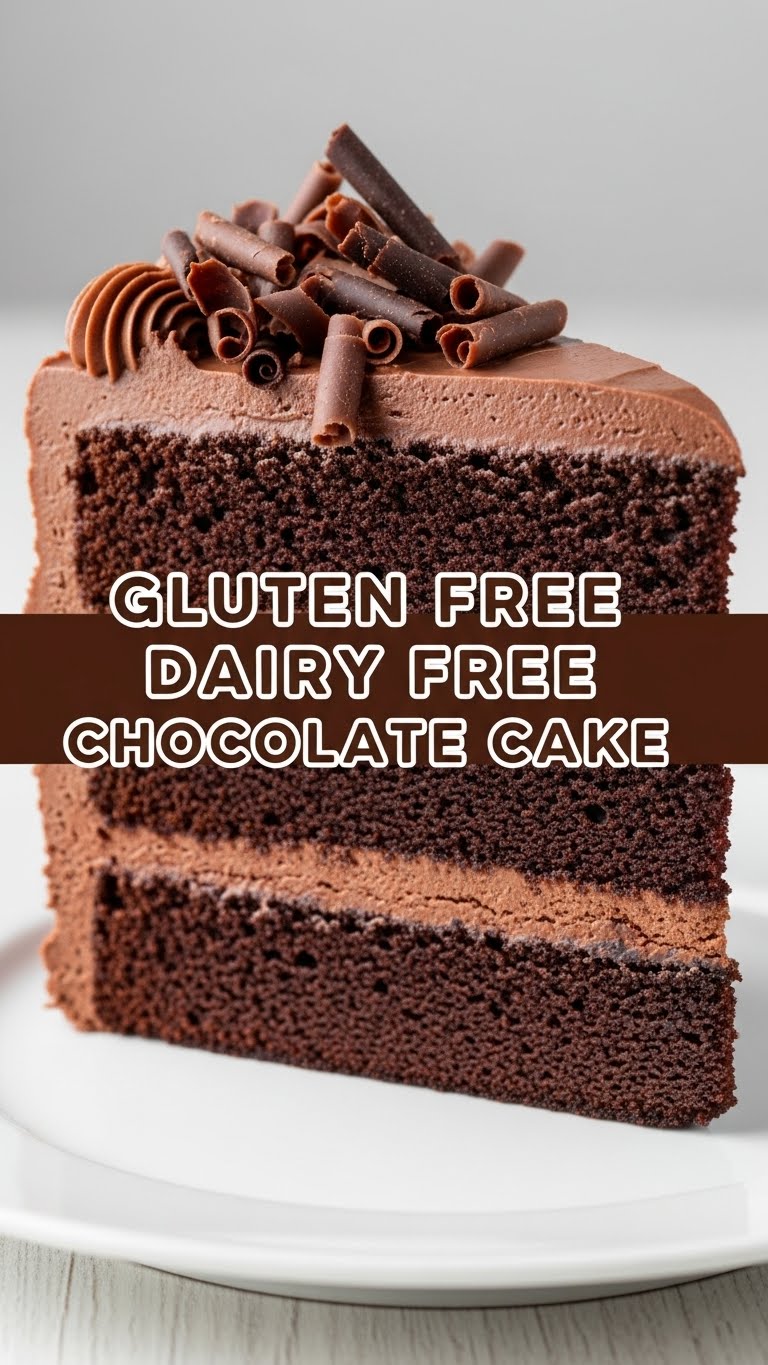
So, you’ve decided to tempt fate and dive into the glorious world of chocolate cake, but your body decided “no, thank you” to gluten and dairy? Been there, my friend. And guess what? We’re about to make magic happen without the usual drama, leaving you with a fudgy, moist, and utterly delicious slice of heaven. Prepare to amaze yourself (and maybe everyone else, if you decide to share!).
Why This Recipe is Awesome
Look, I’m not going to lie. I’m usually the queen of “ordering in” or “accidentally burning toast.” But this recipe? It’s so ridiculously simple, even my goldfish could probably follow it. Seriously, it’s pretty much **idiot-proof**. It’s rich, it’s fudgy, and it somehow manages to taste *decadent* without making you feel like you just swallowed a brick.
Plus, it’s GF/DF, so you can smugly tell your friends you’re basically a health guru now. Who knew a cake this good could be so… accommodating? This isn’t just a cake; it’s a statement. A delicious, chocolatey statement.
Ingredients You’ll Need
Time to gather your culinary weaponry. Don’t worry, nothing too exotic here!
- 1 ½ cups Gluten-Free All-Purpose Flour Blend: Make sure it’s the one with xanthan gum, unless you like your cakes crumbling into sadness. That gum is the secret MVP!
- ¾ cup Unsweetened Cocoa Powder: The darker, the moodier, the better. We’re going for deep chocolate vibes.
- 1 ½ cups Granulated Sugar: Sweetness! Don’t skimp, unless you’re a masochist. It’s cake, not health food (okay, maybe it’s health food for your soul).
- 1 ½ teaspoons Baking Soda: Our main poof-maker.
- 1 teaspoon Baking Powder: The baking soda’s trusty sidekick. They work together for maximum lift.
- 1 teaspoon Salt: Just a pinch, to make all the chocolatey goodness sing. It truly enhances the flavor!
- 1 cup Dairy-Free Milk: Almond, soy, oat – pick your poison! Just make sure it’s plain and unsweetened. Oat milk tends to give it a lovely richness, IMO.
- ½ cup Vegetable Oil: Or canola, or melted coconut oil. Something neutral to keep it moist and tender.
- 1 tablespoon Vanilla Extract: Because vanilla makes everything better, duh. Don’t even think about skipping it.
- 1 tablespoon White Vinegar (or Apple Cider Vinegar): Sounds weird, tastes brilliant. It reacts with the baking soda for extra lift and tenderness. Trust the process!
- 1 cup Hot Water: Seriously hot. It helps bloom the cocoa and makes the cake super moist. Don’t use lukewarm; go for hot from the kettle.
Step-by-Step Instructions
Alright, apron on, game face ready! Let’s get baking.
- Prep Time! First things first, preheat your oven to 350°F (175°C). Grab an 8×8 inch square pan (or a round 9-inch if you’re feeling fancy) and grease it generously. Then, lightly flour it with GF flour. **Do not skip this step**, unless you want a cake stuck to the pan, which is just sad.
- Dry Mix. In a large bowl, whisk together the GF flour, cocoa powder, sugar, baking soda, baking powder, and salt. Make sure there are no lumps; we’re going for smooth sailing here.
- Wet Mix. In a separate, medium-sized bowl, combine the dairy-free milk, oil, and vanilla extract. Give it a good whisk to ensure everything is well combined.
- Combine Forces. Pour the wet ingredients into the dry ingredients. Mix until *just* combined. And I mean *just*. Don’t overmix, or your cake will be tough, and nobody wants a tough cake.
- Magic Potion. Stir in the vinegar, then pour in the hot water. The batter will look thin and slightly bubbly—this is normal and a good sign! It’s the vinegar and baking soda doing their thing, creating all those lovely air pockets.
- Bake It! Pour the thin batter into your prepared pan. Pop it into the preheated oven and bake for 30-35 minutes.
- Check for Doneness. Insert a toothpick into the center of the cake. If it comes out clean, you’re golden! If not, give it a few more minutes. Everyone’s oven is a little different.
- Cool Down. Let it cool in the pan for about 10-15 minutes before carefully transferring it to a wire rack to cool completely. Patience is a virtue, especially when chocolate cake is involved. Resist the urge to dive in immediately!
Common Mistakes to Avoid
Listen up, buttercup. A few missteps can turn your cake dream into a cake nightmare. Don’t be that person!
- Overmixing: Think of your batter like a shy kitten. Pet it gently, don’t roughhouse. Overmixing develops gluten (even in GF flour sometimes!) and makes cakes tough and dense. Nobody wants that.
- Not Greasing the Pan Properly: Remember that sad cake stuck to the pan we talked about? Yeah, don’t be that person. **Grease and flour generously** or use parchment paper. It’s a small step that prevents big headaches.
- Opening the Oven Door Too Soon: Seriously, resist the urge! You’ll release all the heat, and your cake might sink in the middle. Peek only after the suggested baking time, unless you want a cake with an identity crisis.
- Ignoring the Hot Water: It’s not just for making tea! Hot water *blooms* the cocoa powder, intensifying that chocolatey flavor we all crave and keeps the cake super moist. Cold water just won’t cut it.
Alternatives & Substitutions
Flexibility is key! Here are a few swaps if you’re out of something or just want to experiment:
- Dairy-Free Milk: Almond, oat, soy, rice—whatever you have lurking in your fridge! Just make sure it’s plain and unsweetened. Oat milk often gives a lovely richness, and it’s my personal fave.
- Oil: Canola, vegetable, melted coconut oil. Coconut oil will give a slight coconut flavor, which I personally love, but if you’re not into that, stick with neutral oils. **Olive oil? Probably not, unless you want a savory chocolate cake.**
- Vinegar: White vinegar or apple cider vinegar both work perfectly. Don’t worry, you won’t taste it, it’s just there for the science! No vinegar? Lemon juice can work in a pinch, but vinegar gives a slightly better reaction.
- Sugar: Want to go a bit healthier? Coconut sugar can be used cup-for-cup, but it will make the cake a bit darker and slightly denser. FYI, it tastes less sweet too!
FAQ (Frequently Asked Questions)
Got questions? I’ve got (casual) answers!
- “Can I make this into cupcakes?” Absolutely! Line a cupcake pan, fill about 2/3 full, and bake for 20-25 minutes. Keep an eye on them; cupcake baking times can vary, so start checking early.
- “My batter looks super thin, is that normal?” YES! That’s the secret to its amazing moistness. Trust the process, my friend. It’s supposed to be thin, so don’t panic and add more flour!
- “Can I add chocolate chips?” Ugh, is that even a question? OF COURSE! Throw them in with the dry ingredients or stir them into the finished batter. Mini chips work great.
- “How do I store it?” Covered, at room temperature, for up to 3 days. Or in the fridge for a bit longer, but honestly, it won’t last that long. It’s too good!
- “Can I use regular flour if I don’t need it gluten-free?” Yep, you totally can! Just swap the GF flour for all-purpose flour cup for cup. The recipe works like a charm as a regular vegan chocolate cake too.
- “Do I *really* need the vinegar?” Yes, my friend, you really do. It reacts with the baking soda to give your cake that lovely lift and tenderness, preventing a sad, flat cake. It’s chemistry, baby!
- “Can I use decaf coffee instead of hot water?” Oh, you brilliant genius! Yes, you absolutely can. Coffee intensifies the chocolate flavor without making the cake taste like coffee. It’s a secret weapon for chocolate lovers.
Final Thoughts
See? Told you it wasn’t rocket science. You’ve just whipped up a fudgy, chocolatey masterpiece that’s GF and DF, and you barely broke a sweat. Your kitchen probably smells amazing right now, and you deserve all the praise. Now go impress someone—or yourself—with your new culinary skills. You’ve earned it!
Maybe even make some dairy-free frosting (a simple powdered sugar, cocoa, dairy-free milk, and vanilla combo works wonders) and really go wild. Your taste buds (and your tummy) will thank you. Happy baking, superstar!


